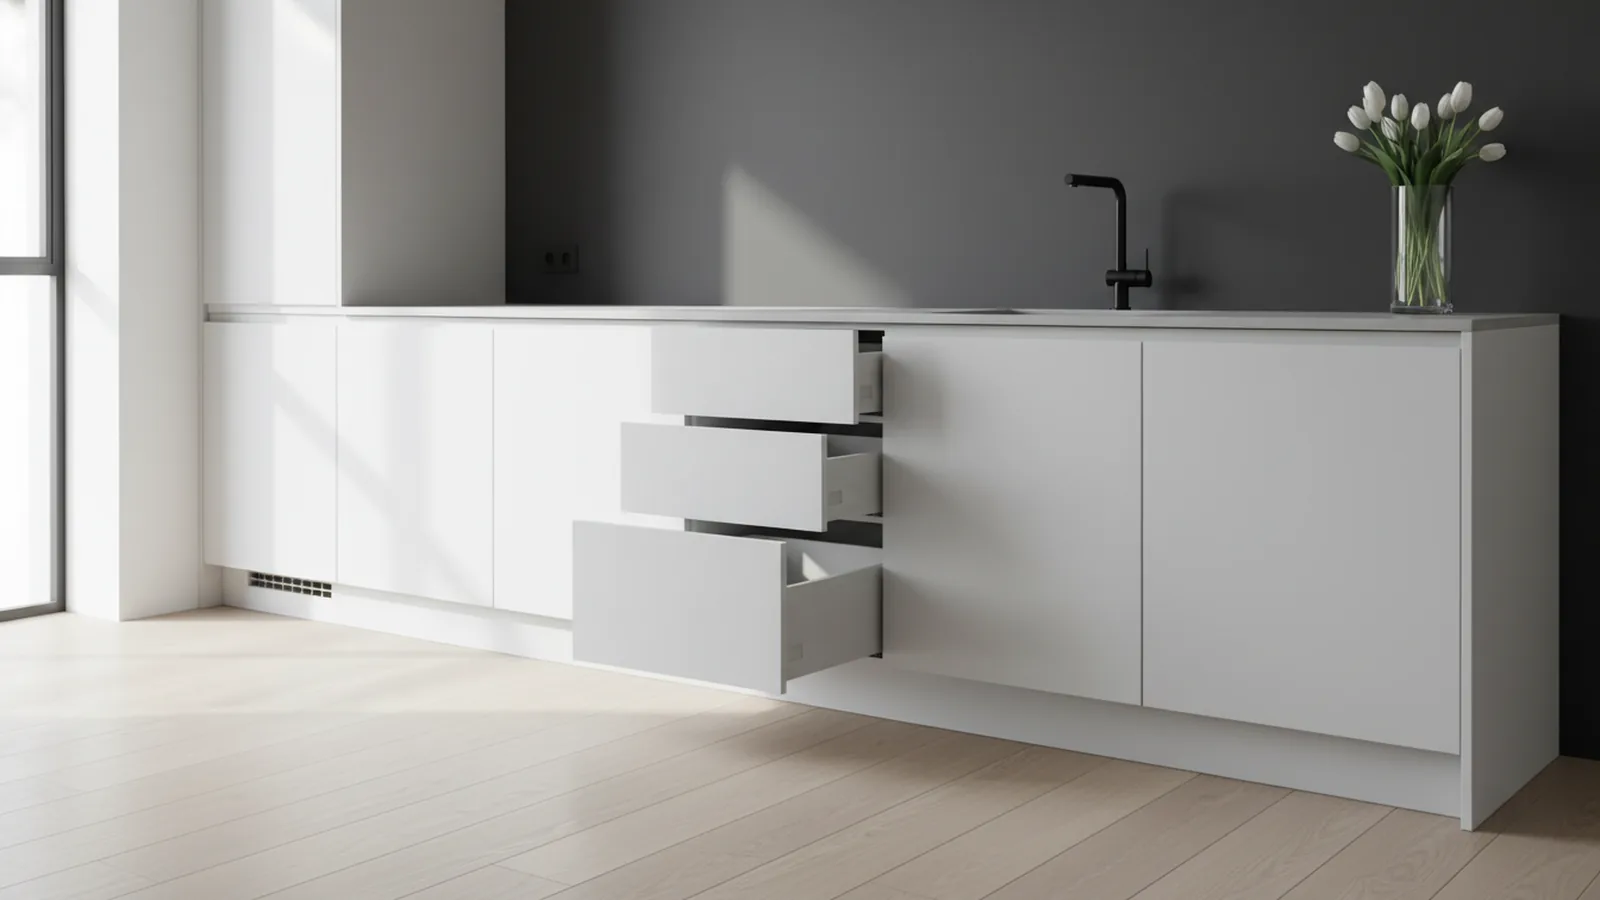
How to Paint Stained Kitchen Cabinets (Step-by-Step)
Learn how to paint stained kitchen cabinets. Get prep, primer, sanding, and step-by-step painting tips for a smooth, durable white finish.
Understanding the basics of cabinet painting
If you want to learn how to paint stained kitchen cabinets, start with this truth. The finish depends more on prep than on paint choice. Stain is designed to soak into wood, so you must seal it well or it will bleed through. Done right, you can get an even color, especially when aiming for a white cabinet look.
Yes, you can paint stained cabinets, even if the current surface looks glossy. The key is sanding enough to remove shine and improve grip. Then you use a bonding primer built for stained wood.
Before you buy anything, assess whether the cabinet surfaces are suitable for painting. If the doors are warped, the finish is flaking, or the wood is stained deep with water damage, repainting will be frustrating. Fix those issues first so your new coating stays put.

Preparing your cabinets for painting
Start by assessing the cabinet condition. Check for peeling, bubbling, soft spots, and greasy residue near handles and drawer fronts. If you can lift paint with a fingernail, sanding alone may not be enough.
Remove all doors, drawers, and hardware. This avoids paint buildup around hinges and helps you paint edges evenly. Label parts so reassembly is fast and accurate. Put screws, hinges, and knobs in labeled bags.
Next, clean thoroughly. Kitchen cabinets collect oils from cooking, even if they look clean. Use a degreaser or strong cleaner, then rinse and let everything dry fully. Skip this step and you risk paint fisheyes and peeling later.
Then, address the surface texture. Lightly sand to remove gloss and smooth rough spots. Focus on flat areas and edges, where shine hides and paint adhesion fails first.
- Degrease, rinse, and dry completely before sanding.
- Sand only enough to dull glossy areas.
- Wipe with a tack cloth to remove dust after sanding.

Selecting the right materials
Choosing materials is where most DIY projects either last years or start failing fast. For a durable finish, use primer and paint designed for cabinets. For the primer, pick a type that blocks stain and seals wood. Look for a “primer for stained wood” or “stain-blocking primer” on the label.
When you plan how to paint over stained kitchen cabinets, primer matters even more than the top coat. A poor primer can let tannins bleed into your new white paint. That can cause yellowing, spotting, or uneven coverage.
For paint type, cabinet-grade options usually include latex or oil-based systems. Latex can be easier to clean and often has lower odor. Oil-based paints can build a very tough film, but they need more care during cleanup and drying. If you want how to paint stained kitchen cabinets white, choose a white paint formulated for trim or cabinets, not generic wall paint.
You will also want the right tools. Use a quality angled brush for corners and a foam roller or cabinet roller for flat panels. Good materials help you avoid brush marks and roller texture.
| Material | What to buy | Why it matters |
|---|---|---|
| Primer | Stain-blocking bonding primer for wood | Helps prevent bleed-through |
| Top coat | Cabinet paint in your chosen finish | Improves durability in kitchens |
| Sandpaper | 120-150 grit and 220 grit | Builds adhesion without gouging |
| Tools | Angled brush + foam roller/mini roller | Reduces visible marks |

Step-by-step painting process
With cabinet preparation done, you can start the actual process. Work in a clean, dust-controlled space. Plan for good ventilation, and keep room temperature steady. Cooler rooms can slow drying and increase the chance of fingerprints in the finish.
Step one is to prep the surfaces. Lightly sand to dull gloss, then wipe dust away. If you see residue after wiping, clean again. Dry, clean wood accepts primer best.
Step two is priming. Apply a thin, even primer coat, especially on stained areas and edges. Don’t try to “thicken” coverage. Thin coats dry more evenly and reduce drips. Let primer dry for the time listed on the can.
Step three is sanding between coats. Use 220 grit lightly to smooth rough spots after the primer cures. You want a smooth surface, not bare wood. Wipe dust again before painting.
Step four is applying paint. Use multiple thin coats instead of one heavy coat. Heavy coats trap solvents and can create sagging or a bumpy surface. For best results, paint one side of a door at a time, then the other after it dries to touch.
Step five is drying time between coats. Let coats dry fully before applying the next layer. If paint is still soft, you can drag the surface and create smudges. Follow the recoat window on the label for timing accuracy.
- Clean and degrease the cabinet frames, doors, and drawer fronts.
- Sand lightly to dull gloss and smooth rough areas.
- Prime all sides that will be painted, including edges.
- Sand lightly again after primer cures.
- Paint thin coats with a brush for detail and a roller for flats.
- Dry fully between coats, then check for thin spots.

Finishing touches for a professional appearance
Professional results come from how you handle details. After your final coat has dried, inspect doors and drawer fronts in bright light. Look for missed edges, thin coverage near corners, and dust nibs. If you spot dust, lightly sand the area once the finish is fully cured, then spot-prime and repaint.
If you are aiming for improving kitchen aesthetics with a clean white finish, pay attention to panel edges and the face frames. These areas show brush marks quickly. Use light pressure and keep a wet edge while working. Stop drips early by brushing them out while paint is fresh.
Upgrading cabinet hardware is a great finishing step. New knobs and pulls make the new paint feel intentional. When installing hardware, avoid scraping paint. Use a careful approach so screws enter straight and don’t chip the surface.
Finally, allow the finish to cure. Dry to the touch is not the same as fully cured. If you rehang doors too early, you can leave imprints where hardware contacts the wood.
- Inspect under bright light after final coat.
- Fix dust nibs with light sanding and spot repainting.
- Upgrade hardware last to avoid paint chips.
- Cure time matters for scratch resistance.
Maintaining your painted cabinets
Maintenance keeps your cabinet paint looking fresh. Use gentle cleaners and avoid harsh solvents. A mild dish soap solution is usually safe, but test it on a hidden spot first. Wipe spills quickly, especially near the sink and stove.
Be realistic about wear. Cabinet doors see constant friction from cleaning and daily use. Use soft cloths and avoid abrasive pads that can dull the finish. If your cabinets are in high-traffic areas, plan for touch-ups once or twice a year.
If you ever need repair, keep paint left from your final batch. Small scratches can be touched up with a fine brush. Match the sheen to reduce visibility. For bigger damage, sand the area, prime, and repaint with thin coats for best blending.
With proper cabinet preparation and good drying, a painted finish can last for years. The biggest long-term enemy is moisture and oils. Keep cleaning habits consistent and protect the surface after deep cleaning sessions.
Frequently asked questions
- Can you paint over stained kitchen cabinets without stripping them?
- Often yes, if the surface is solid and you prep correctly. Clean thoroughly, sand to remove gloss, then use a stain-blocking primer to stop bleed-through.
- How do you paint stained kitchen cabinets white without yellowing?
- Seal the stain with a high-quality bonding primer for stained wood. Apply multiple thin coats and let each coat dry fully before the next.
- What sanding grit should you use before priming stained cabinets?
- Use 120 to 150 grit to dull the finish and smooth rough spots. After primer cures, use about 220 grit for a smooth top coat.
- What paint types work best for cabinet refinishing?
- Look for paint made for cabinets or trim. Latex and oil-based options can both work, but choose a durable finish meant for kitchen surfaces.
- How long should you wait between coats when painting cabinets?
- Follow the recoat window on your primer and paint labels. If you paint too soon, the surface can smudge and you may need extra sanding.
Related reading
How to Say “Dining Room” in Spanish and When to Use It
“El comedor” means dining room in Spanish. Learn usage, related terms, and memory tips.
How to Divide a Room Into Two Bedrooms: Practical Methods
Split one room into two bedrooms with walls, curtains, or furniture—plus light and rental tips.

How to Decorate a Room With Slanted Ceilings for More Space
Color, lighting, smart furniture, and storage ideas for slanted ceilings.