How to Makeover Kitchen Cabinets on a Budget (DIY Tips)
Learn how to makeover kitchen cabinets step by step. Get painting tips, refacing vs replacement, budget upgrades, and long-lasting maintenance advice.
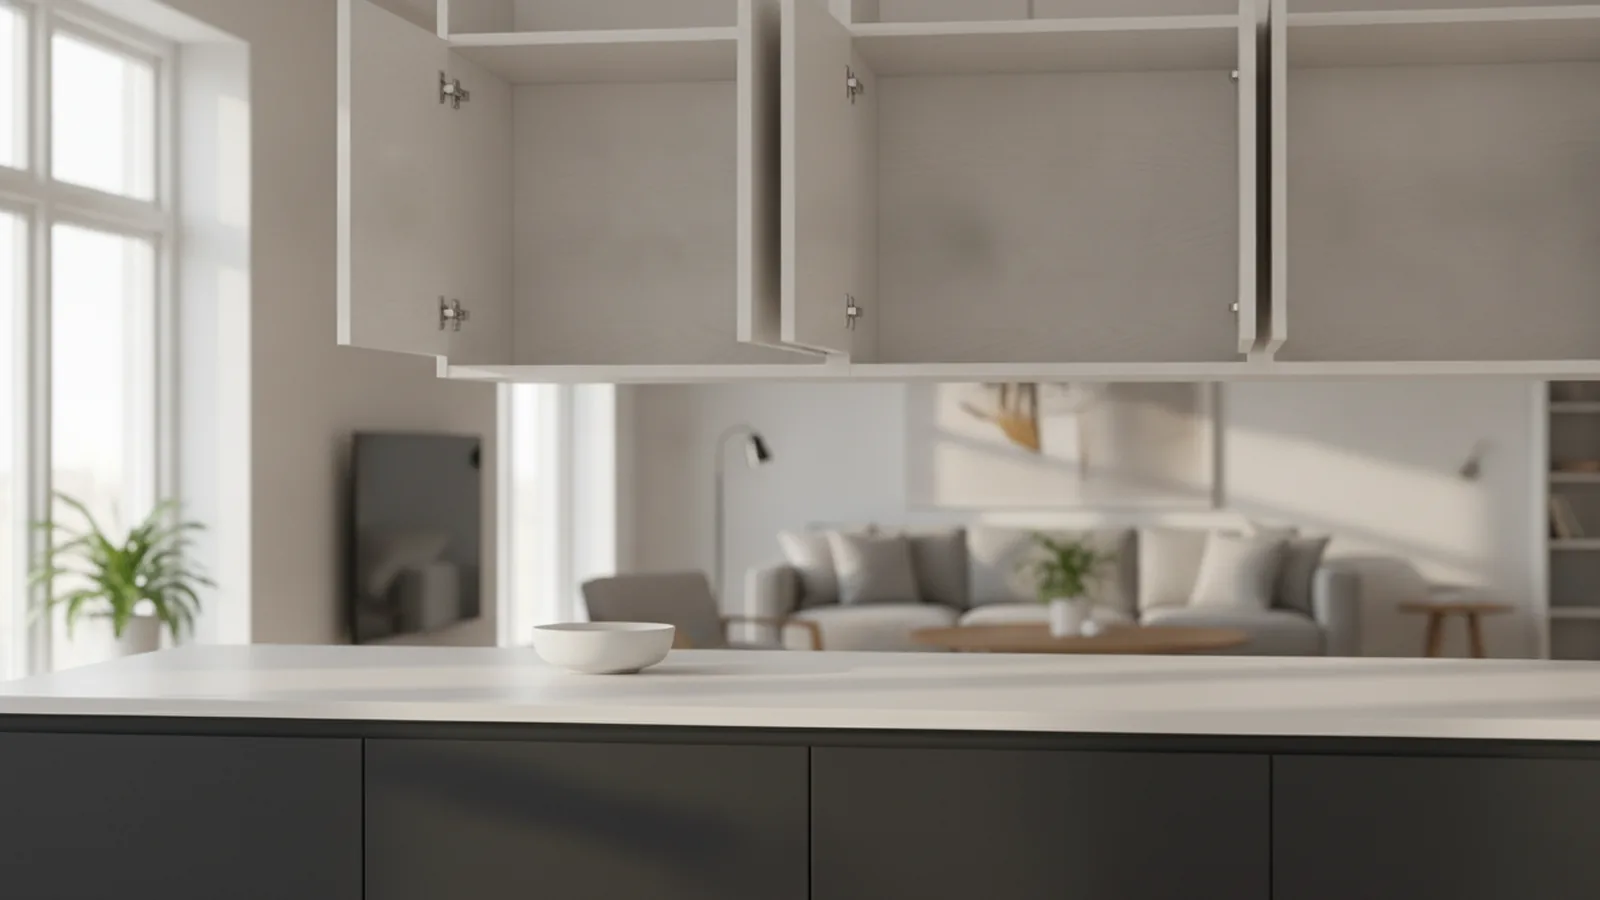
Understanding Kitchen Cabinet Makeovers
If you want a fresh, stylish kitchen without a full remodel, start with cabinet updates. The fastest path is usually cabinet painting or refinishing wood cabinets. Either approach can deliver a clean, modern look when the prep work is solid.
Before you buy paint, identify what you have. Cabinets come in wood types, plywood, particleboard, MDF, and laminates. Each material responds differently to sanding, bonding primers, and topcoats, so the “best” method depends on your cabinet surfaces.
Here is a practical material reality check. Veneered wood often sands well and takes stain or paint nicely. Solid hardwood also works great, but it needs careful filling and sealing. MDF is paint-friendly, while particleboard and laminates need the right primer to avoid peeling. If your cabinets have a glossy finish, treat them as laminate until proven otherwise.
- Solid wood: Good for paint and stain; expect some grain filling for a smooth finish.
- Veneer and plywood: Usually great for paint; watch edges and seams for delamination.
- MDF: Ideal for smooth paint jobs; seal cut edges before painting.
- Particleboard: Can paint well with strong primer; avoid soaking during cleaning.
- Thermofoil or laminate: Needs deglossing and a high-bond primer; chipping risk if prepped poorly.

Preparing for Your Cabinet Makeover
Preparation is where DIY kitchen cabinet transformation projects are won or lost. Rushing sanding or skipping degreasing leads to peeling, especially around handles and hinges. Plan for downtime, too, because primer and paint cure over days, not hours.
Start by removing doors and hardware. Label each door by location, like “Upper Left Pantry” or “Lower Right Sink.” Bag screws and hinges so reassembly stays simple and fast.
Then clean aggressively. Use a degreaser made for kitchens, and scrub corners and rails where cooking oils hide. After degreasing, rinse with clean water, then let everything dry fully. Any oily film can break the bond of primer and topcoat.
Next, scuff the surface. For painted or varnished cabinets, sand to dull the shine, not to strip everything. For glossy thermofoil, use sandpaper to create a mechanical “key” for primer. Fill dents and screw holes with wood filler, then sand again until edges feel smooth.
Finally, control dust. Vacuum sanding dust, wipe with a tack cloth, and keep the workspace dry. If you paint in high humidity, you may see tackiness or rough texture even with good paint.
- Remove doors and hardware. Label parts to speed up reassembly.
- Degrease thoroughly. Focus on rails, corners, and near handles.
- Dry completely. Even a damp wipe can ruin primer adhesion.
- Sand to dull and smooth. Fill dents, then sand flush.
- Wipe dust off. Tack cloth helps before priming.

Painting Techniques for Cabinets
When people ask how to makeover kitchen cabinets, they usually mean “how do I get a smooth finish.” The answer is choosing the right application method and keeping a steady, light coat schedule. Cabinet painting also rewards thin coats more than heavy ones.
Spray application often gives the smoothest look on flat doors and drawer fronts. However, it needs proper setup: good ventilation, a spray area with minimal dust, and practice on scrap wood. If you spray, keep a consistent distance and overlap passes slightly for even coverage.
Brush and roller methods can work well, too. A good angled brush helps with rails and corners. For large flat panels, a foam roller can reduce brush marks. The key is to “tip off” with the brush lightly before the coat starts to tack.
Here’s a simple comparison to guide your choice. Spray tends to be faster per piece once you dial in technique. Brushes are slower but simpler to set up, especially for small projects. Either way, avoid painting in direct sun or cold drafts. Temperature swings can cause orange peel or uneven drying.
| Method | Best for | Common risk | Tip that fixes it |
|---|---|---|---|
| Spray | Flat doors, drawers, detailed frames | Dust nibs, overspray mess | Use a clean, controlled area and let coats flash |
| Brush + foam roller | Small batches, budget home improvement plans | Brush marks, uneven texture | Use thin coats and “lightly tip” the surface |
Also think about systems, not just paint. Choose a primer made for your substrate, like bonding primer for slick surfaces. Use a cabinet topcoat designed for wear, then allow full cure before heavy use. Even the best kitchen design trends won’t last if the coating isn’t tough enough for daily kitchens.

Refacing vs Replacing Cabinets
Refacing kitchen cabinets is a middle option between paint-only DIY and full replacement. Instead of repainting the entire box, you keep the existing cabinet frame and update the visible parts. Typically that means new doors, drawer fronts, and a new veneer wrap for the face of the cabinet box.
Refacing works best when boxes are solid and aligned. If boxes are sagging, warped by moisture, or you have failing hardware tracks, replacement may be the better long-term value. If your cabinet style is dated but the structure is sound, refacing can deliver a quick kitchen refresh.
Here is a clear decision rule. If doors are the main issue, refacing is often worth it. If surfaces are peeling or the box is out of level, you will fight the problem after install. If you want major layout changes, like moving sink or adding built-ins, a replacement is usually more practical.
- Choose refacing if cabinet boxes are solid and storage layout still works.
- Choose replacement if frames are warped, damaged, or you need major layout changes.
- Choose paint/refinish when you want a custom DIY look and the surfaces are stable.
For sustainable materials for cabinets, ask about veneer and composite cores during refacing quotes. Even if you DIY the finish, you will still want stable substrates for longevity. This is where refinishing wood cabinets can shine, since you can repair and seal damaged wood before repainting.

Budget-Friendly Ideas for Cabinet Makeovers
You do not need a full budget to get a big visual change. Many DIY kitchen cabinet transformation projects rely on inexpensive design updates that read as “new” from across the room. The trick is picking changes that change shape, contrast, or light reflection.
Start with hardware. New pulls and knobs can refresh kitchen design in one weekend. Consider a finish contrast, like matte black hardware with warm wood-toned doors, or brushed nickel with crisp white cabinets. Also measure carefully, because most pulls are either centered or use standard hole patterns.
Then upgrade the details. Add interior organizers, under-shelf lighting, or simple shelf liners to make the kitchen feel newer. Even a small amount of lighting can make painted cabinet finishes look deeper and cleaner.
You can also use color blocking. Paint upper cabinets one color and lower cabinets another, or keep the lowers a warmer tone for balance. For a more subtle approach, stain wood cabinets and paint the frames for a layered look. This is a great fit for updating kitchen cabinets without repainting every surface.
- Swap hardware for an instant style change.
- Add lighting under shelves or inside glass panels.
- Install organizers in drawers and base cabinets.
- Use two-tone styling for visual depth.
- Update decor accents like trays and cabinet liners.
Finally, work with the paint you already plan to use. If you choose a high-quality cabinet paint, you can spend less on add-ons. If you want extra upgrades, consider a simpler two-coat color scheme and save time on prep.
Finishing Touches and Hardware
Finishing is where the finish stops looking like a project and starts looking built-in. Pay attention to drying and cure time before reassembly. Reinstalling too early can leave dents or fingerprints in fresh topcoats.
After painting, reinstall hinges and handles with care. Tighten screws to the manufacturer’s feel, not to “as tight as possible.” If holes strip, fix them with toothpicks and glue, then let cure fully before re-drilling.
Consider adding door bumpers or soft-close hardware if your cabinets rattle. In many kitchens, the sound change matters as much as the look. Also test drawer slides before you finish the interior, because alignment issues show up fast once everything is painted.
Quality supplies can cut rework. Use new foam roller covers, clean brushes, and proper masking tape for crisp edges. If you spray, use fresh filters and clean the gun right away to keep fan patterns even next time.
If you want resources for DIY cabinet makeover projects, gather a small kit before you start. The goal is fewer trips to the store and fewer interruptions while coats cure.
- Safety and prep: gloves, eye protection, degreaser, tack cloth
- Surface prep: sandpaper (multiple grits), sanding block, filler
- Coating system: bonding primer, cabinet topcoat, optional stain blocker
- Application: foam rollers and quality angled brush, or spray kit setup
- Tools for build-back: labeled bags for screws, drill bits, level or straightedge
Maintaining Your Newly Madeover Cabinets
Cabinets take abuse: cooking splashes, hand oils, and daily cleaning. Maintenance is how you keep the finish looking smooth instead of dull. If you treat the topcoat gently for the first month, it often lasts longer.
Clean with non-abrasive methods. Use a soft cloth with mild soap and water, then dry immediately. Avoid harsh degreasers unless the product is safe for painted surfaces, because strong solvents can dull or soften coatings over time.
Protect the finish during high-traffic seasons. Use mats or trays near the sink and stove. Also wipe spills right away, especially sauces and acidic cleaners. Even a “quick wipe” can leave spots if the surface is still curing or if cleaner reacts with the coating.
Finally, watch humidity. Kitchens with big temperature swings can cause wood movement. If doors start to rub, adjust hinges, not the coating. Small mechanical tweaks are far safer than trying to touch up paint too often.
FAQ: Common Questions About Updating Kitchen Cabinets
How to makeover kitchen cabinets if they are already painted?
Clean and sand to dull the shine, then use a bonding primer before repainting. Fill chips and dents, then apply thin coats. Let each coat dry fully, then reassemble only after curing.
Can I make a DIY kitchen cabinet transformation work on laminate or thermofoil?
Yes, but you must degrease well and scuff thoroughly. Use a high-bond primer made for slick surfaces. Expect more careful topcoat handling since chips can start from edges.
What is refacing kitchen cabinets, and when should I choose it?
Refacing updates the visible parts while keeping the cabinet frame. Choose it when boxes are solid and you like the current layout. If the frames are warped or out of level, replacement is often more reliable.
Should I spray or brush cabinet paint?
Spray often gives the smoothest finish on flat doors. Brush and foam roller methods are simpler for small jobs. Use thin coats with either method to reduce drips and texture.
What are the best kitchen cabinet makeover tips for a budget?
Swap hardware, add shelf liners, and consider two-tone styling. Keep prep focused and choose durable cabinet paint. Interior organizers also make the space feel “new” without repainting everything.
How do I keep the finish looking good after my cabinet makeover?
Clean gently with mild soap and water, then dry right away. Avoid abrasive pads and harsh solvents. Wipe spills quickly and keep humidity stable.
Frequently asked questions
- How to makeover kitchen cabinets on a budget?
- Start with thorough degreasing, then repaint or refinish. Add new hardware and liners for quick visual upgrades.
- What are the best kitchen cabinet makeover tips for prep?
- Label doors, clean for grease, and sand to dull shine. Fill dents, wipe dust off, and prime before topcoat.
- What paint technique makes kitchen cabinet painting look smooth?
- Spraying can be very smooth on flat doors. Brushing and foam rolling can also work with thin coats and light “tipping off.”
- When should I consider refacing kitchen cabinets instead of replacing them?
- Reface when cabinet boxes are solid and level. Replace if the structure is warped, damaged, or you need major layout changes.
- How do I maintain my newly madeover cabinet finish?
- Clean with mild soap and water, then dry right away. Avoid abrasive pads and harsh solvents, and keep humidity steady.
Related reading
How to Say “Dining Room” in Spanish and When to Use It
“El comedor” means dining room in Spanish. Learn usage, related terms, and memory tips.
How to Divide a Room Into Two Bedrooms: Practical Methods
Split one room into two bedrooms with walls, curtains, or furniture—plus light and rental tips.
How to Decorate a Room With Slanted Ceilings for More Space
Color, lighting, smart furniture, and storage ideas for slanted ceilings.