How to Paint Kitchen Cupboard Doors for a Smooth Finish
Paint kitchen cupboard doors with less mess and a smooth, tough finish
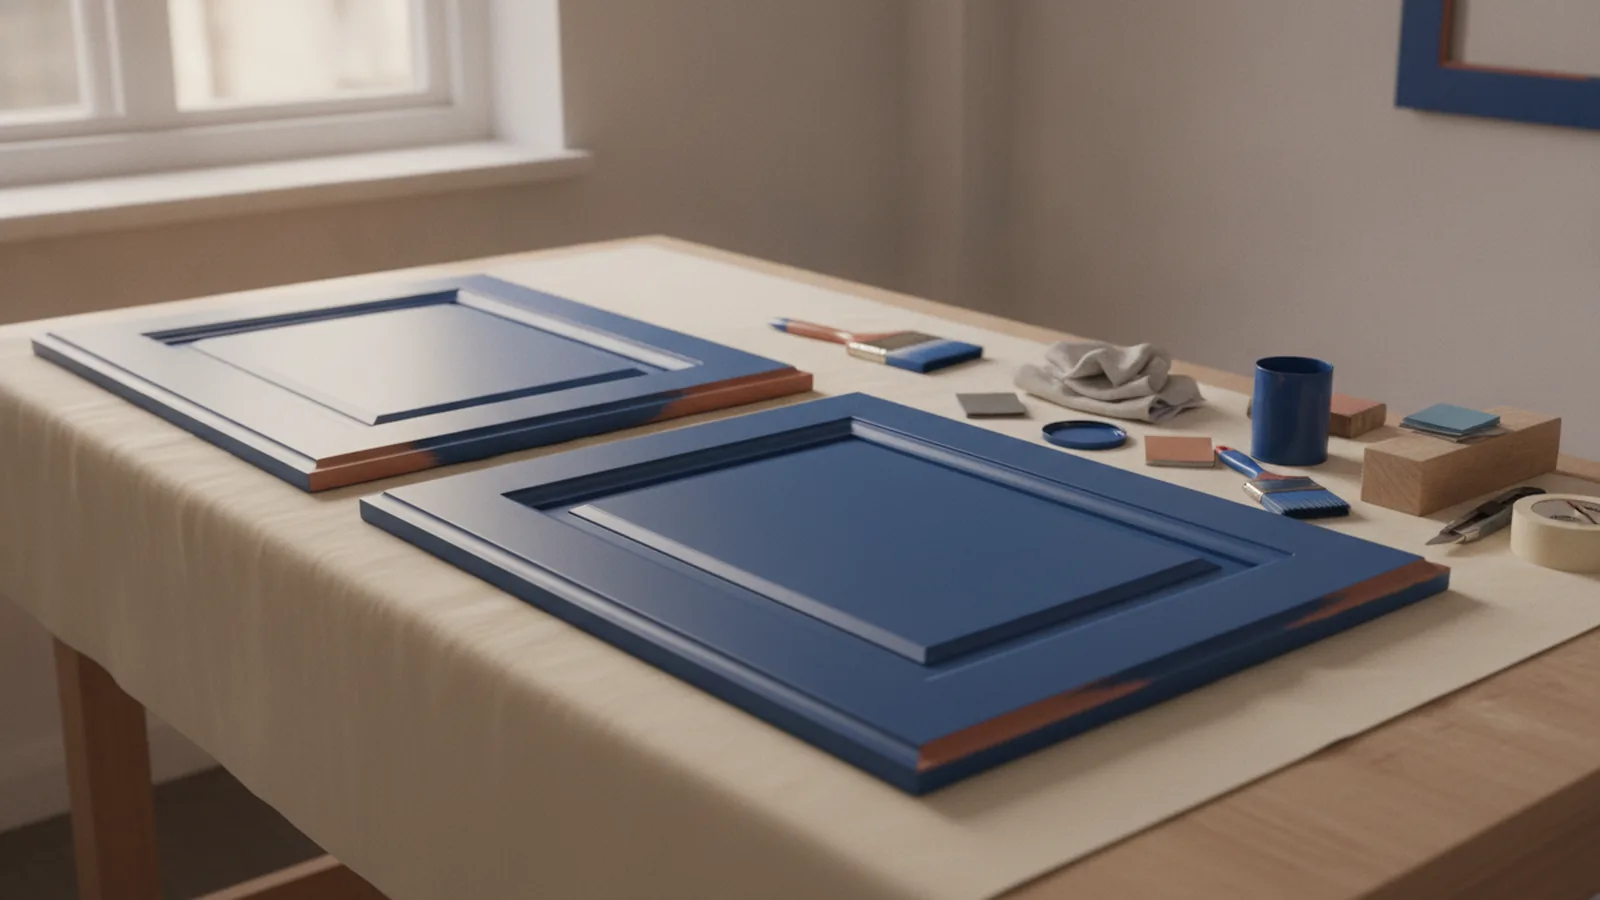
Can You Paint Kitchen Cupboard Doors?
Yes, you can paint kitchen cupboard doors. Good prep matters more than the brand of paint. Clean each door, sand it, prime it, then add thin paint coats.
This method works on wood, MDF, and many laminate doors. Laminate needs extra care because its smooth skin gives paint little grip. Check for loose edges before you start.
Remove the doors and hardware first. Painting them flat gives a smoother finish than painting them in place. Label each door and hinge so everything returns to its right spot.
Materials Needed for a Lasting Finish
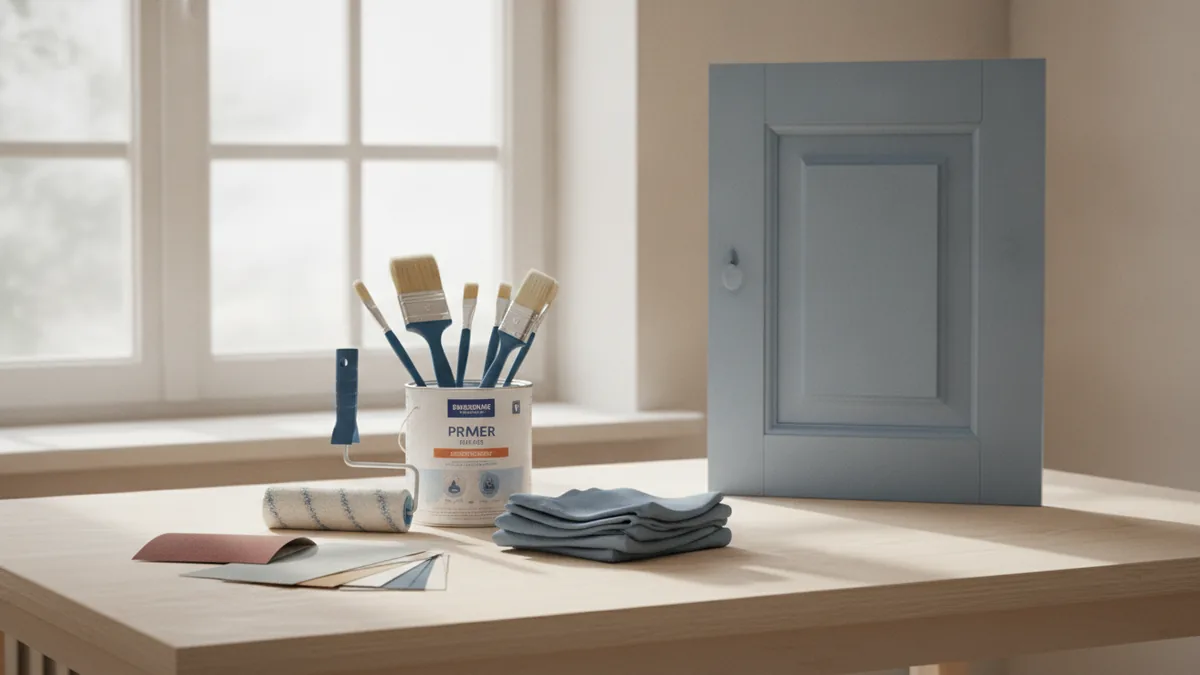
Gather all your tools before you begin. A steady work area helps you keep dust away from wet paint. Use a table or two trestles in a dry, well-aired room.
Choose paint made for doors, trim, or cabinets. These paints form a harder film than basic wall paint. Satin and semi-gloss finishes are popular because they resist marks and wipe clean.
Water-based cabinet paint dries fast and gives off less smell. Oil-based paint can form a tough finish, but it dries slowly. Follow the maker's guide for your chosen product.
- Degreasing cleaner and clean water
- Lint-free cloths and a dust mask
- Fine sandpaper, such as 180 and 220 grit
- High-quality bonding primer
- Cabinet paint in your chosen finish
- Small angled brush for edges and detail
- Short-nap roller for flat panels
- Painter's tape, drop cloths, and labels
How to Paint Kitchen Cupboard Doors Step by Step
1. Remove, label, and clean the doors
Take off every door, drawer front, handle, and hinge. Mark each door with a small piece of tape. Keep screws and hinges in separate bags.
Kitchen doors often hold grease near the handles and cooker. Wash them with a degreasing cleaner, then rinse with clean water. Let them dry fully before sanding.
2. Repair and sand the surface
Fill dents and old screw holes with a suitable wood filler. Let the filler dry, then sand it level. Wipe away all dust with a clean, damp cloth.
Sand painted wood lightly with 180-grit paper. Use gentle pressure on laminate. You only need to dull the shine, not cut through the surface.
3. Apply bonding primer
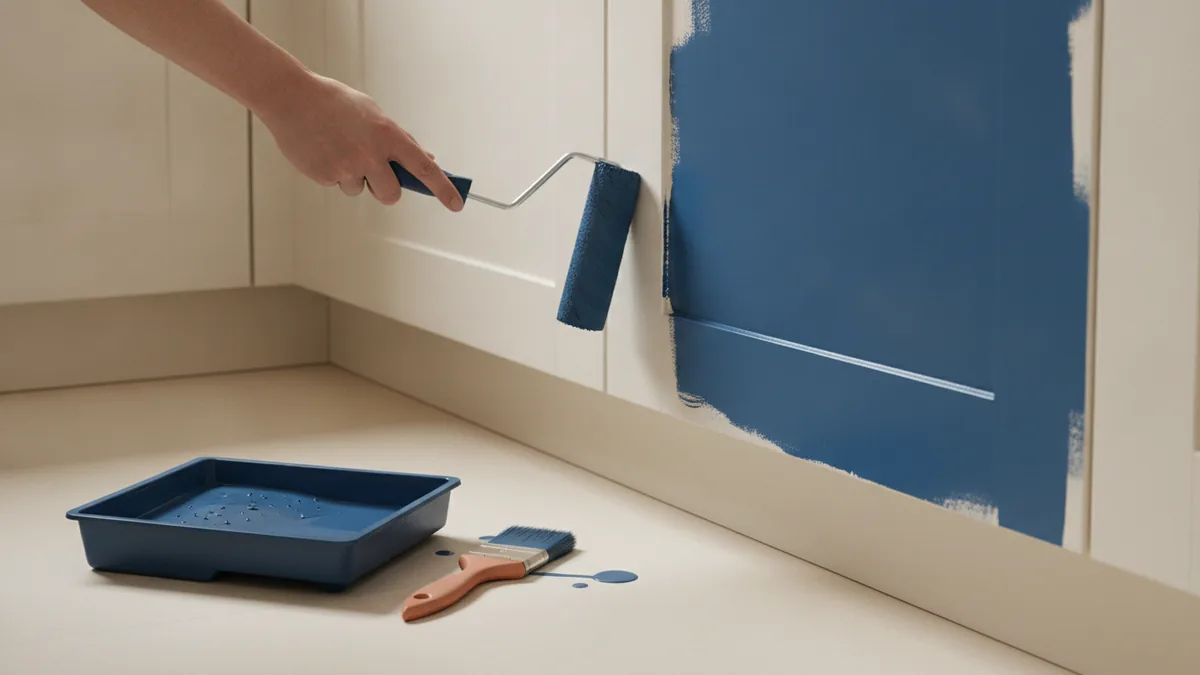
Brush primer onto edges and tight corners first. Then roll the flat areas with a thin, even coat. A high-quality primer helps paint stick to slick or sealed surfaces.
Let the primer dry for the time shown on its tin. Lightly sand the primed surface with 220-grit paper. This removes small bumps and gives the next coat a smooth key.
4. Add the paint coats
Stir the paint slowly to avoid air bubbles. Brush the edges, then roll the broad faces. Keep each coat thin to prevent runs and heavy brush marks.
Let the first coat dry before adding the second. Many cabinet paints need four to eight hours between coats. Some need longer in a cool or damp room.
5. Cure, refit, and check
Leave the final coat to cure before fitting the doors back. Dry paint may still feel soft beneath the surface. Wait at least two to seven days when the paint maker advises it.
Refit the hardware with care. Avoid slamming doors for the first week. Test one door first if you are unsure about the paint's strength.
Common Mistakes That Ruin Cabinet Paint
Most poor results come from rushed prep. Paint can look smooth at first, then peel around handles or door edges. The fix often means stripping the door and starting again.
- Skipping degreasing leaves a slick film beneath the primer.
- Painting damp doors can trap moisture under the finish.
- Using wall paint may leave a soft, easy-to-mark surface.
- Heavy coats create drips, ridges, and slow drying.
- Skipping the second sanding can leave rough primer dust.
- Refitting doors too soon can mark fresh paint.
Do not sand laminate too hard. Deep scratches can show through the finish. Stop when the gloss has gone and the surface feels even.
Do not paint in a cold garage without checking the tin. Low heat slows drying and can cause a dull finish. High humidity can also extend paint drying times.
Tips for the Best Results
Paint when the room sits between 10 and 25°C, unless the tin says otherwise. Aim for low to mid humidity. Open a window, but avoid strong drafts that carry dust.
Use a small roller on flat doors and a brush on profiles. Roll in one direction, then lightly smooth the coat. Do not keep working paint after it starts to tack up.
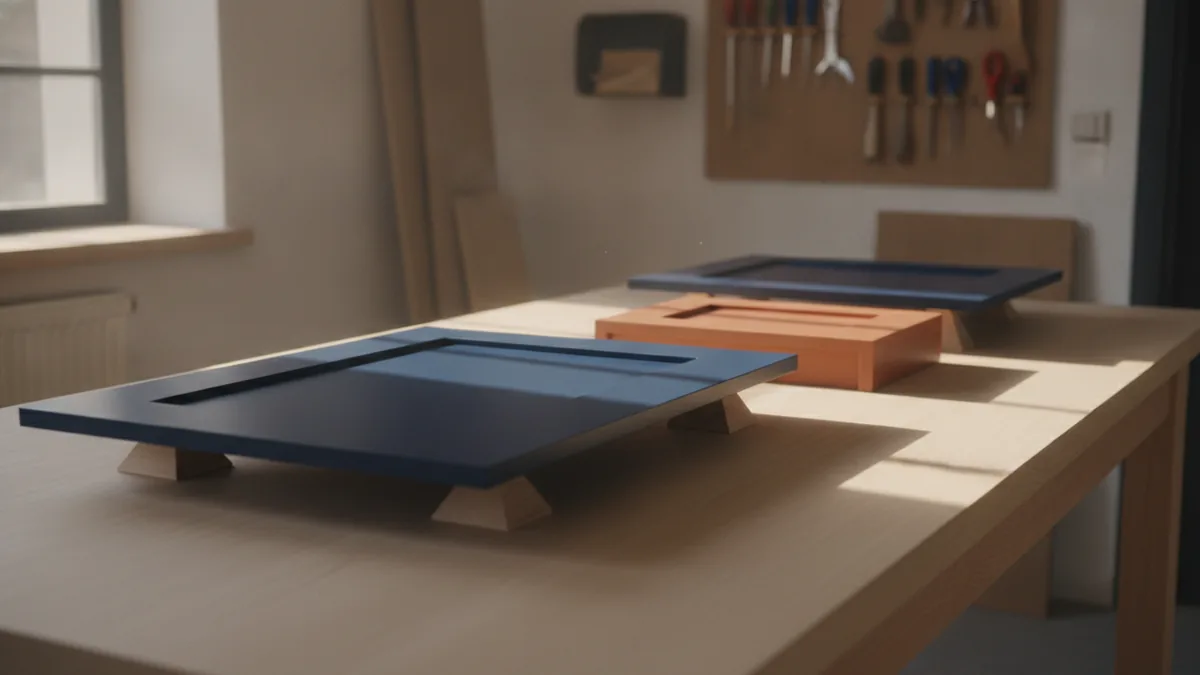
Raise each door on small blocks or painter's pyramids. This keeps the edges clear and makes turning the door easier. Paint the back first if both sides need colour.
Keep a wet edge as you work across each panel. Check the surface from several angles before it dries. Small flaws are easier to fix between coats.
| Door surface | Best prep | Useful paint choice |
|---|---|---|
| Painted wood | Clean, fill, and sand lightly | Durable cabinet or trim paint |
| Raw MDF | Seal edges and prime well | Water-based cabinet paint |
| Laminate | Degrease and dull the shine | Bonding primer with cabinet paint |
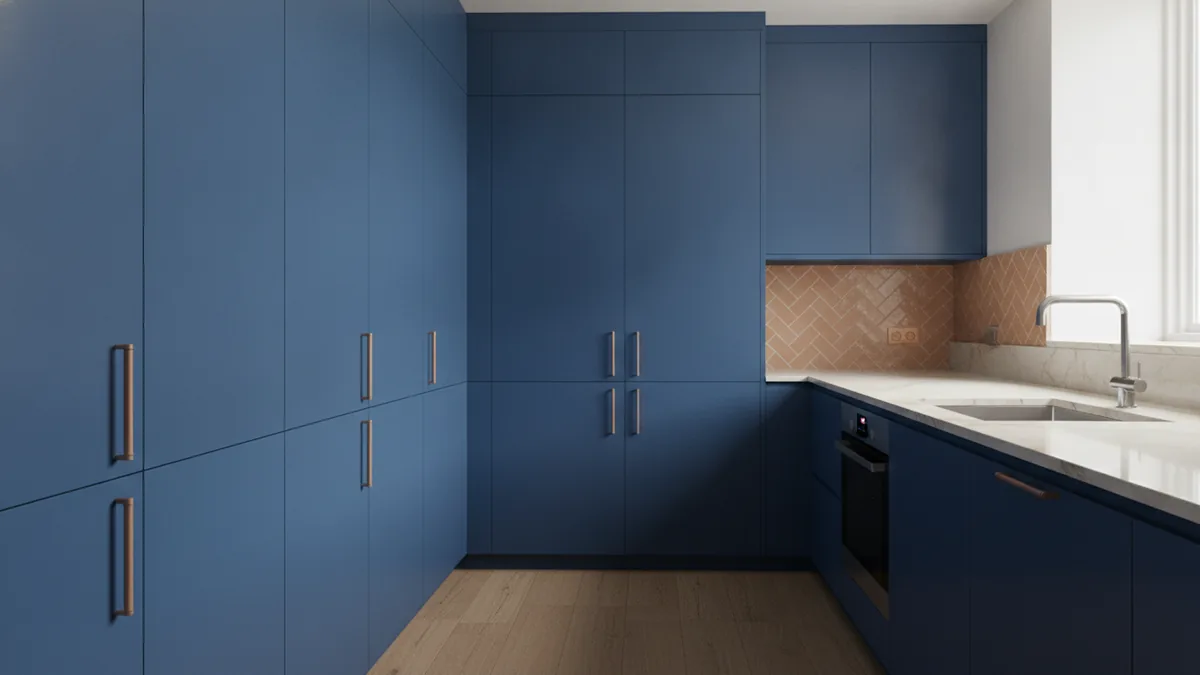
Can You Paint Laminate Kitchen Cupboard Doors?
Yes, you can paint laminate kitchen cupboard doors. The finish lasts best when the laminate is sound and firmly attached. Replace doors with swollen cores or peeling sheets.
Clean the surface twice if it feels greasy. Sand it lightly with fine paper, then remove every trace of dust. Apply a bonding primer made for smooth surfaces.
Test your full paint system on one hidden door. Check adhesion after it dries. If the coating lifts with light tape, improve the prep before painting the rest.
Laminate doors need gentle daily care after painting. Use a soft cloth and mild soap. Avoid harsh pads, strong cleaners, and standing water near the edges.
Frequently Asked Questions
Can I paint kitchen cupboard doors without removing them?
You can, but removal gives better control. It also lets you paint edges and avoid drips on the cabinets.
How many coats of paint do cupboard doors need?
Most doors need one primer coat and two thin paint coats. Dark colours or bold changes may need an extra coat.
How long should cupboard doors dry before fitting?
Follow the paint tin for dry and cure times. Many doors need two to seven days before normal use.
What is the best paint finish for kitchen doors?
Satin gives a soft sheen and hides small flaws. Semi-gloss gives more shine and makes wiping easy.
How do I decorate kitchen cupboard doors on a budget?
Paint is the simplest change. New handles, a careful colour plan, or slim trim can add more detail.
How can I keep painted doors looking good?
Wipe spills soon with a soft, damp cloth. Do not use rough pads or strong solvents on the finish.
Step-by-step
- 01 Remove and label each door
Take off the doors, drawer fronts, handles, and hinges. Label every part so refitting stays simple.
- 02 Clean and dry the surfaces
Use a degreasing cleaner, rinse with clean water, and let each door dry fully.
- 03 Fill and sand the doors
Repair dents, then sand wood with 180-grit paper. Dull laminate gently without cutting through it.
- 04 Prime the cupboard doors
Apply a high-quality bonding primer in a thin coat. Let it dry, then sand lightly with 220-grit paper.
- 05 Apply two paint coats
Brush edges and roll flat areas. Let each coat dry for the time shown on the paint tin.
- 06 Let the finish cure
Wait until the final coat has cured before refitting the doors. Avoid hard use during the first week.
Frequently asked questions
- Can I paint kitchen cupboard doors?
- Yes. Clean the doors, sand them lightly, use bonding primer, and apply thin paint coats.
- How many coats of paint do kitchen cupboard doors need?
- Most doors need one primer coat and two thin paint coats. Dark colours may need one more coat.
- Can you paint laminate kitchen cupboard doors?
- Yes, if the laminate is sound. Degrease it, dull the shine, and use a bonding primer first.
- How long should painted cupboard doors cure?
- Wait for the full cure time on the paint tin. Many painted doors need two to seven days before hard use.
- What paint finish is best for kitchen cupboard doors?
- Satin is a strong all-round choice. Semi-gloss gives more shine and makes cleaning easier.
Related reading
Couch Placement — Comfort, Flow, and Style
Arrange couches for easy movement, good conversation, and a balanced room.
Small Kitchen Design — Light, Space and Smart Storage
Use light, smart storage, and slim furnishings to make a small kitchen feel more open.
Living Room Paint — Measurements and Buying Tips
Measure your walls, count coats, and buy the right amount of living room paint.