The Right Order to Paint a Room for a Clean Finish
Paint from ceiling to walls to trim with this clear room painting guide.
Preparation Before Painting
In what order do you paint a room? Start with a plan. Then prepare the space, paint the ceiling, paint the walls, and finish with the trim.
This is the order in which to paint a room. It keeps drips away from finished areas. It also gives each surface a clean edge.
Choose your color scheme before you buy paint. Test two or three sample colors on the wall. View each sample in morning, noon, and evening light.
Think about paint finish too. Flat paint hides small flaws. Satin paint stands up better to cleaning. Semi-gloss paint suits trim and damp areas.
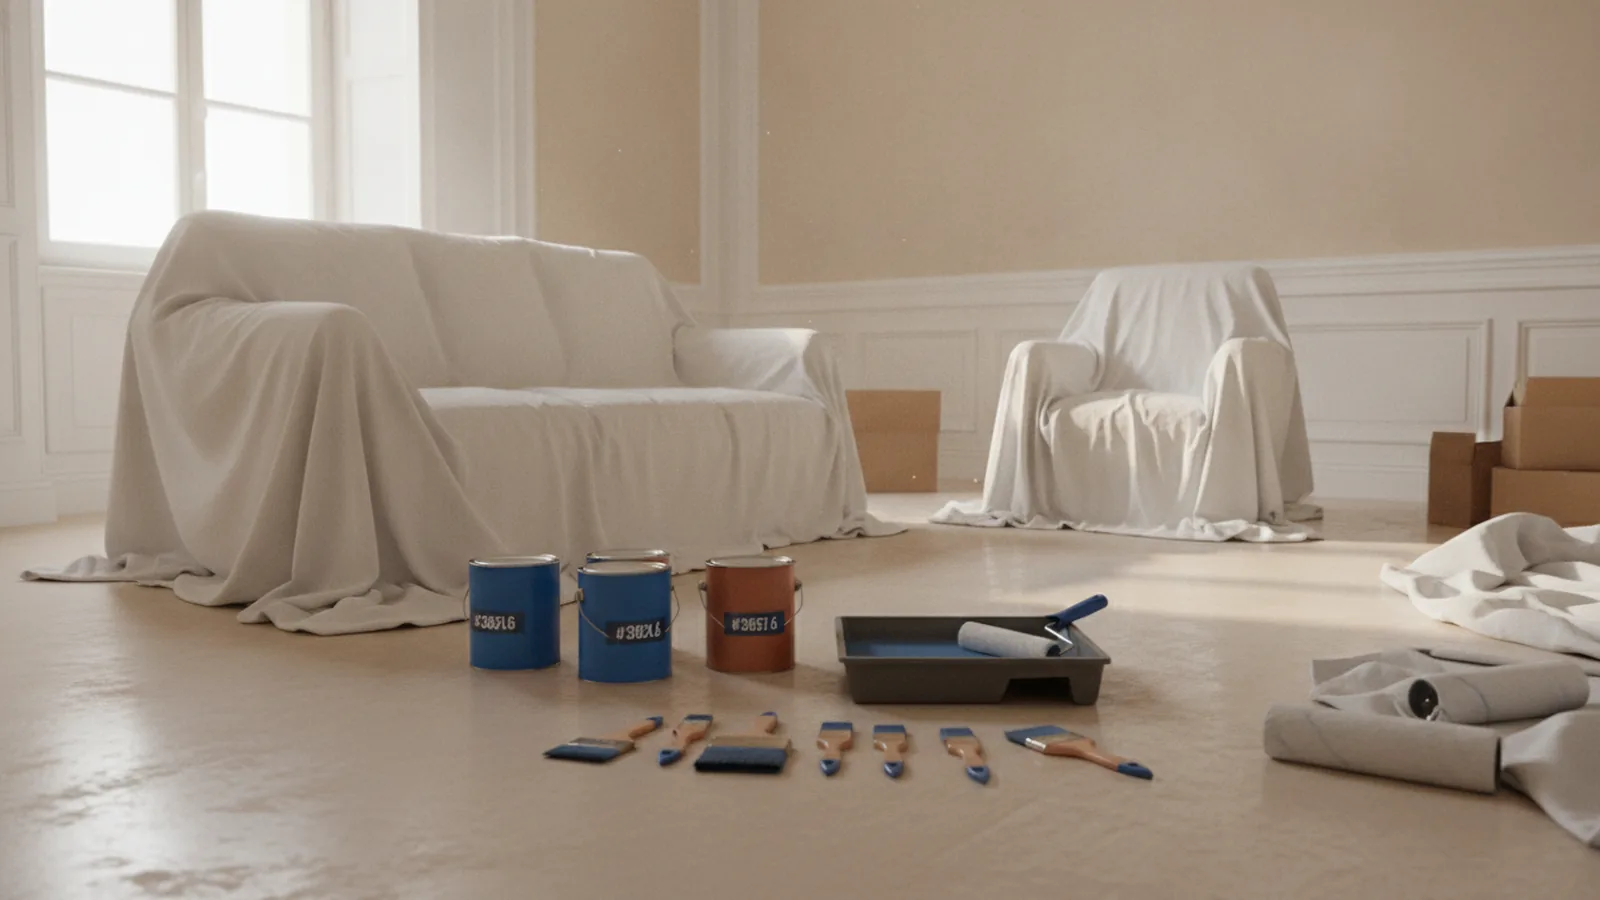
Move small furniture out of the room. Move large pieces to the center. Cover them with drop cloths. Cover the whole floor with canvas or thick plastic.
Remove wall plates, vents, curtain hardware, and other loose items. Cover anything that cannot move. Good prep helps paint stick and look smooth.
- Clean walls with mild soap and water.
- Fill nail holes and small cracks.
- Sand filled spots until they feel smooth.
- Prime bare drywall, stains, and bold color changes.
- Use painter's tape where you need sharp edges.
- Open windows when safe for better air flow.
Let cleaned walls dry before you sand or prime them. Do not rush this stage. Paint shows every dip, smear, and loose patch.
Essential Painting Supplies
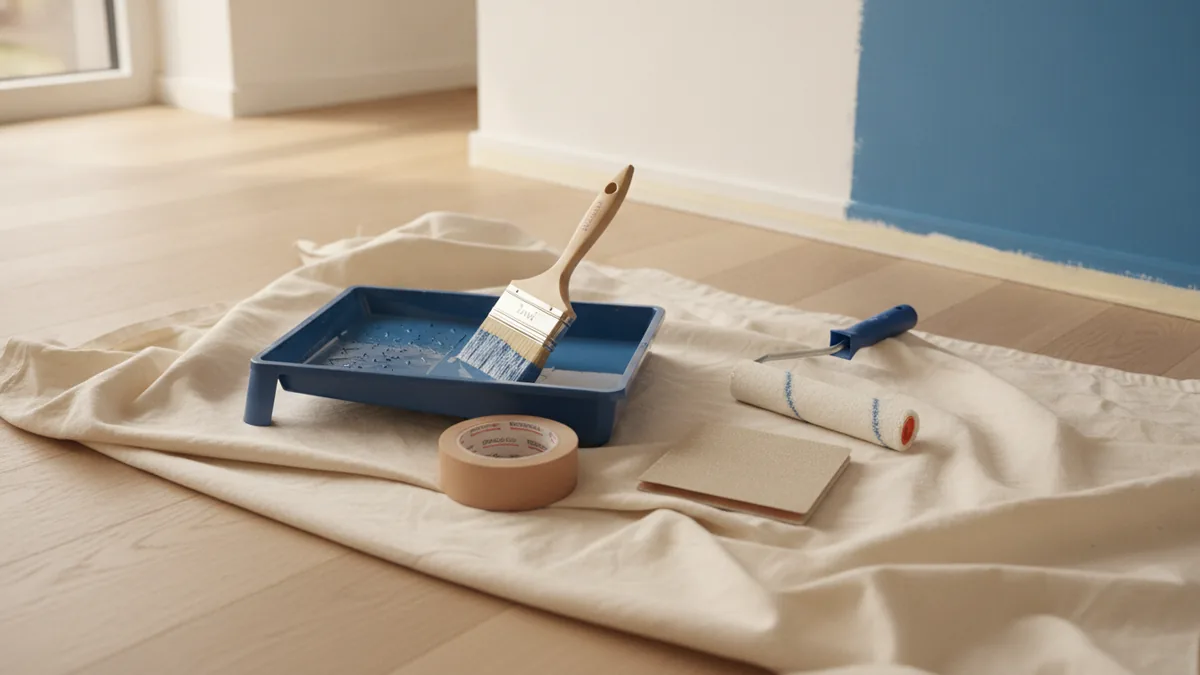
Gather every tool before you open a paint can. A sturdy ladder helps you reach high spots. Use a two-inch angled brush for corners and trim.
Choose a roller that fits the wall surface. A smooth wall often needs a short nap. A textured wall needs a longer nap.
| Supply | Main use |
|---|---|
| Canvas drop cloth | Protects floors from spills |
| Angled brush | Cuts in corners and edges |
| Roller and tray | Covers broad wall areas |
| Painter's tape | Guards clean edges |
| Sanding block | Smooths filled holes |
| Extension pole | Helps reach high walls |
Keep paper towels, a damp cloth, and a trash bag close by. Wipe fresh spills at once. Wear eye protection when sanding.
Use a stable ladder. Never stand on its top step. Keep paint cans closed when they are not in use.
Step 1: Paint the Ceiling
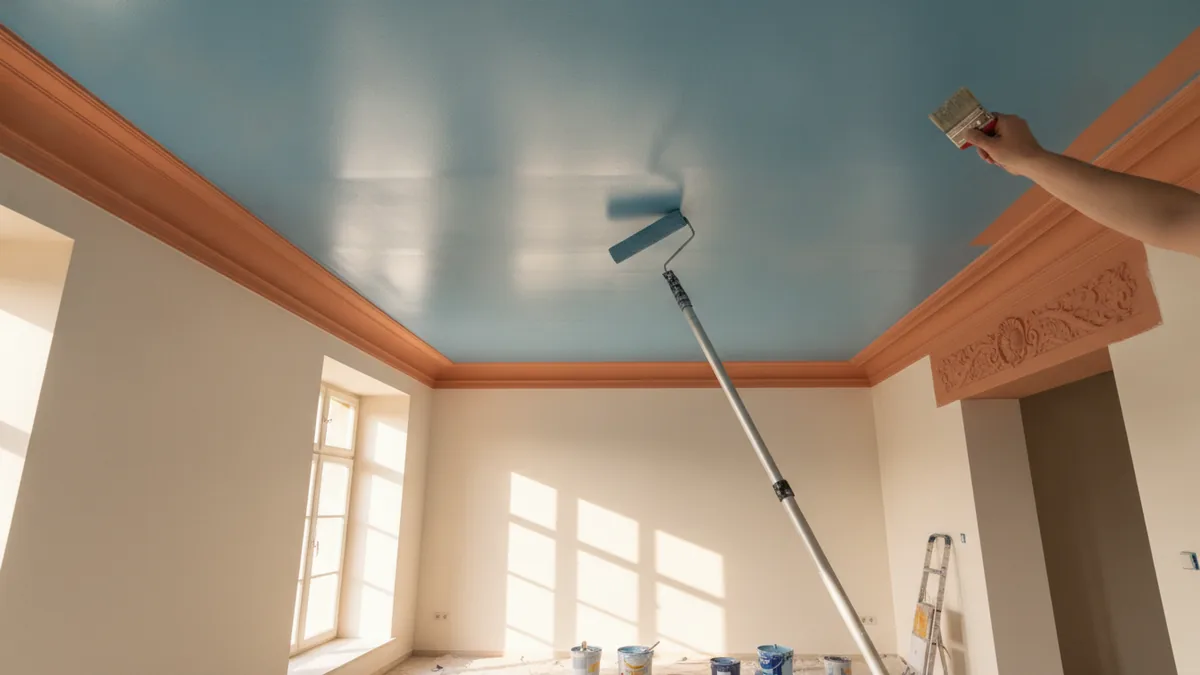
The ceiling comes first in the best order to paint a room. Paint may fall during this step. Walls painted later will cover small drips.
Cut in around the ceiling edge with an angled brush. Work in sections of about three feet. Keep a wet edge as you roll.
Roll the paint in one direction across the ceiling. Then smooth each section with light passes. Avoid hard pressure on the roller.
Too much pressure can cause uneven coverage. It can also cause splatter. Let the first coat dry for the time shown on the can.
Apply a second coat if the surface looks thin or patchy. Drying time can change with heat, damp air, and air flow. Follow the can label.
Step 2: Paint the Walls
Once the ceiling is dry, move to the walls. This answers the common question, “What order should you paint a room?” Start at the top and work down.
Any new drips will land on areas you have not finished. Cut in along the ceiling, corners, windows, and doors. Work on one wall at a time.
Roll paint in a large W shape. Fill the gaps with light, even strokes. Keep each section small enough to stay wet.
Blend each new section into the last one. Do not roll over paint that has started to set. This can leave shiny marks and rough bands.
Let the first coat dry fully before adding the next one. Most wall paints need two coats for an even color. Dark shades may need more.
- Load the roller evenly, but do not soak it.
- Keep the roller moving at a steady pace.
- Use a brush for narrow gaps and tight corners.
- Remove tape while the last coat feels slightly soft.
- Check the wall from several angles before you stop.

Step 3: Paint the Trim and Baseboards
Paint trim, moldings, and baseboards last. This protects finished walls from stray brush marks. It also covers small drips near the floor.
Clean the trim before you paint it. Fill dents and sand rough spots. Prime bare wood or areas with a different sheen.
Use a narrow angled brush for a smooth line. Paint door frames, window trim, and baseboards in a steady order.
Start with upper trim, then work toward the floor. Keep the brush lightly loaded. Thick paint can sag and leave runs.
Remove tape with care after the final coat. Let the trim dry before you move furniture back. Fresh paint can mark with light contact.
Common Painting Techniques
Cutting in means painting the edges with a brush. Do this before you roll each wall. Keep the line narrow and steady.
Rolling works best with light pressure. Use long strokes from top to bottom. Keep the roller full, but do not let paint drip.
Maintain a wet edge as you work. This helps each section blend into the next. It also lowers the risk of lap marks.
Painter's tape can help new painters. Press the tape edge down firmly. Remove it before the paint becomes fully hard.
- Brush corners before rolling broad areas.
- Use a fresh roller for a new color.
- Sand raised bits after the coat dries.
- Stir paint well before and during use.
- Keep leftover paint sealed for later touch-ups.
Final Tips and Considerations
If you wonder what is the correct order to paint a room, use this simple rule. Go from high surfaces to low surfaces. Finish with the finest details.
That rule also answers what order do you paint the interior of a house? Paint ceilings first, then walls, then trim in each space.
The best order may change for a full house project. Still, the same high-to-low plan works well. Complete one room before starting the next when possible.
Read the paint label before each coat. The label gives the needed wait time. A dry surface may still need more time before washing.
Let paint cure before you place furniture against a wall. Use care with dark colors and glossy finishes. They can show marks more easily.
So, what is the best order to paint a room? Prepare first, paint the ceiling, paint the walls, and finish with the trim. If you ask what order should i paint a room, follow that same sequence.
The short version is clear. When asking what order to paint room, start high and end low. This method saves touch-ups and keeps edges clean.
Step-by-step
- 01 Plan the color and gather supplies
Choose paint colors and finishes. Gather brushes, rollers, drop cloths, tape, and safety gear.
- 02 Prepare the room
Move furniture, cover floors, clean walls, fill holes, sand rough spots, and prime as needed.
- 03 Paint the ceiling
Cut in the edges first. Roll the ceiling in even sections and let the coat dry.
- 04 Paint the walls
Cut in around edges, then roll from top to bottom. Add another coat after the first coat dries.
- 05 Paint the trim
Clean and repair trim. Paint moldings, door frames, window trim, and baseboards last.
Frequently asked questions
- What is the correct order to paint a room?
- Prepare the room first. Then paint the ceiling, walls, and trim in that order.
- What order should I paint a room?
- Paint the ceiling first, then the walls, and finish with trim and baseboards.
- Why do you paint the ceiling before the walls?
- The ceiling should come first because drips may fall onto the walls.
- What order do you paint the interior of a house?
- Yes. The same high-to-low order works for most interior house painting jobs.
- How long should paint dry between coats?
- Let each coat dry for the time listed on the paint can before adding another coat.
Related reading

How Long Does It Take to Paint a Room?
Plan your painting day with clear time estimates for every room.

Console Tables — Placement, Styling and Smart Storage
Choose the right spot, size, and styling for a console table that works.
Small Kitchen Costs — Prices, Choices and Budget Tips
Compare small kitchen prices, key cost drivers, and ways to keep a remodel on budget.