How Easy Is It to Paint Kitchen Cabinets? A Clear Cabinet Paint Plan
Cabinet painting is doable for DIYers with solid prep and drying time.
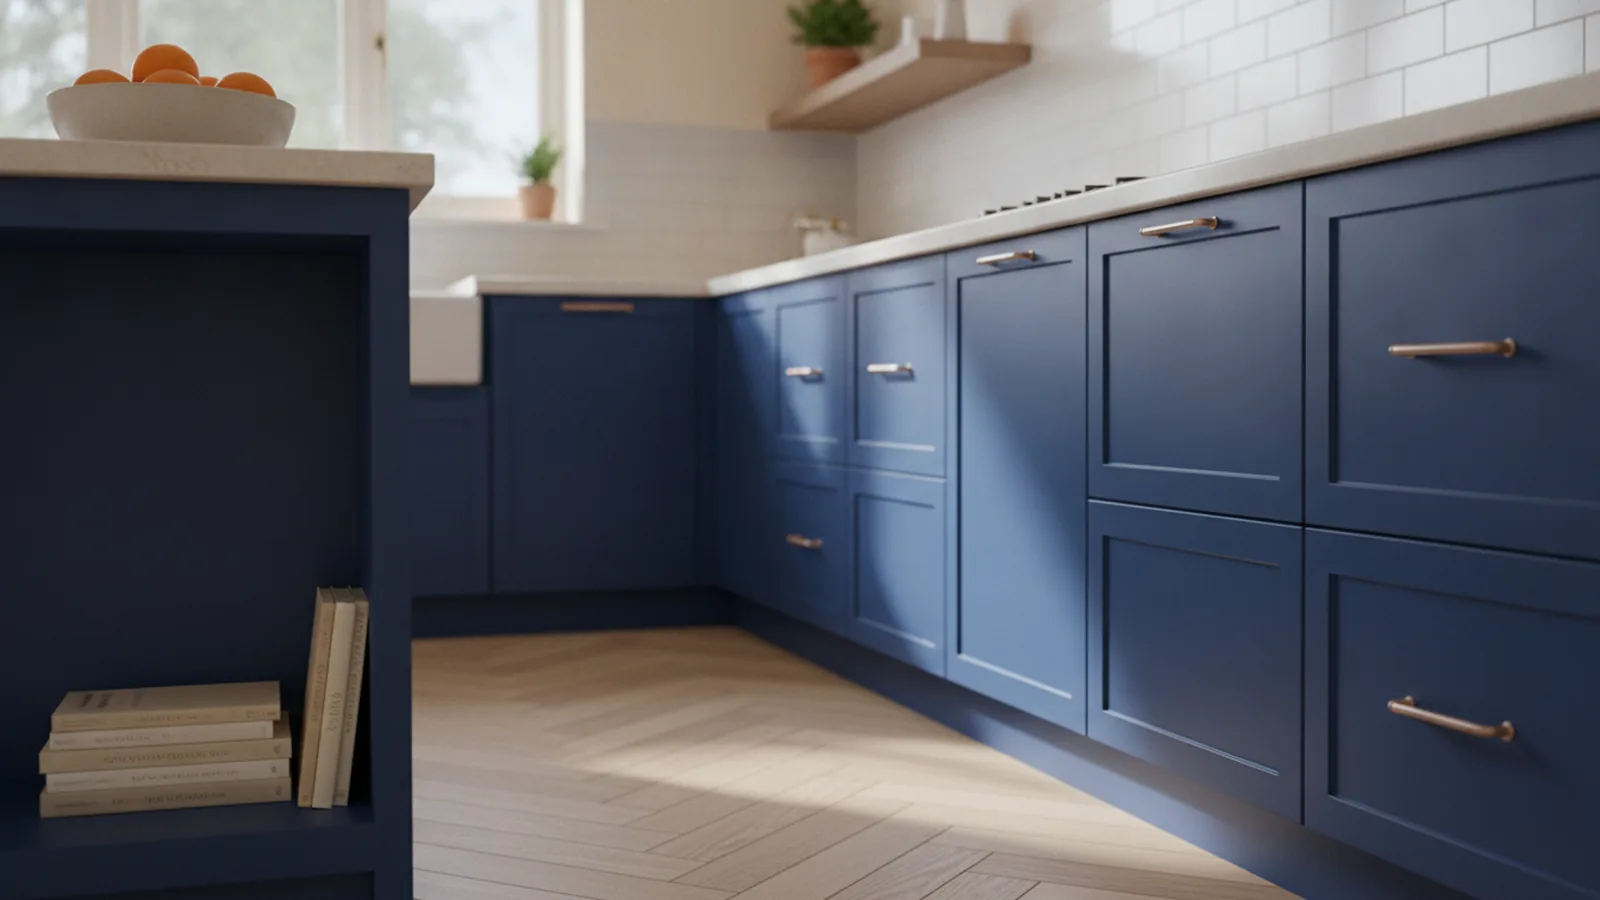
How easy is it to paint kitchen cabinets? It’s a manageable DIY project if you plan for time, prep well, and follow a careful cabinets painting process. Most homeowners find it easier than painting an entire room because you can focus on smaller surfaces. Still, cabinet doors and drawers demand patience, since bad prep shows up fast and rushed drying leads to peeling or smudges.
Painting kitchen cabinets is a cost-effective way to revitalize your kitchen. With the right cabinet paint types, good paint application tools, and enough drying time between coats, you can get a finish that lasts for years. Below is what the work usually looks like, plus the exact steps to paint kitchen cabinets without guesswork.
Understanding the basics of painting cabinets
At a practical level, cabinet painting is mostly three jobs: surface prep, priming, and controlled paint application. If any one job is skipped, you’ll feel it later through bumps, brush marks, or failure at edges. The work is not hard in a technical sense, but it is detail-heavy.
Many people ask if it’s like painting a room. It’s not. You’ll paint door faces, rails, stiles, drawer fronts, and boxes, then work around hinges, knobs, and hardware spots. Because cabinets get heavy use, the finish needs to withstand abrasion and daily cleaning.
Think of it like a DIY kitchen remodel, but with paint. The payoff is usually big: updated color selection for cabinets can make the room feel new. The effort is mostly in sanding, degreasing, and keeping each coat smooth.
- Difficulty level: Moderate DIY.
- Main challenge: Prep quality and drying time for paint.
- Time reality: Expect several days, not one.
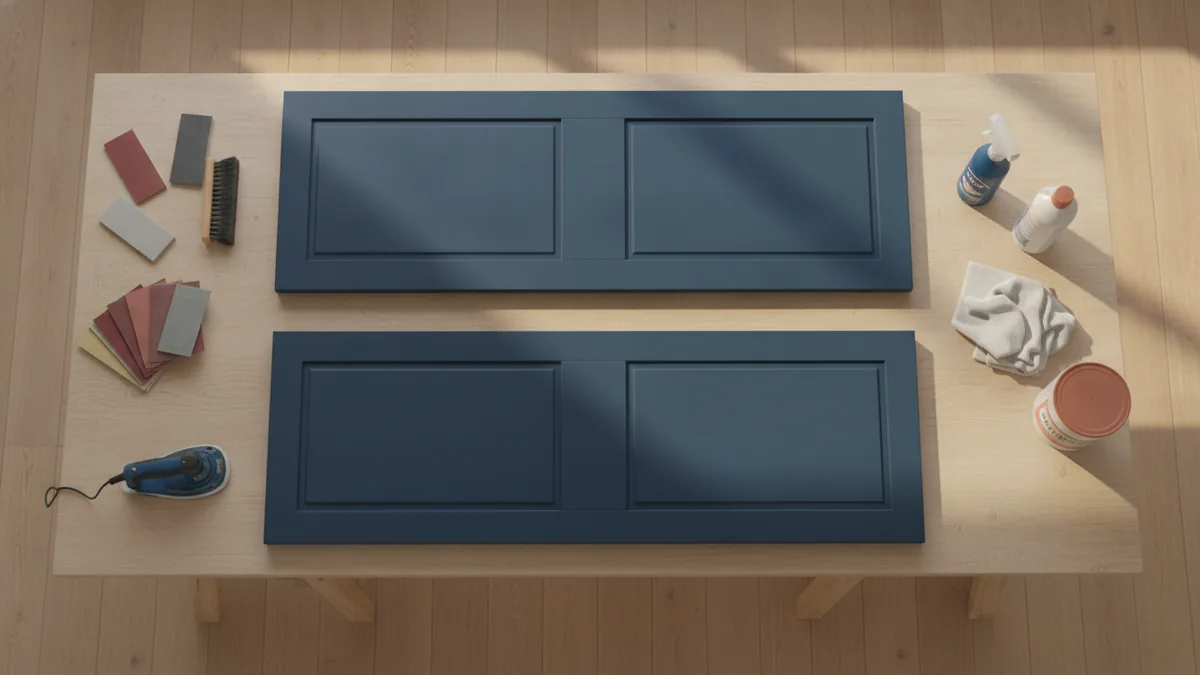
Tools and supplies needed
Before you start, gather supplies that match the cabinet surface and the finish you want. High-quality materials matter because cabinets are not forgiving. Cheap primer or thin paint can lead to poor hiding, weak bonding, or uneven sheen.
Plan on cleaning products for surface preparation. Kitchens collect grease from cooking, so degreasing is not optional. You’ll also need sandpaper or sanding tools to roughen the surface so the primer can grip.
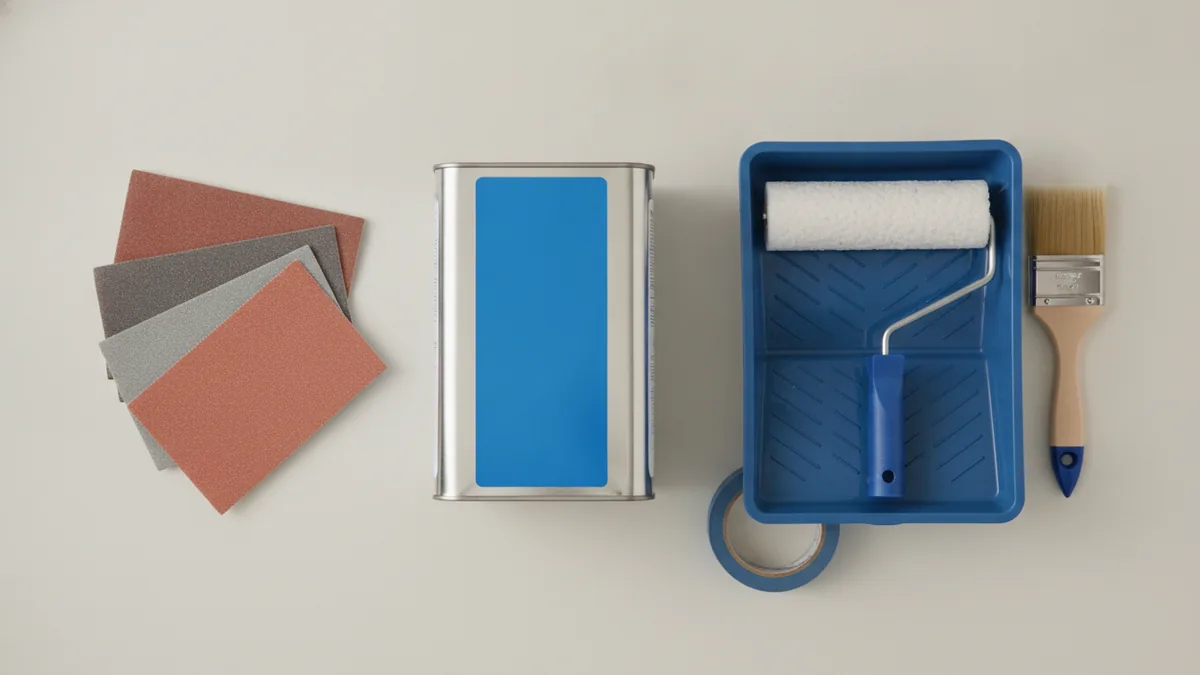
For paint application tools, you have choices. Brushes can work for smaller areas and detailed edges. Foam rollers often help for large flat panels. Sprayers can give a very smooth coat, but masking and setup take extra time.
| Category | What to buy | Why it matters |
|---|---|---|
| Cleaner | Degreaser and mild detergent | Removes kitchen oil for better adhesion |
| Prep | Sandpaper (multiple grits) or sanding block | Creates grip and smooths old finish |
| Primer | Bonding primer made for cabinets | Improves durability and paint hold |
| Paint | Cabinet paint or trim paint in your sheen | Hides well and resists scuffs |
| Application | Brush, foam roller, or sprayer | Controls texture and coverage |
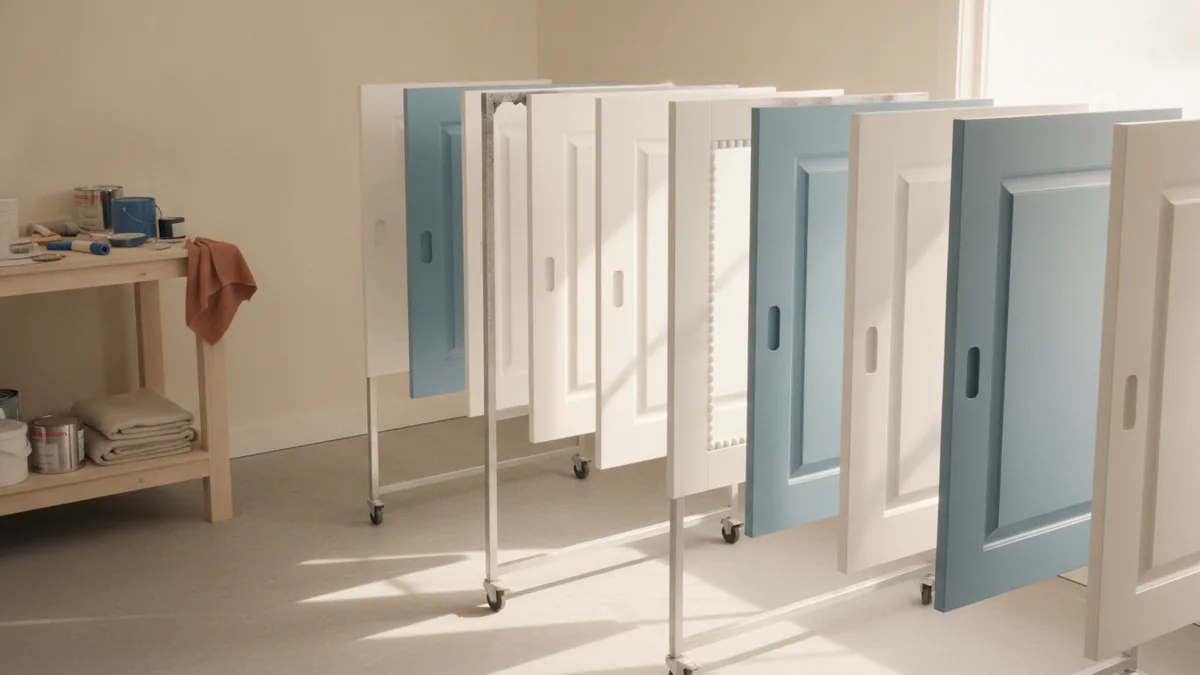
Also grab basics like painter’s tape, plastic sheeting, stir sticks, and lint-free cloths. Keep extra gloves and a small trash bag nearby for sanding dust. If you’re working in a busy home, set up a simple staging area so doors can dry undisturbed.
Step-by-step process to paint cabinets
These steps to paint kitchen cabinets assume you want a clean, durable finish, not just a quick coat. The cabinets painting process works best when you remove doors and drawers. That keeps you from painting over hardware spots and makes it easier to paint evenly.
Step order matters. Start with cleaning, move to sanding, prime surfaces, then paint. After that, you apply multiple thin coats and let each layer dry fully before the next one.
- Clear and protect the area. Remove items from counters and cover floors and nearby surfaces. If you can, improve airflow with fans while keeping dust down.
- Label and remove doors and drawers. Mark each piece so you reassemble without guessing. Keep screws and hardware in labeled bags.
- Clean thoroughly with a degreaser. Wash every surface, especially edges and grooves. Rinse if your cleaner requires it, then dry completely.
- Sand to prep and smooth. Scuff glossy finishes and flatten rough spots. Wipe away sanding dust with a damp cloth or tack cloth.
- Prime all surfaces that will be painted. Use primer intended for your cabinet material and finish. Apply thin, even coats and avoid heavy runs at edges.
- Sand lightly between coats if needed. If you see raised grain or bumps, lightly sand after primer cures. Wipe off dust before painting.
- Apply paint in thin coats. Use your chosen paint application tools for consistent coverage. Keep a steady pace so coats don’t start to tack up and drag.
- Allow full drying time for paint. Wait for cure, not just surface dry. Plan for multiple coats, and avoid touching until the finish can handle it.
- Reinstall carefully. Reattach doors and drawers once coats are fully cured. Replace hardware and clean up any small paint marks.
Drying time is often the hidden variable. In real homes, humidity, temperature, and coat thickness change results. As a rule of thumb, follow the manufacturer’s recoat window, then add a buffer if the finish feels soft or looks uneven under bright light.
If you want speed, it usually backfires. Thin coats help, but rushing between coats can trap solvents and cause peeling later. A steady schedule beats a late-night finish.
Common mistakes and solutions
Most cabinet problems come from two sources: weak surface prep and impatient timing. If cabinets painting process steps are skipped, the paint may peel at edges, show dents through, or develop a rough texture. Fixes exist, but prevention saves the most work.
One common mistake is painting over grease or dust. Even if the surface looks clean, oily films can block bonding. If your primer doesn’t adhere well, topcoat failure follows.
Another issue is rushing the drying time for paint. People often wait until the paint feels dry, then recoat. Many finishes need full cure so the next layer bonds without wrinkling or smudging.
- Problem: Peeling or flaking. Likely cause: Surfaces weren’t cleaned or sanded enough. Solution: Strip or sand back to solid adhesion, then prime again.
- Problem: Brush marks or roller texture. Likely cause: Wrong tool for the surface or heavy coats. Solution: Apply thinner coats and sand smooth between layers if needed.
- Problem: Sticky or tacky finish. Likely cause: Coats were applied too thick or recoated too soon. Solution: Let it cure longer, then assess before adding more paint.
- Problem: Uneven sheen. Likely cause: Inconsistent application or missed spots. Solution: Spot-sand after cure and repaint those areas with careful matching.
If you’re using cabinet paint types with different sheens, remember that sheen affects how defects show. Flat finishes hide minor flaws better, but they scuff more. Satin or semi-gloss often balances durability and easy cleaning, especially for doors and drawers.
Finally, color selection matters. Dark colors tend to show roller texture and uneven coverage more clearly. That doesn’t mean you should avoid them. It means you’ll likely need more thin coats for full hiding.
Maintenance tips after painting
After you finish painting, treat the new coating like a new finish, not like a ready-to-go surface. Many coatings become tough after full cure. Until then, avoid harsh cleaners, hot water, and anything that can scratch.
To keep cabinets looking fresh, use gentle cleaning. A soft cloth and mild soap usually work. For everyday spills, wipe quickly so residue does not sit on the surface.
Also protect high-wear areas. The inside edges near handles and the top of drawers take the most abuse. If you’re touching up, use matching paint and keep coats thin so the repaired area blends in.
- Clean with mild soap and a soft cloth, not abrasive pads.
- Avoid soaking cabinet doors and drawers.
- Wait for full cure before deep cleaning or heavy use.
- Use care with new hardware installation to avoid chips.
If you ever need to refresh the look, plan for spot repair and light sanding. You can often repaint a small area after scuffing and priming the exposed spot. For larger changes, repainting entire doors and drawers gives the most uniform cabinet finish.
So, is it easy to paint kitchen cabinets? It’s not effortless, but it’s doable. When you combine solid surface preparation, quality paint and primer, and patient drying time between coats, you trade stress for control.
Frequently asked questions
- Is it easy to paint kitchen cabinets for a first-timer?
- It’s moderately easy if you plan for prep and drying time. Expect multiple days, not a single afternoon.
- What are the steps to paint kitchen cabinets?
- Clean and degrease, sand, prime, then apply thin paint coats. Let each coat cure fully before recoating.
- How long should I wait between coats of cabinet paint?
- Follow the product recoat window, then add extra time if conditions are cool or humid. Dry to the touch is not the same as full cure.
- What is the biggest mistake in cabinet painting process?
- Skipping surface preparation is the most common failure point. Grease or glossy surfaces reduce primer bonding.
- Do I need to remove cabinet doors to paint them?
- Removing doors and drawers usually gives the smoothest result. It also makes painting edges and grooves easier.
- How do I maintain cabinets after painting?
- Clean with mild soap and a soft cloth. Avoid abrasive pads and heavy scrubbing until the finish has cured fully.
Related reading
Couch Placement—Flow, Focus and Comfort
Place your couch to frame a focal point, keep paths clear, and make the room feel balanced.

Master Bedroom — Color, Comfort and Personal Style
Build a calm, personal bedroom with smart choices and a budget that works.

Room Painting Labor Costs — Rates and Budget Factors
See typical room-painting labor rates and learn what drives the final price.