Can You Paint Ceramic Floor Tile in the Kitchen? (What Holds Up)
Yes. Learn prep, floor paint choice, application, and maintenance for painted ceramic tiles.
Painting ceramic tile in a kitchen: the quick answer
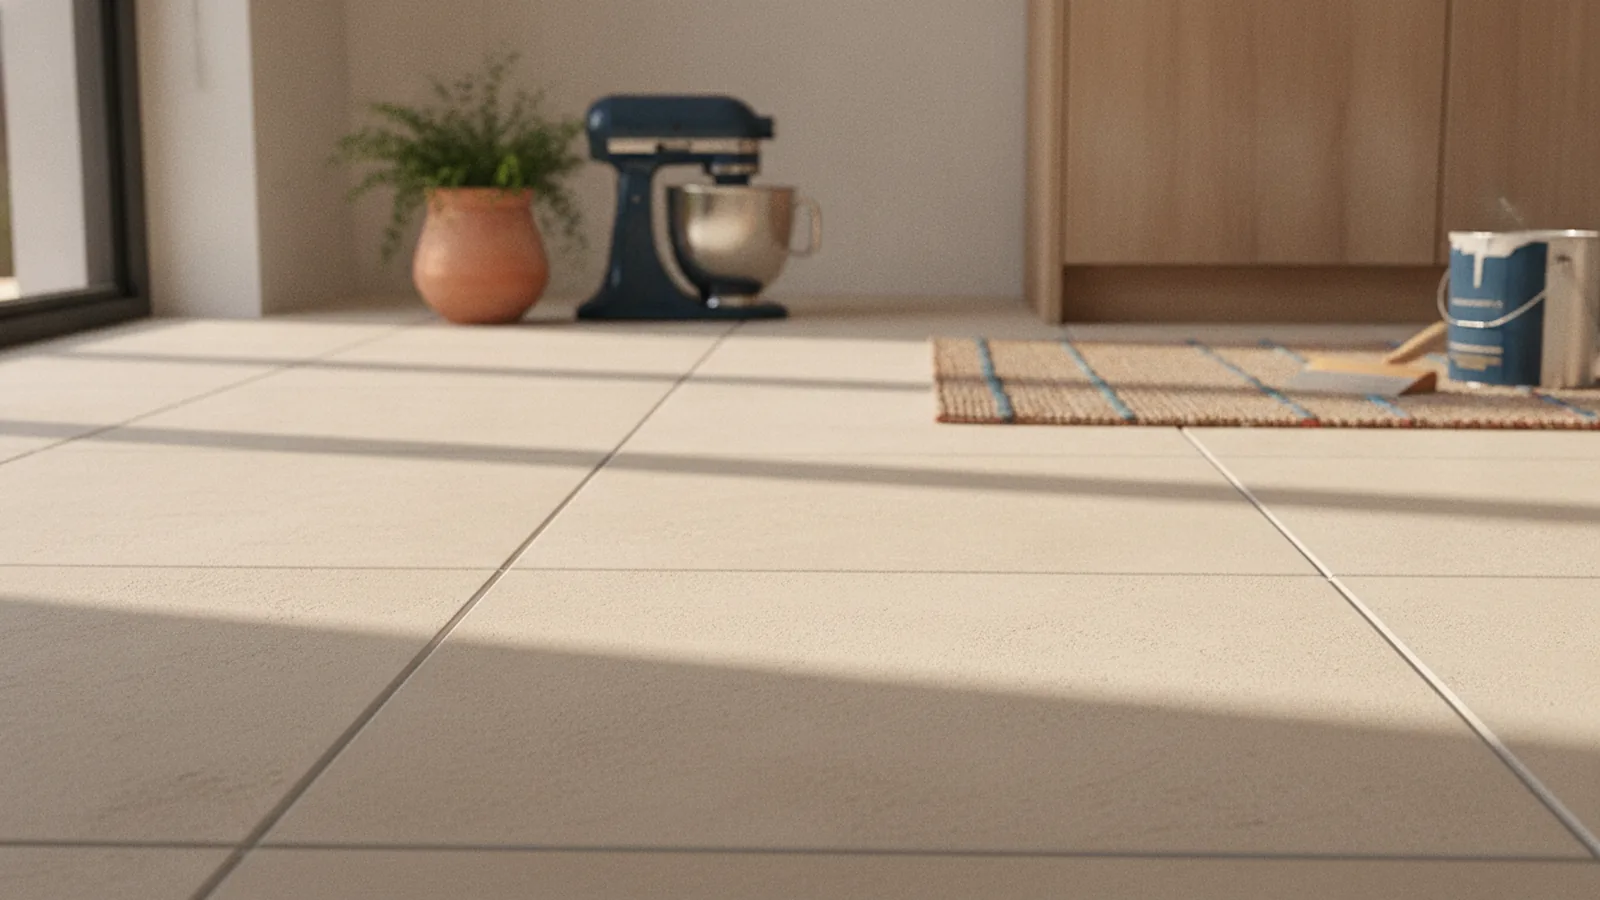
Yes, you can paint ceramic floor tile in the kitchen. It can be a cheaper alternative to replacing tile, as long as you prep well and use the right floor paint.
If you are wondering can you paint ceramic floor tile in kitchen or how to paint ceramic floor tile in kitchen, the core steps are the same. Clean the tile thoroughly, prep the surface for strong bonding, then apply a durable floor coating with the right drying time.
You can also apply the same approach in a bathroom. If your bathroom sees wet feet and mops, plan for extra care around drying and traffic patterns.
Is it possible to paint ceramic tile?
Ceramic tile is paintable, but it is not a “paint over and hope” project. Ceramic is very smooth, so paint needs help sticking for the long run.
When people ask can you paint ceramic floor tile in bathroom, they usually want a surface that stays looking clean. A properly prepared and well-coated tile floor can hold up for everyday use.
The biggest success factor is adhesion. That starts with prepping tile surfaces and verifying the bond before you paint the whole room.
- Painting can replace full tile replacement for a lower cost.
- Durability depends on using floor paint made for high wear.
- Bond quality comes from cleaning and surface prep.
Preparation steps for painting tile floors
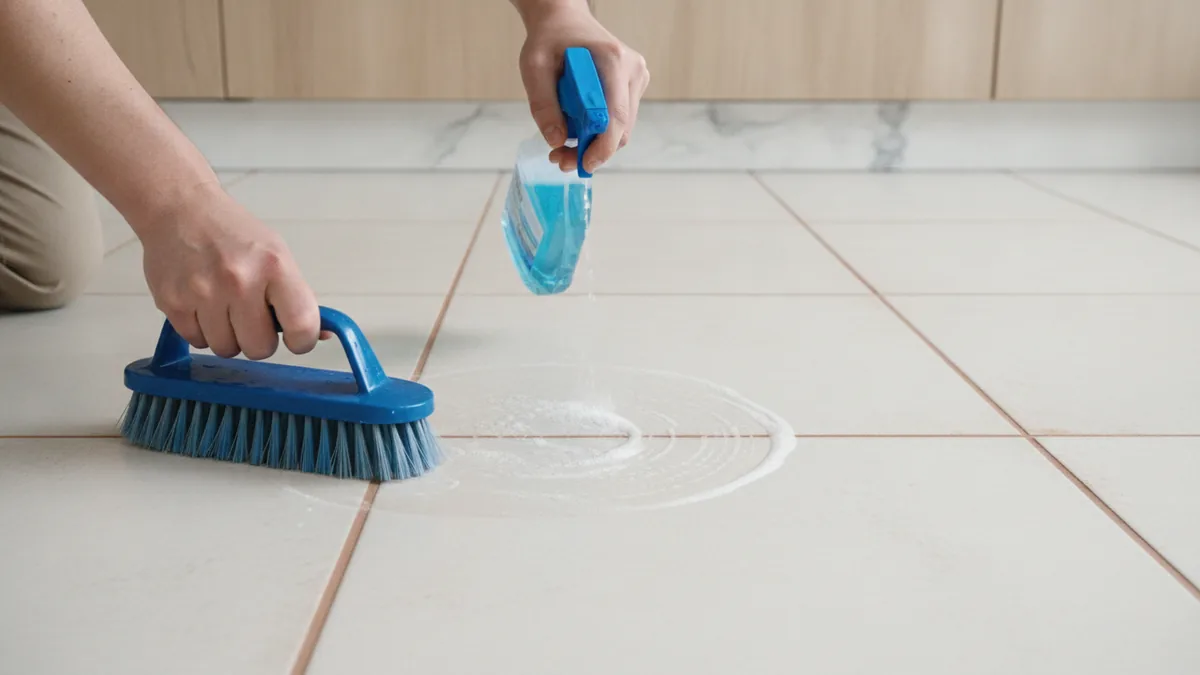
Preparation is where most DIY projects either succeed or peel. Start by removing everything from the room. Then clean the floor until it feels truly grease-free to your fingertips.
Use a degreasing cleaner and scrub the grout lines and tile faces. Rinse well and let the floor dry completely. If there is any waxy residue, paint may fail even after you sand.
Next, prep the surface so paint can grab. In many cases, this means sanding the glossy tile lightly to scuff it. Focus on high-gloss areas and any areas that feel slick when dry.
Then vacuum the dust and wipe with a cleaner meant for prep. Do not leave dust on the floor. Paint defects often trace back to one last dusty spot.
- Move all items and protect nearby surfaces.
- Degrease the tile and rinse thoroughly.
- Scuff-sand glossy glaze so paint can bond.
- Vacuum and wipe to remove dust.
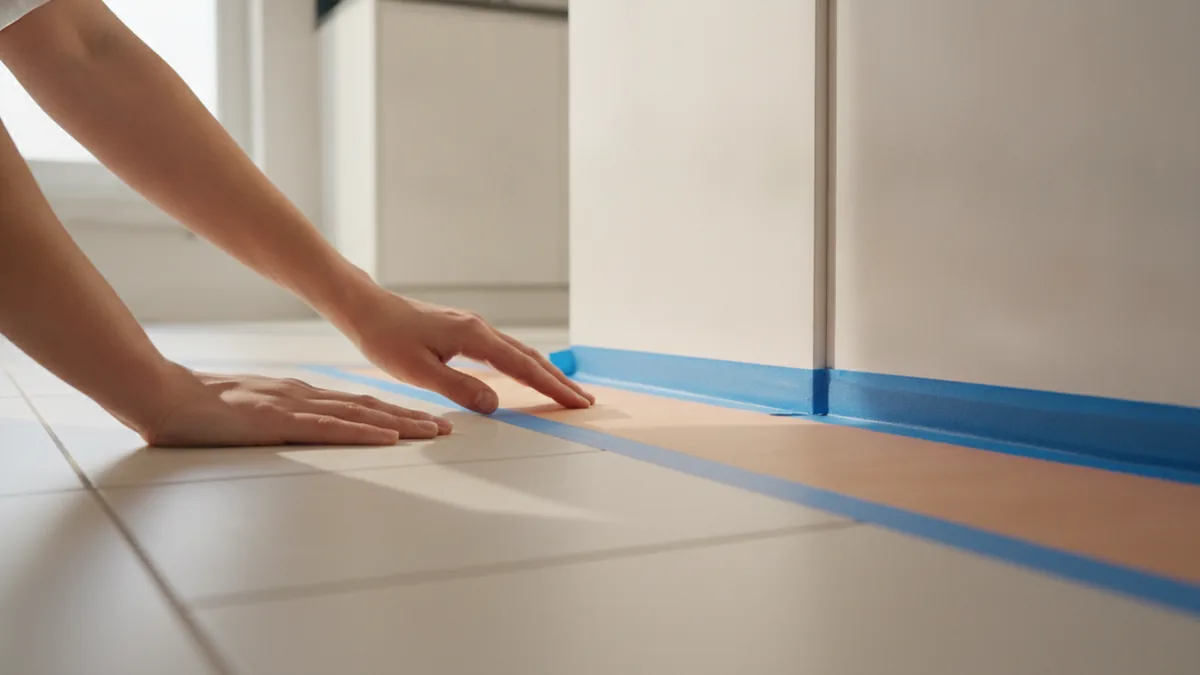
Before you start painting, protect areas adjacent to the tile with painter’s tape. Tape the baseboards, walls, and edges where splatter would be hard to remove. Replace any tape that starts to lift while you work.
Choosing the right type of paint for floors
Choosing the right coating is crucial for durability and adherence. Regular wall paint is too soft and can wear quickly, especially near sinks, stoves, and entry points.
Look for a product that is specifically designed for floors. The best options include epoxy-like floor coatings or paint systems made for tile and high traffic areas. Check the label for compatibility with ceramic, and confirm it is meant for interior floors.
Also plan your finish level. A slightly lower sheen often hides scuffs better. Higher sheen can show imperfections and footmarks more clearly.
If the tile has stains or you are covering dark grout, you may need primer. Use a primer listed for tile adhesion, then follow with the floor paint system.
| Paint choice | Why it matters |
|---|---|
| Floor-specific paint | Designed for foot traffic and better wear resistance |
| Tile bonding primer (if needed) | Helps the system grip smooth ceramic surfaces |
| Water-based vs solvent-based | Choose based on label instructions and your ventilation needs |
Application process: how to paint ceramic floor tile
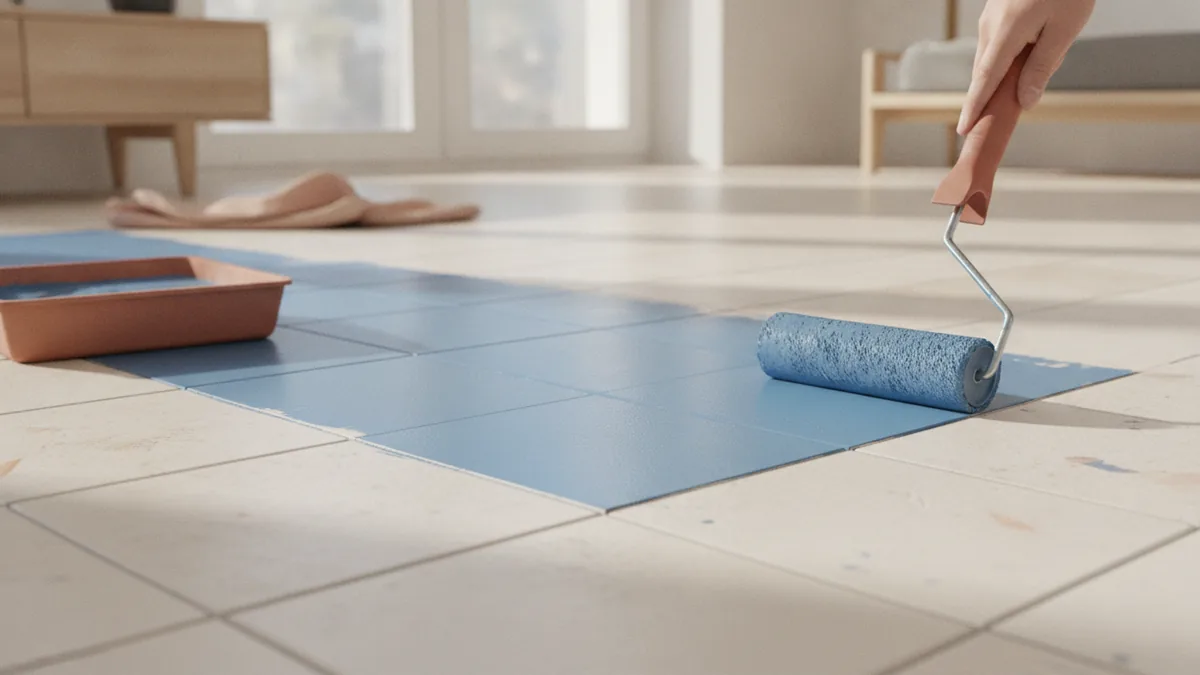
Once the floor is clean and prepped, you can move to application techniques. Start with a careful plan for edges and grout lines. Cut in first with a brush so you get sharp boundaries.
Then roll the main areas. Using a high-quality roller helps you spread paint evenly and avoid bubbles. A foam roller can work for smooth surfaces, but match the roller to your product’s instructions.
Before committing to the whole floor, do an adhesion test. Paint a small patch on a less visible area, then wait the full cure time listed by the manufacturer. After that, check for tackiness, peeling, or rough texture under light pressure.
This is your reality check. It tells you whether your prepping tile surfaces steps were enough and whether the coating can bond to your specific glaze.
Drying time between coats is critical. Allow adequate drying time between coats, typically about six hours for base and top coats, depending on temperature and humidity. Always follow the label if it lists a different window.
Apply thin, even coats instead of heavy layers. Thick coats can trap solvents or water, leading to longer cure times and surface softness. If the paint is sagging, it is too thick.
- Cut in edges and corners with a brush first.
- Use a high-quality roller to keep an even coat.
- Work in small sections to avoid lap marks.
- Do an adhesion test patch before full coverage.
Finishing touches and curing
After the final coat, focus on curing instead of rushing traffic. Painted surfaces may feel dry to the touch but still need time to harden underneath.
If your coating system includes a top coat or clear sealer, apply it as directed. Skipping steps can reduce scratch resistance, especially in kitchens where dropped items and chair legs are common.
Ventilation matters during curing. Keep airflow steady but avoid drafts that can pull dust onto wet paint. Turn off fans that blow directly across the floor.
When you remove painter’s tape, pull it slowly at a low angle. If paint lifts with the tape, stop and wait. Let the edge firm up more before you continue.
Maintenance of painted tile floors
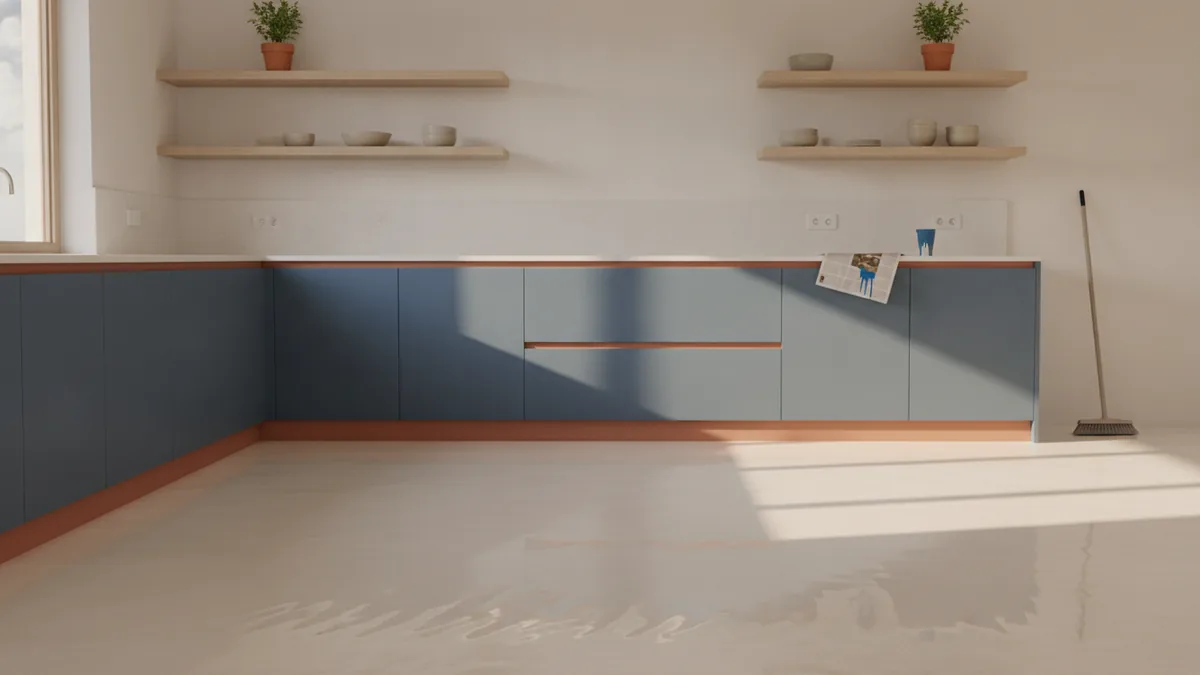
Maintenance of painted surfaces is simpler than replacing tile, but you need to protect the cure. Avoid washing the painted floor for at least seven days. This gives the coating enough time to fully set.
During the first week, use dry cleaning methods. Sweep regularly and use a microfiber mop only if the paint system allows it. If water exposure is unavoidable, wipe gently and dry quickly.
Use felt pads under furniture and rugs with non-slip backing. Chair wheels and heavy appliances can create dents if the floor coating is still curing or if the finish is thin.
For routine care later on, clean with mild, non-abrasive cleaners. Avoid harsh scrub pads that can wear the finish. If you notice scuffs, touch up with the same paint system for the best color match.
- Do not wash for at least seven days to support cure.
- Sweep and spot-clean first, then switch to wet cleaning later.
- Use protective pads to prevent scratches.
- Stick to mild cleaners and avoid abrasive pads.
Typical timeline you can plan around
Most kitchens need scheduling because drying time and cure time overlap with real life. After prep, you typically apply a base coat, then a top coat after the recommended drying window. Many systems call for about six hours between base and top coats.
Then you add curing time. Even when the floor feels dry sooner, treat it as fragile until the full cure period passes. Plan for a quiet window where you keep traffic off the surface.
Common pitfalls to avoid
One common mistake is using the wrong paint. Another is skipping prep-sanding on glossy glaze. The last is not doing an adhesion test patch.
If you rush the drying window between coats, you can trap moisture and weaken the finish. If you start washing too early, the surface can stay soft and scuff easily.
Frequently asked questions
- Can you paint ceramic floor tile in kitchen without replacing it?
- Yes. Painting can be an affordable alternative to replacement when you prep the tile well and use floor paint made for adhesion and wear.
- How do you prep ceramic tile before painting?
- Clean for grease-free results, then scuff-sand glossy glaze. Vacuum and wipe to remove dust before you apply primer or paint.
- What paint should you use for tile floor painting?
- Choose a product made for floors, not wall paint. If your system requires it, use a tile bonding primer for ceramic surfaces.
- Should you do an adhesion test patch before finishing the whole kitchen floor?
- Yes. Test a small area, then wait the full listed cure time. If it holds without peeling or tackiness, you can paint the rest.
- How long should you wait between coats when painting tile floors?
- Many systems use about six hours between base and top coats. Always check the product label for your temperature and humidity.
- How long should you wait before washing painted kitchen tile?
- Avoid washing the painted floor for at least seven days. Start with dry cleaning first, then switch to mild wet cleaning later.
Related reading
Couch Placement—Flow, Focus and Comfort
Place your couch to frame a focal point, keep paths clear, and make the room feel balanced.

Master Bedroom — Color, Comfort and Personal Style
Build a calm, personal bedroom with smart choices and a budget that works.

Room Painting Labor Costs — Rates and Budget Factors
See typical room-painting labor rates and learn what drives the final price.