How to Paint a Room Step by Step
Prep well, paint in the right order, and get a smooth room finish.
Start with a plan for the room
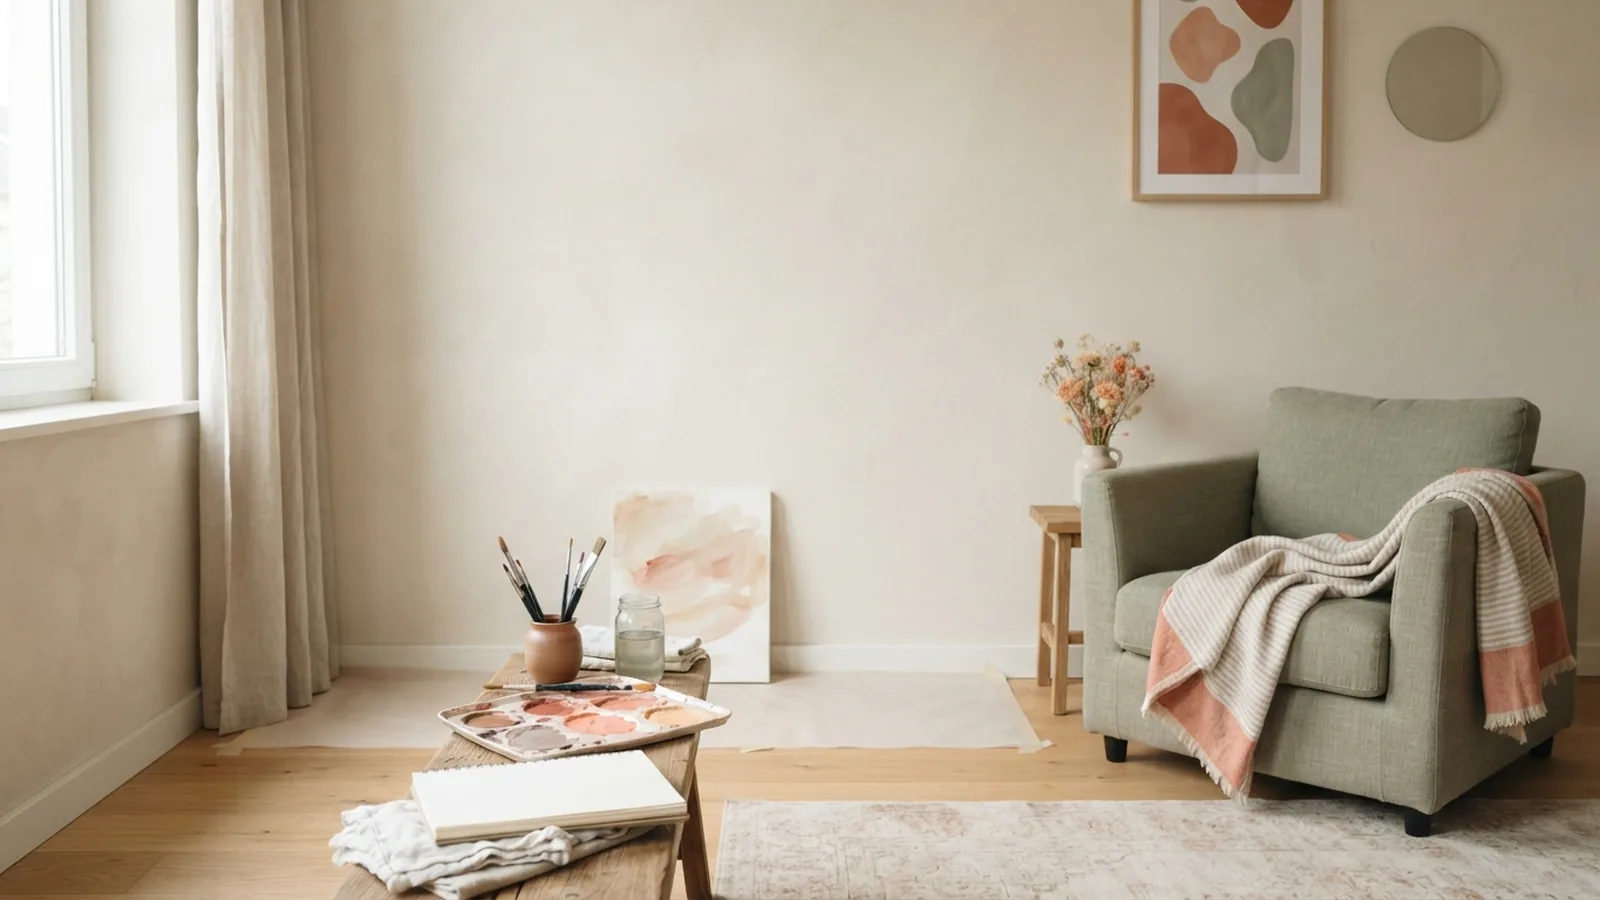
To paint a room, clear and clean the space, protect floors, and fix wall flaws first. Choose paint that suits the room, then prime bare or patched areas. Cut in around edges with a brush, roll the walls in sections, and let each coat dry as directed. Careful prep saves time and helps the finish look even.
Before you buy paint, measure each wall’s width and height. Multiply them to estimate the wall area, then subtract large doors and windows. A typical gallon covers about 350 to 400 square feet per coat, but check the can for its stated rate. Buy enough for the full job, with a little extra for touch-ups.
Pick a color in the room’s own light. Test a sample on a few parts of the wall, then check it in morning and evening light. Paint can look quite different beside a window than in a dark corner. The small test can prevent a costly repaint.
Gather the right painting supplies
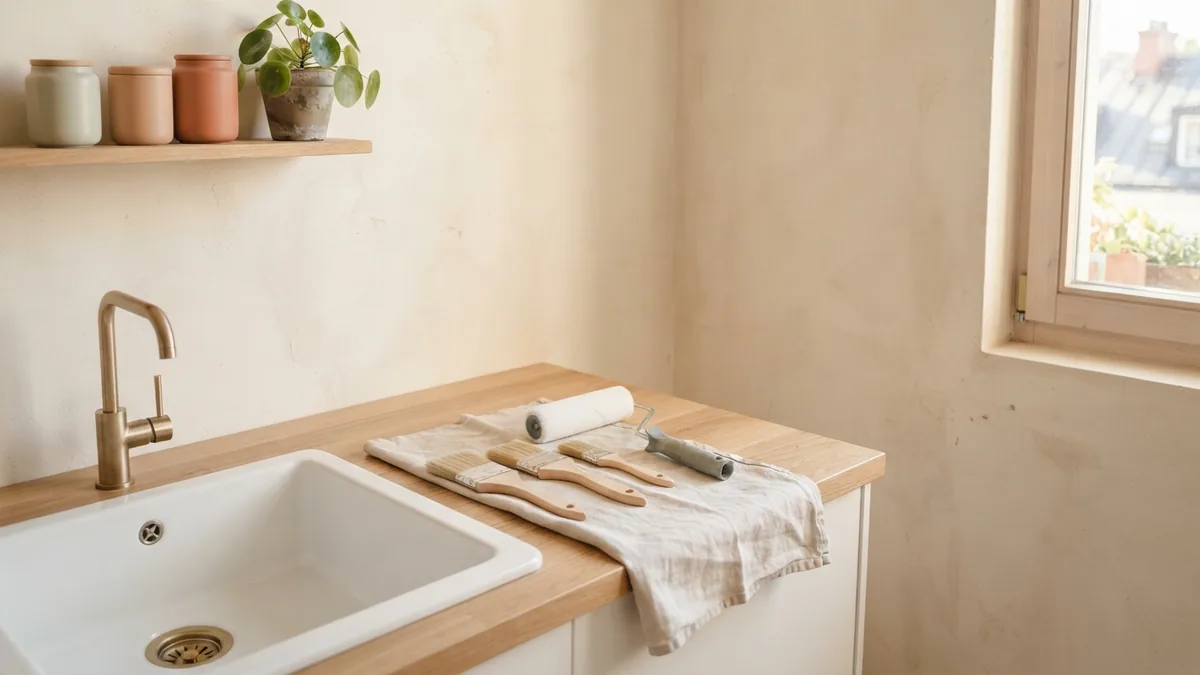
Good tools help paint go on evenly and make cleanup easier. Choose a roller cover that suits your wall texture. A short nap works well on smooth walls, while a thicker nap holds more paint on textured walls. Use an angled brush for corners and trim.
For most rooms, gather the following supplies before you begin. Keep a bucket of clean water nearby for water-based paint spills. A sturdy step ladder also helps you reach high corners without stretching.
- Interior wall paint and primer, if needed
- Angled brush, about 2 to 2½ inches wide
- Roller frame, roller covers, and extension pole
- Paint tray or bucket with a roller grid
- Drop cloths, painter’s tape, and a putty knife
- Wall filler, sandpaper, and a damp cloth
- Paint stirrer, gloves, and safety glasses
Choose the paint type and sheen for how the room gets used. Water-based latex paint is a common choice for interior walls because it dries fairly fast and cleans up with soap and water. Eggshell or satin finishes suit many living rooms and bedrooms. Semi-gloss is easier to wipe clean, so it can work well in kitchens, baths, and busy trim.
Flat paint hides small wall flaws, but it marks more easily. Glossy finishes reflect more light and can show dents or brush marks. For a child’s room or a busy hall, choose a finish that can handle gentle cleaning. Check the label for the right surface and room use.
Prepare the room and walls
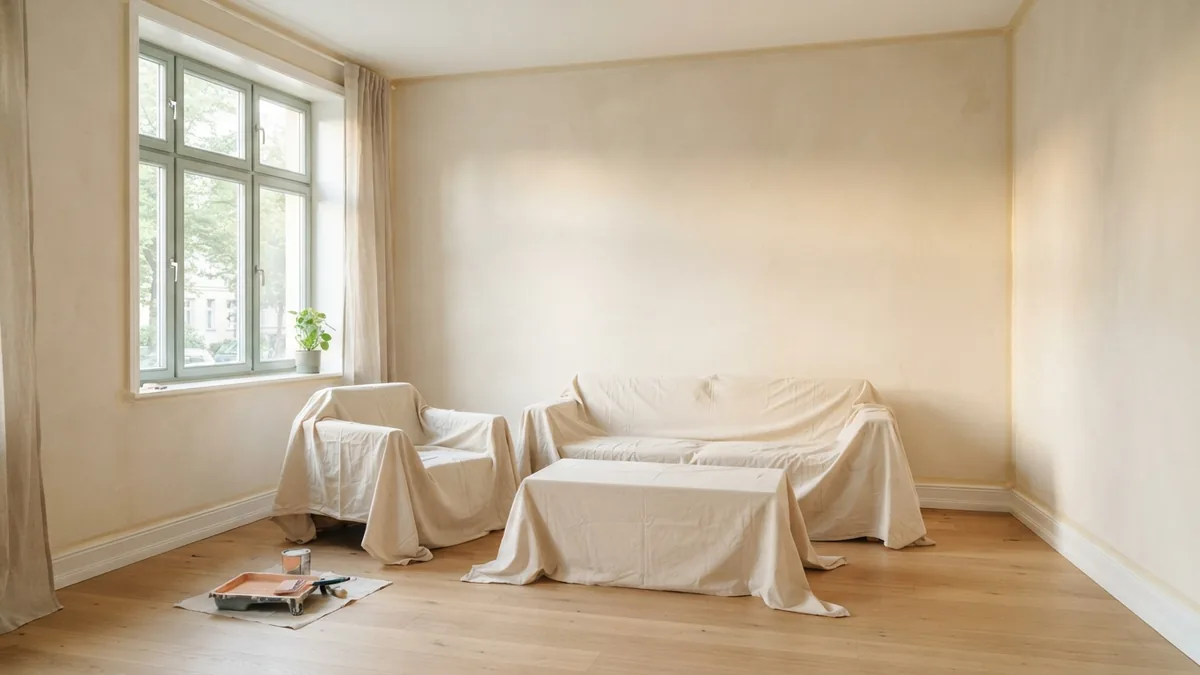
Move small items out of the room and shift large furniture to its center. Cover everything that stays with drop cloths. Take down wall art, curtains, and outlet covers after turning off power to the outlets. Keep screws and small parts together so they are easy to find later.
Dust walls first, then wash greasy or marked spots with mild soap and water. Rinse with a clean damp cloth and let the wall dry. Fill nail holes and small dents with wall filler. Once it sets, sand the patch until it sits level with the wall.
Mask trim, window edges, and other surfaces you do not want painted. Press the tape edge down firmly to limit paint bleed. Lay drop cloths over the full floor, not just near the wall. Remove dust left by sanding before you start.
Look for peeling paint, damp patches, or stains that keep coming back. Fix the cause of dampness before painting. Scrape loose paint and prime bare spots. A stain-blocking primer can help cover marks that might show through a new coat.
Paint the room in the right order
Stir the paint slowly until its color looks even. Do not shake an open can, since that can add bubbles. If the wall is bare, stained, or patched in many places, apply primer first. Follow the can’s coverage and dry-time notes, then check that the coat feels dry before painting over it.
Start by cutting in with a brush. Paint a strip about two or three inches wide where walls meet the ceiling, corners, trim, and other edges. Work in short stretches, and keep a wet edge where the brushed area meets the part you will roll. This helps the wall dry with fewer visible lines.
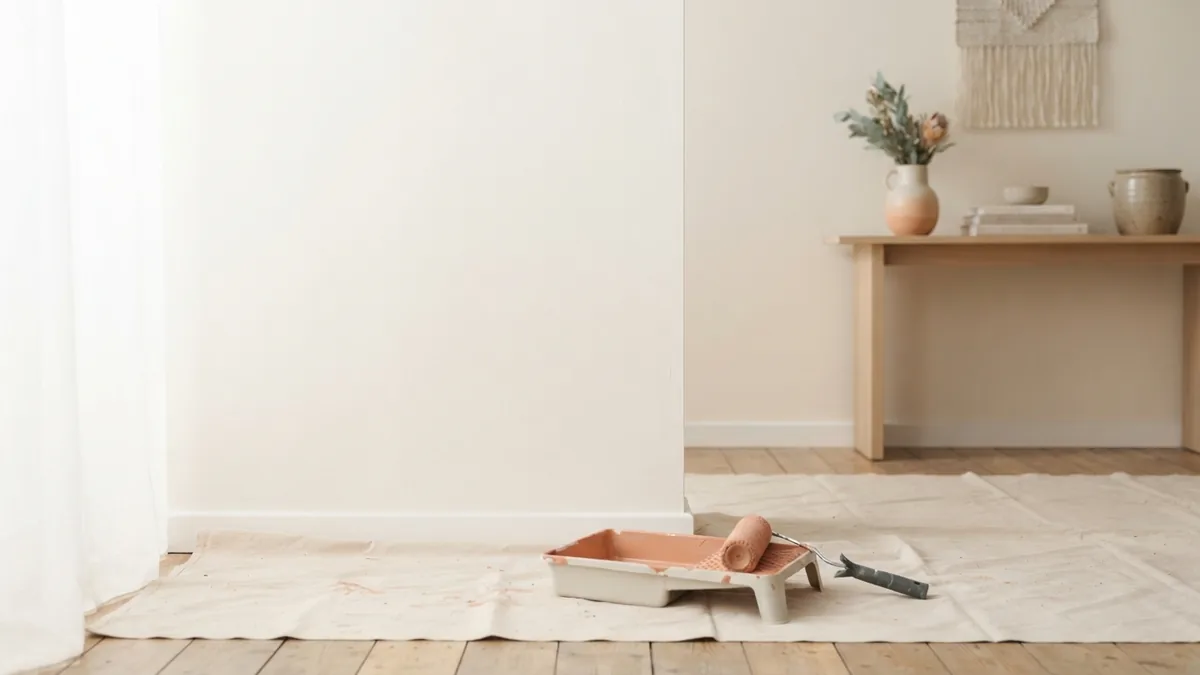
Pour paint into the tray or load the roller from a bucket grid. Roll a small area in a loose W or M shape, then fill the gaps with steady strokes. Use light pressure and keep each pass moving from floor to ceiling. Overlap the next strip slightly while the last one is still wet.
Work across one wall before moving on, and check the surface from different angles. Avoid going back over paint that has started to dry. It can leave ridges and uneven patches. When the first coat is dry, add another if the color looks thin or the can calls for it.
Paint the ceiling before the walls if both need fresh paint. Then paint the walls, followed by trim and doors. Pull tape off slowly while the final coat is still a little soft. If the paint has fully dried, score the tape edge gently with a putty knife first.
Get a smooth finish and avoid common mistakes
Most paint flaws come from rushing prep or loading the roller unevenly. A roller that is too dry leaves thin patches, while one that is too wet can drip. Dip it into the tray, then roll off extra paint on the ridged area. The cover should feel full, not heavy with paint.
Keep a wet edge and use the same rolling pattern across each wall. Do not stop midway through a wall if you can avoid it. Strong direct sun or a warm draft can make paint dry too fast. Close windows if wind blows dust inside, but keep safe airflow through the room.
Do not paint over dust, grease, or damp walls. These can stop paint from sticking well. Avoid using tape on a fresh coat before the paint has cured. When in doubt, wait for the time stated on the paint can.
Paint dries in stages. It may feel dry to the touch within a few hours, but that does not mean it is ready for washing or hard use. Check the label for the time between coats and the full cure time. Keep furniture away from the walls until the paint can take gentle contact.
Ventilate the room while painting and as it dries. Open windows when weather and site safety allow, and use a fan to move air toward an open window. Do not aim a fan straight at a wet wall, since that can dry the surface unevenly. Take breaks if fumes bother you, and follow the product’s safety notes.
Clean tools and care for the new paint
Clean brushes and rollers as soon as you finish. For water-based paint, rinse them in warm water and work out the paint with your fingers or a brush comb. Use mild soap if paint remains, then rinse until the water runs clear. For oil-based paint, follow the can’s directions and use the listed cleaner in a well-aired space.
Spin or shake out extra water, reshape brush bristles, and let tools dry fully. Store brushes flat or hang them by the handle. Wrap a roller cover if you will use it again soon, but do not leave it wet in a sealed bag for days. Dried paint can ruin the cover.
Seal leftover paint in its original can, wipe the rim clean, and close the lid firmly. Store it in a dry place that stays within the range on the label. Keep paint away from children and heat. Do not pour leftover paint or wash water into a storm drain.
Once the wall has cured, clean marks with a soft cloth and mild soap. Test a hidden spot first, especially with flat paint. Save the color name and paint details for future touch-ups. A small, labeled container of spare paint can be useful, kept safely out of reach.
Finish the job with a quick final check
Walk around the room in daylight and look for missed edges, drips, or thin spots. Fix small flaws with a fine brush after the paint is dry enough for another coat. Remove coverings only after checking that paint has not stuck to them. Put furniture back once the walls can handle light contact.
A good room paint job comes down to steady prep, the right tools, and enough drying time. Take the work in order, from cleaning and patching through priming and rolling. If you follow the paint label and keep a wet edge, you can get an even finish without rushing. Give the room time to cure before heavy use.
Step-by-step
- 01 Clear and protect the room
Move furniture out or cover it at the center of the room. Protect floors and remove wall items and outlet covers.
- 02 Clean and repair the walls
Wash dirt and grease, then let the walls dry. Fill holes, sand repairs level, and remove dust.
- 03 Mask edges and apply primer
Tape trim and other edges, then prime bare, patched, or stained areas. Let the primer dry as the label directs.
- 04 Cut in the edges
Use an angled brush to paint corners and edges around trim and the ceiling. Work in short sections to keep the edge wet.
- 05 Roll the walls
Load the roller evenly and paint in small sections with overlapping strokes. Let the first coat dry before adding another.
- 06 Clean tools and let the paint cure
Wash brushes and rollers based on the paint type. Ventilate the room and wait for the full cure time before heavy use.
Frequently asked questions
- How many coats of paint does a room need?
- Many rooms need two coats for an even color. Follow the paint label, since coverage and color change can affect the result.
- Should I prime walls before painting?
- Prime bare walls, repaired spots, stains, or walls with a big color change. Sound walls with a similar old color may only need paint.
- How long should I wait between coats of paint?
- Use the recoat time on the paint can. Dry time changes with airflow, room temperature, and dampness.
- What paint finish is best for a living room?
- Eggshell or satin works well in many living rooms. Flat paint hides flaws better, while satin is easier to wipe clean.
- How do I clean brushes after using wall paint?
- For water-based wall paint, rinse brushes in warm water and use mild soap if needed. Reshape the bristles and let the brush dry fully.
- How can I avoid roller marks on painted walls?
- Load the roller evenly, use light pressure, and overlap each pass while the paint is wet. Work across one wall at a steady pace.
Related reading

What Color for a Living Room? Choose a Calm, Cohesive Palette
Find living room colors that suit your light, furniture, and home.

How Much Do Interior Decorators Get Paid? Salary by Location
Decorator pay depends on location, experience, specialty, and how you work.
How Much Does a Small Commercial Kitchen Cost?
Compare setup costs, rental rates, equipment needs, and smart ways to plan your kitchen budget.