How to Paint Kitchen Units: Steps, Colors, Aftercare
Learn how to paint kitchen units with the right prep, primer, and technique. Get drying times, color tips, and aftercare for a durable finish.
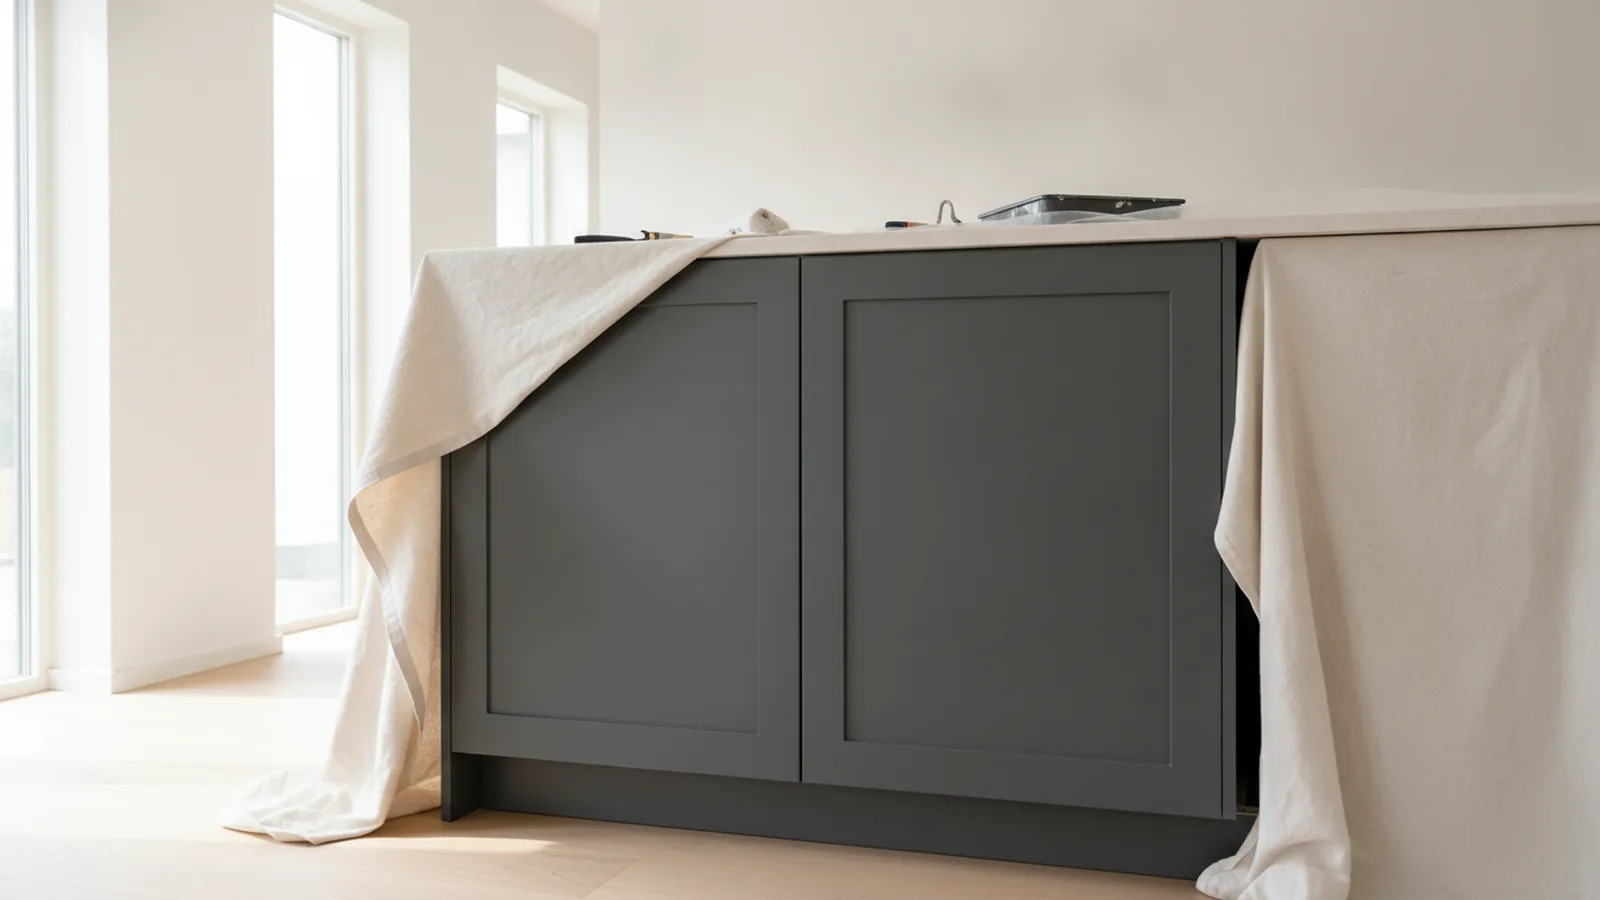
Introduction to Painting Kitchen Units
If you want a neat, hard-wearing finish, the key is prep first and paint second. Yes, you can paint kitchen units in a way that looks factory-fresh. The best results come from cleaning, sanding for grip, then using a primer built for cabinets.
This guide walks you through how to paint kitchen units with clear kitchen cabinet painting steps. You will learn what to sand, which primer to choose, and how to use brushes and rollers without streaks. It also covers drying times and how to pick painting kitchen unit colors that suit your kitchen design.
Approach it like a small kitchen renovation project. Take your time with each layer. The finish you get depends more on surface preparation techniques than on the brand on the tin.

Essential Supplies for the Project
Start by gathering tools you will actually use. Kitchen units have edges, recesses, and flat faces. That mix calls for both brush control and roller coverage.
Use the right paint types for cabinets so the surface stays smooth. Check whether your chosen paint is meant for furniture or for interiors only. Cabinet paint usually forms a tougher coat than standard wall paint.
- Degreaser or TSP substitute for kitchen grease
- Fine detergent, clean cloths, and a tack cloth
- Sandpaper or sanding sponge in multiple grits
- High-quality primer for cabinets or bonded surfaces
- Cabinet paint, plus clear topcoat if recommended
- Angled brush for frames and corners
- Mini foam roller or high-density short-pile roller for doors
- Painter’s tape, plastic sheet, and drop cloth
- Stir sticks, mixing cups, and disposable gloves
- Drying racks or a setup for door panels
Keep good ventilation and wear a proper mask if your sanding kicks up dust. A cheap mask is not enough for fine particulates. This is DIY home improvement where your lungs matter.

Step-by-Step Guide to Painting Kitchen Units
Follow this flow for reliable adhesion and even coverage. The sequence matters because each step prepares the surface for the next. Rushing the middle is where most DIY mistakes happen.
This process is written for painting kitchen cabinets, including doors, drawer fronts, frames, and any nearby trim. If your units have hardware that stays on, protect it well. For best results, remove doors and drawers.
- Strip what you can and label parts. Remove doors, drawers, handles, and hinges. Label pieces so they return to the same position.
- Clean thoroughly to remove grease and grime. Use a degreaser on fronts and around knobs. Wipe until cloths come away clean, then rinse with clean water.
- Scuff sand for grip using the right grit. Start with 180 grit or 220 grit to dull the surface. Follow with 240 grit for smoother sanding marks.
- Fill gaps and fix damage. Use filler for chips and dents, then sand flat when dry. Remove all dust after sanding to prevent bumps under paint.
- Prime with a high-quality cabinet primer. Apply thin, even coats. Prime raw wood, glossy areas, and any repaired spots first.
- Sand the primer lightly. After it dries, scuff with 240 grit to level the surface. Wipe again using a tack cloth.
- Paint in controlled passes. Use brushwork for detail and a roller for flat areas. Keep a wet edge so you do not get lap lines.
- Apply a second coat. Let drying time pass fully. Then repeat with consistent technique for the most even sheen.
- Reinstall once fully cured. Wait for the cure time before heavy use. Refit hinges and test drawer action gently.
Drying times between coats depend on paint type and room conditions. Aim for 4 to 6 hours for a recoat on many cabinet paints. For a safer plan, follow the label and choose a temperature-controlled window.
When can you paint kitchen units again? Only when the coat is dry to the touch and less likely to mark under pressure. If you run a light finger swipe and it feels tacky, wait longer.

Best Practices for Primer and Paint Application
Primer is crucial for durability because it improves adhesion and blocks stains. It also helps the paint type for cabinets bond better to older finishes. If you skip primer on glossy surfaces, peeling is more likely.
For surface preparation techniques, dust control is non-negotiable. Vacuum the area and wipe with a tack cloth before priming. Even a thin layer of dust can create tiny craters in your topcoat.
How to sand for the best adhesion
For most kitchen unit surfaces, 180 to 220 grit works for the first scuff. Use 240 grit after priming for a smooth finish. This progression helps paint stick while keeping the surface refined.
| Stage | Typical grit | Purpose |
|---|---|---|
| Before primer | 180 or 220 | Dull glossy finish, create grip |
| After primer | 240 | Level and remove minor imperfections |
| Between topcoats | Optional 240 | Fix tiny dust specks, if needed |
Brushes and rollers: technique that reduces streaks
Use a high-quality angled brush for edges, rails, and recessed panels. For flat faces, a mini foam roller often leaves a smoother texture. Roll lightly, then tip off with the brush to even out the coat.
Keep coats thin. Thick paint drips and shows ridges as it dries. If you see bubbles, stop and gently rework once. Do not shake the can aggressively, since that adds more trapped air.
Drying and recoating times that actually work
Most cabinet paints dry enough to recoat within hours, but curing takes longer. A common pattern is dry to the touch in 1 to 2 hours, recoat after 4 to 6 hours, and full cure after several days. Humidity and airflow strongly affect these windows.
To improve reliability, paint when the room stays steady. Keep windows closed if you can control dust. A fan helps, but aim it away from the wet doors to prevent particles from landing.

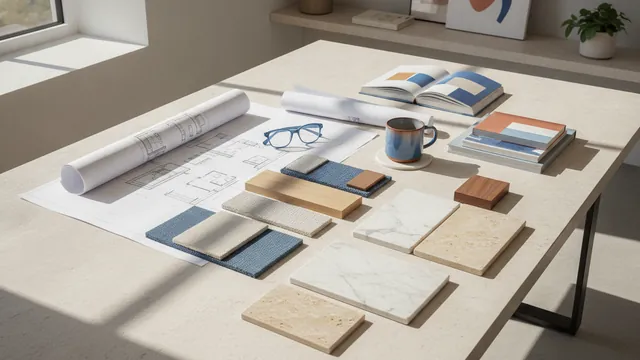
Choosing the Right Colors for Your Kitchen Units
Color coordination in kitchen design is where the renovation payoff shows. Your painting kitchen unit colors should match the mood you want and the light you get. If your kitchen has cool lighting, warmer cabinet tones can soften the look.
Start by checking the undertone of your cabinets and the tone of your floors. Then plan your wall color around that, not the other way around. If you are unsure, test paint samples on a door edge and view them at different times of day.
Wall color ideas that pair well
Here are practical pairings that many people use when planning cabinet colors. They are meant as starting points for cream kitchen units, grey kitchen units, and white kitchen units.
- Cream kitchen units: try warm off-white or light greige walls for a calm, layered look.
- Grey kitchen units: choose soft warm whites to avoid a chilly contrast in evening light.
- White kitchen units: pick light warm wall tones, so the room feels inviting, not sterile.
When planning your kitchen cabinet painting steps, remember that the paint sheen affects how colors read. A satin finish often looks forgiving and hides minor wear. A higher gloss shows imperfections more clearly.
If you want a bolder scheme, keep the walls quieter and let the units lead. That approach keeps the space cohesive, even with different cabinet colors on different zones.
Tips for Aftercare and Maintenance
Aftercare determines how your painted kitchen cabinets age. Even a durable topcoat needs gentle handling at first. Wait for full cure before scrubbing and avoid soaking the surface.
Clean with mild soap and a soft cloth. Do not use abrasive pads or harsh cleaners that strip the topcoat. Wipe spills quickly, especially for oils and acidic liquids.
- Use coasters and wipe rings fast
- Clean with a damp cloth, then dry
- Avoid steam cleaners on painted finishes
- Touch up chips promptly with a matching paint
- Re-tighten hardware after cure to prevent rubbing
Painted kitchen units can enhance kitchen aesthetics and value when the finish looks even and stays hard-wearing. Buyers notice surfaces. A fresh, smooth finish signals care and reduces the need for a quick kitchen renovation.
Maintenance is also a time saver. If you treat the finish well, you will likely only need minor touch-ups rather than full repainting.
Used with good prep, a repaint can transform the whole room. The glow comes from the details you did earlier: clean surfaces, correct sandpaper grit, and a high-quality primer.
FAQ: Painting Kitchen Units
Can you paint kitchen units without stripping them?
Often you can, if the surface is sound and you sand to dull the finish. Clean well to remove grease before priming.
What sandpaper grit should I use for painting kitchen cabinets?
Use 180 or 220 grit before primer for grip. Then use 240 grit after priming for a smoother topcoat.
How long should I wait between coats?
Many cabinet paints recoat in about 4 to 6 hours. Humidity and temperature can change this, so check the label.
Do I really need primer for painting kitchen cabinets?
Yes, a high-quality primer is crucial for durability. It improves adhesion and helps the topcoat resist stains and peeling.
What paint finish works best for kitchen cabinet painting steps?
Satin is a common choice because it balances smooth look and easy cleaning. Higher gloss can show flaws more clearly.
What color walls go with cream, grey, or white kitchen units?
Cream units often pair with warm off-white or greige walls. Grey units usually look best with soft warm whites. White units typically benefit from light warm wall tones.
Frequently asked questions
- Can you paint kitchen units without stripping them?
- Yes, you can often paint kitchen units without full stripping. Clean well, sand to dull the finish, then prime before the topcoat.
- What is the best sandpaper grit for painting kitchen cabinets?
- Use 180 or 220 grit before priming. Use 240 grit after priming for a smoother, level finish.
- How long should I wait between coats when painting kitchen cabinets?
- Many cabinet paints recoat in about 4 to 6 hours. Check the paint label and wait until each coat is dry and not tacky.
- Do I need primer when painting kitchen cabinets?
- Yes. High-quality primer is crucial for adhesion and durability, especially on glossy or repaired areas.
- What roller and brush technique reduces streaks on cabinet doors?
- Roll thin, even coverage on flat areas, then tip off lightly with a brush. Keep a wet edge so you avoid lap lines.
- What wall color goes with cream, grey, or white kitchen units?
- Cream units pair well with warm off-white or greige walls. Grey units often look best with soft warm whites. White units typically suit light warm wall tones for a cozy feel.
Related reading

How to Fit Two or More Beds in a Small Room
Smart layouts and storage ideas for fitting two or more beds in a small room.
Room Painting Costs and How to Choose the Right Color
Room paint costs, color tips, and smart ways to plan your project.
How Much Do Interior Designers Make? A Practical Pay Guide
See interior designer pay by location, experience, billing model, and project type.