How to Fix a Bad Paint Job on Kitchen Cabinets
Learn how to fix a bad paint job on kitchen cabinets. Get tools, prep steps, repair techniques, and durable topcoat tips for a smooth finish.
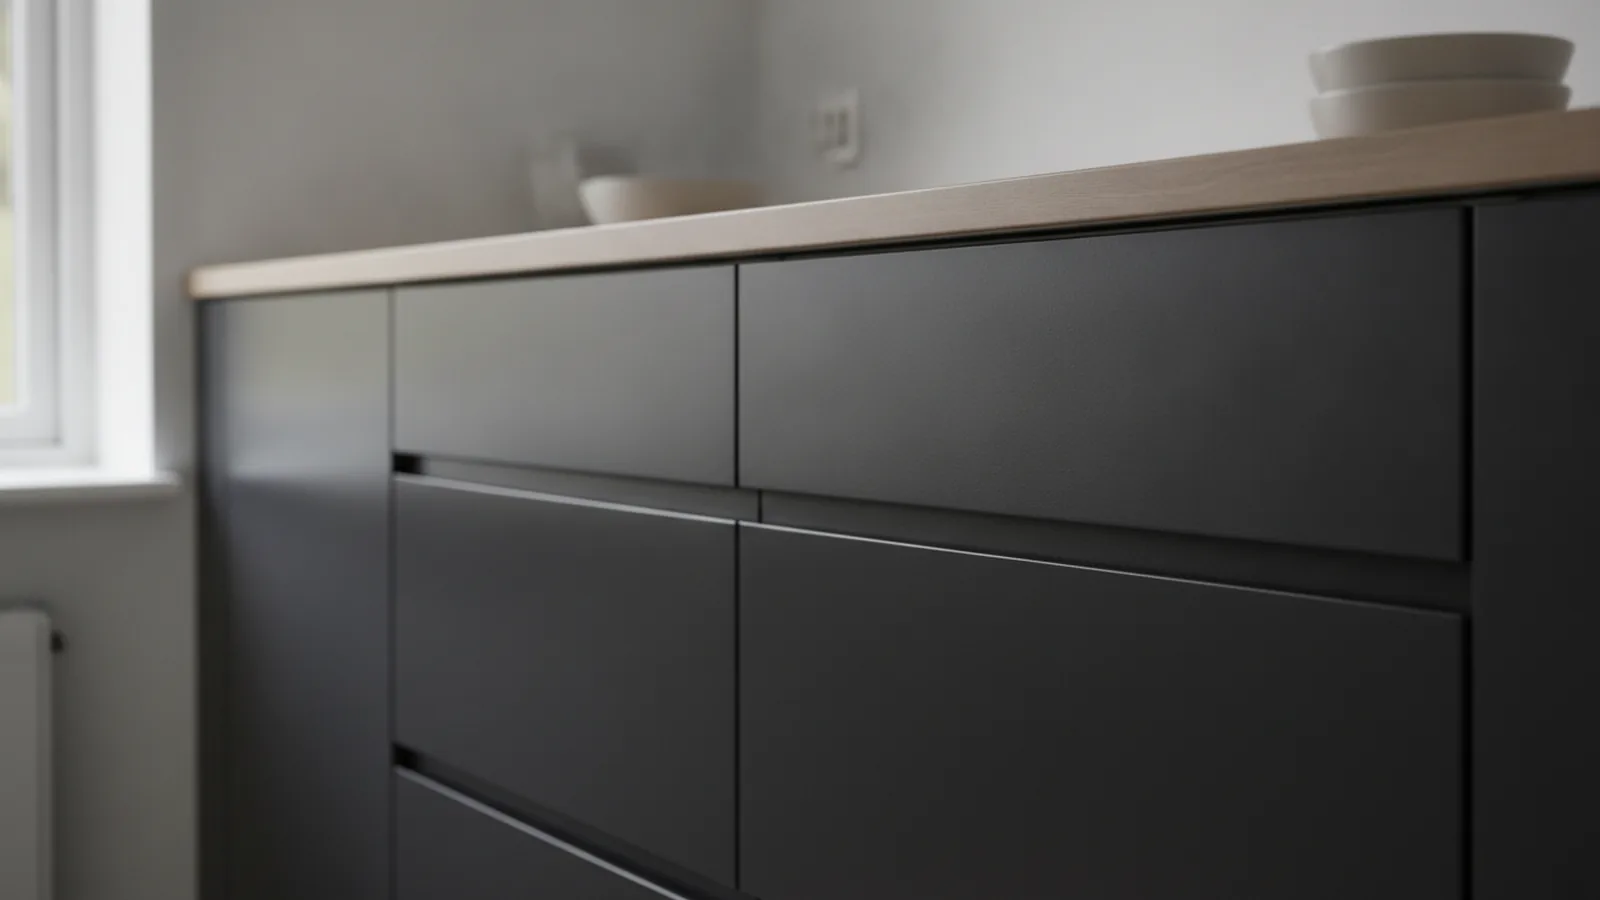
Assessing the Bad Paint Job
The fastest way to repair kitchen cabinet paint is to diagnose what went wrong. Start by checking the damage up close and deciding whether you can spot-fix or must resurface larger areas.
Look for chipping at door edges and corners. This often means the old coating bond was weak, or the surface was never fully sanded. Next check for peeling in sheets or bubbles under the paint. Peeling usually points to contamination, wax, or poor primer adhesion.
Finally, inspect the finish for unevenness. Runs and sags show over-brushing or too-thick coats. A rough, gritty feel can come from sanding dust left behind or paint that dried before it flowed out.
- Chipping: spot sand and prime, then repaint.
- Peeling: strip back to sound material, then prime and repaint.
- Uneven sheen: sand smooth and apply new coats evenly.
- Orange peel or brush marks: refine sanding and improve application technique.

Choosing the Right Tools and Materials
Before you start, gather everything you need for kitchen cabinet refinishing. Having the right sandpaper, primer, and paint reduces rework and helps the new coating blend with the old.
For most repair kitchen cabinet paint job situations, you will use sandpaper, a quality primer, cabinet paint, and applicators that match your finish goals. If your cabinets are glossy, you will likely need a deglosser or more thorough sanding to help paint grip.
Here is a practical tool set for correcting paint mistakes on cabinets. You can scale the amount up or down based on cabinet size.
| Category | What to buy | Why it matters |
|---|---|---|
| Sandpaper | 120, 180, 220, and 320 grit | Levels damage and creates grip for new coats |
| Cleaning | Degreaser and lint-free cloths | Removes oils that break paint adhesion |
| Primer | Bonding primer or stain-blocking primer | Improves adhesion and evens absorption |
| Paint | Cabinet-grade paint or enamel | Holds up to cleaning and everyday wear |
| Applicators | High-quality angled brush and foam roller | Reduces brush marks and helps smooth coats |
| Topcoat | Clear sealer and topcoat or varnish | Adds durability and easier wipe-down cleaning |
If you are unsure which paint types fit your cabinet, treat “cabinet paint” as a durability spec. Look for products made for doors, trim, and frequent contact.

Preparation Steps Before Fixing
Surface preparation is the difference between a temporary touch-up and a lasting repair. If the bond is weak, no amount of new paint will fix it for long.
Start with removal and cleaning. Take doors off hinges, remove hardware, and wash surfaces with a degreaser. Kitchens collect grease on rails and around handles. Rinse well and let everything dry fully.
Then sand to create a flat, clean profile. For peeling and chips, sand until you reach solid edges. For an overall uneven finish, scuff-sand the full panel so new paint can grab. Keep your sanding dust controlled using a shop vacuum and tack cloths.
- Clean with degreaser, then rinse and dry.
- Scrape loose paint and sand feathered edges.
- Scuff-sand all repaired zones with 180 grit.
- Wipe with a tack cloth to remove dust.
If you see stains or dark bleed-through, use a stain-blocking primer. That step prevents discoloration from showing through later.

Techniques to Fix the Paint Job
Now you can apply the actual kitchen cabinet painting fixes. Use a method that matches your problem: chipping needs edge-leveling, peeling needs full adhesion repair, and uneven sheen needs smoothing and uniform coating.
Step-by-step: sanding, priming, and repainting
Follow this sequence to repair kitchen cabinet paint job areas cleanly. The goal is to blend the repair zone into surrounding surfaces.
- Sanding: Sand chips down to sound material. Feather the edges until the transition feels smooth.
- Dust removal: Vacuum and wipe with a tack cloth. Paint over dust creates bumps and gritty texture.
- Spot prime or prime fully: Apply primer to repaired areas. If the old finish is very glossy, consider priming the whole door for even sheen.
- Light sanding between coats: After primer cures, sand gently with 220 grit. Wipe dust again.
- Paint coats: Apply thin coats. Let each coat level before adding the next.
- Dry and cure: Allow full cure time before reinstalling doors. Rushing can trap softness and cause marks.
Choosing the right applicator for a smoother finish
Application techniques determine how smooth the surface looks. For cabinet doors, a quality angled brush helps you control edges and grooves. A foam roller can help large flat areas flow out with fewer brush lines.
Use a “brush-and-tip” approach on detailed areas. Brush the paint lightly, then lightly drag a dry brush across the surface to level ridges. Avoid going back and forth aggressively. That can pull paint mid-set and create visible stripes.
- Thin coats beat thick coats for fewer runs.
- Keep a steady pace to avoid lap marks.
- Maintain room conditions near 70°F and steady humidity.
- Let coats flash and level before re-coating.
Color matching and paint selection tips
Color matching is one of the hardest correcting paint mistakes on cabinets. Paint can vary by sheen and by how the old finish aged. If your cabinets are already tinted or have changed tone from sun exposure, a perfect match may require testing.
Always test your paint on a hidden area. Paint a small patch, let it dry fully, and compare under kitchen lighting. If you can, match sheens too, since glossy paint can look darker than satin after full cure.
When using paint types like enamel or cabinet-grade acrylic, keep your system consistent. Mixing brands or mixing solvent and water-based products can cause adhesion surprises. If your old paint type is unknown, use a bonding primer designed for adhesion across common finishes.
Finishing Touches for a Professional Look
Once the paint looks right, you need durability. A clear sealer or topcoat helps with scuff resistance, easier cleaning, and protection against daily kitchen contact. This step also smooths micro-imperfections if applied carefully.
For most kitchen cabinet refinishing, use a clear coat compatible with your paint. Many people call these sealers and topcoats, and they can include varnish. If you want a higher-end feel, apply multiple light coats rather than one heavy coat.
Also pay attention to edges and hardware zones. Those spots wear first, so they deserve extra coat passes. Lightly sand between clear coat layers with very fine grit if the surface feels rough.
- Apply clear coat after full paint cure for best bonding.
- Use light coats to prevent hazing and texture buildup.
- Sand nibs with fine grit if dust lands during drying.
- Remove hardware and finish fully before reinstalling.
After everything cures, reinstall doors and inspect opening and closing. If you see rub-through, you may need a tougher topcoat or an extra thin coat on contact points.
Preventing Future Painting Issues
To avoid repeating the cycle, treat painting as a controlled process. The same rules that help you repair a bad job also help you stop future chipping and peeling.
First, protect the cabinet during prep and application. Use proper ventilation, avoid airborne dust, and keep sanding dust out of wet paint. Second, respect drying and cure times. Paint can feel dry while still soft underneath.
Third, keep adhesion strong with correct surface prep. Clean and degrease fully. Sand to scuff and feather edges. Prime when you change texture, when you see bare wood, or when the old finish is glossy.
- Clean thoroughly, then wipe with a tack cloth.
- Sand for adhesion, then remove dust carefully.
- Use bonding primer for glossy or uncertain finishes.
- Apply thin coats using a brush-and-roller workflow.
- Seal with a clear topcoat for durability.
Finally, choose the right finish for real kitchen use. Satin or semi-gloss often hides small marks better than high gloss. Matte can be beautiful but may scuff more easily without a high-performance topcoat.
FAQ: Repairing Paint on Kitchen Cabinets
How do I fix chipping paint on kitchen cabinet edges?
Sand the chip edges until they are feathered and solid. Prime the area, then apply thin cabinet paint coats and topcoat for durability.
What causes paint to peel from cabinets?
Peeling often comes from grease, dust, wax, or weak sanding before painting. It can also happen if the primer was skipped or incompatible with the old finish.
Can I repaint cabinets without stripping all the old paint?
Yes, if the old coating is well-bonded and you can sand smooth. Scuff the finish, prime where needed, and repaint using thin coats.
How do I match the cabinet color after sanding?
Test on a hidden door area and compare after the paint fully cures. Match both color and sheen, since lighting and gloss change how tone looks.
Do I need a varnish or clear sealer over cabinet paint?
In most kitchens, yes. A compatible sealer and topcoat improve scuff resistance and make wipe-down cleaning easier.
Why does my repaired area look different in sheen or texture?
That usually comes from uneven sanding, thick coats, or skipping primer in spots. Blend by sanding, then prime and repaint so the surface absorbs paint similarly.
Frequently asked questions
- How to fix a bad paint job on kitchen cabinets with chipping?
- Sand the chipped edges smooth, prime the repaired spots, and repaint in thin coats. Finish with a clear topcoat to protect high-wear areas.
- Why is my cabinet paint peeling after I repaired it?
- Peeling usually means weak adhesion from grease, wax, dust, or glossy surfaces not sanded enough. Strip back to sound paint and use a bonding primer.
- What tools do I need for correcting paint mistakes on cabinets?
- You need sandpaper in multiple grits, a degreaser, primer, cabinet paint, and quality brushes or a foam roller. Tack cloth and lint-free rags help keep the finish smooth.
- How do I match cabinet paint color during a repair kitchen cabinet paint job?
- Test the paint on a hidden door section and compare once fully cured. Match sheen too, since gloss levels can make the same color look different.
- Should I seal kitchen cabinet paint with varnish or a topcoat?
- Yes, for most kitchens. A compatible sealer and topcoat improves scuff resistance and makes daily cleaning easier.
- How can I get a smooth finish when repainting cabinet doors?
- Apply thin coats, avoid heavy re-brushing, and use brush-and-tip for edges. Roll flat areas lightly to help the paint level out.
Related reading

How to Say “Dining Room” in Spanish and When to Use It
“El comedor” means dining room in Spanish. Learn usage, related terms, and memory tips.
How to Divide a Room Into Two Bedrooms: Practical Methods
Split one room into two bedrooms with walls, curtains, or furniture—plus light and rental tips.
How to Decorate a Room With Slanted Ceilings for More Space
Color, lighting, smart furniture, and storage ideas for slanted ceilings.