How to Build a Partition Wall in a Finished Room (DIY Guide)
Step-by-step guide to build false, half, or pony partition walls in a finished room.
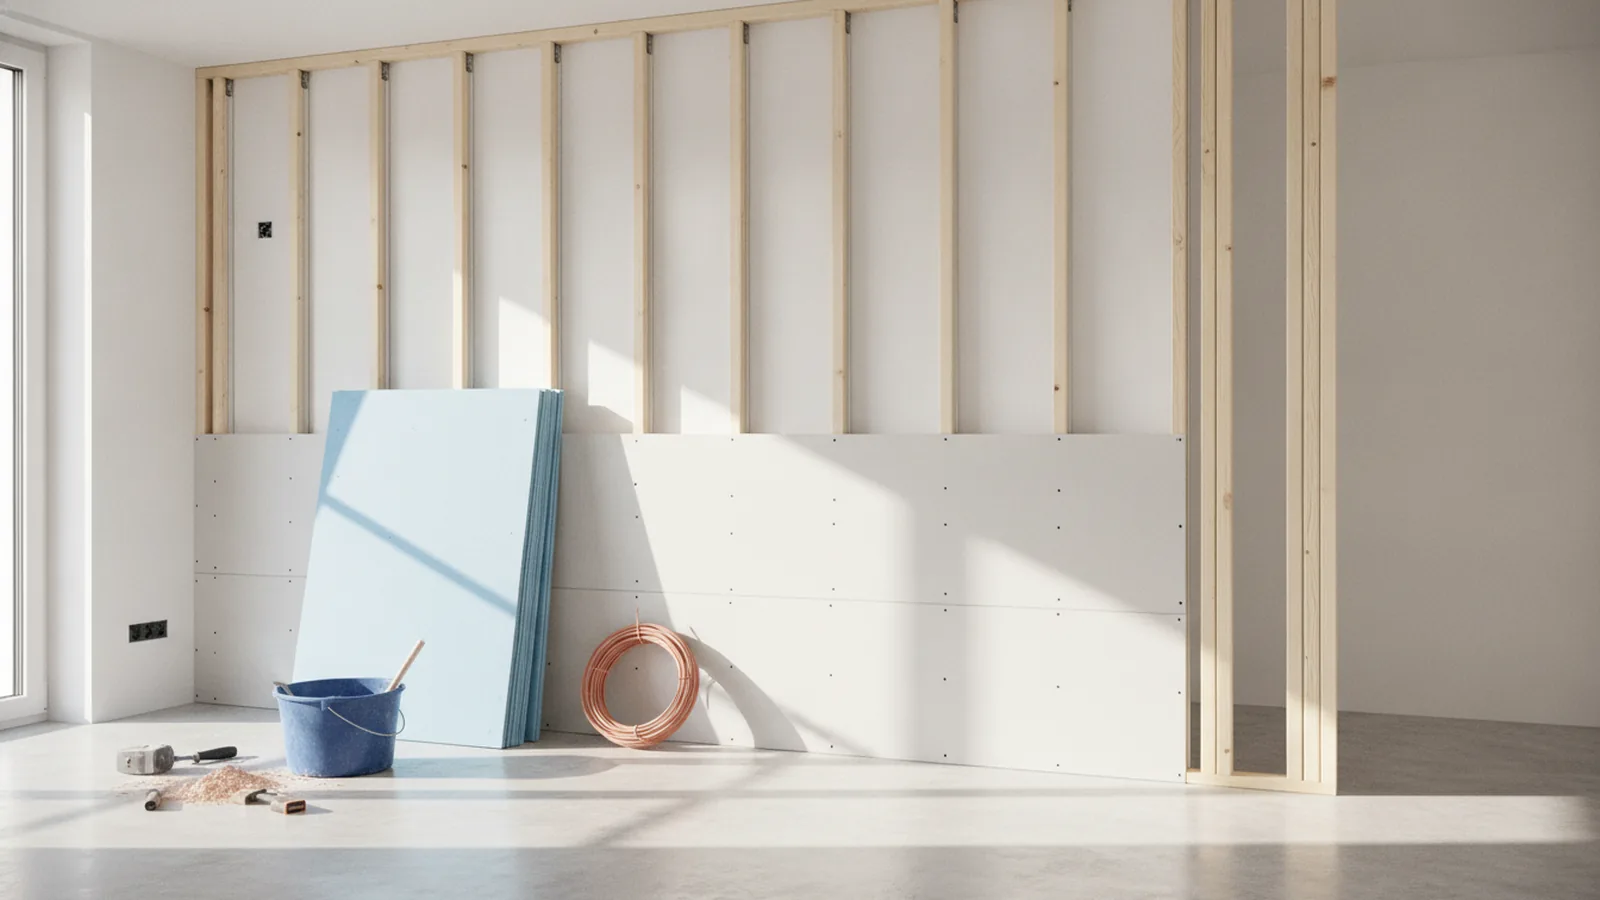
Introduction to partition walls
If you want to separate a finished room, the fastest path is a framed partition wall. It lets you create a new zone without major demolition. With the right layout and solid drywall installation, the result can look built-in and stay sturdy.
A partition wall is an interior wall that divides space into different areas. People use them for privacy, storage layouts, and better space optimization. They also help with acoustic separation when you plan insulation in walls and use sound-damping details.
This guide shows how to build a partition wall in a finished room using DIY-friendly methods. You will see options for false walls, half walls, and pony walls. You will also learn how to handle electrical wiring and plumbing before you close up the wall.
Types of partition walls you can build
Partition walls range from lightweight room dividers to full-height interior walls. The best choice depends on how much privacy you need and whether you want the space to feel open. It also depends on what is already behind your walls.
Here are three common types that match typical home renovation goals.
- False walls: A freestanding or lightly framed barrier that hides a problem area. They are often used to create sight lines and hide clutter, like a walkway or a service zone. If you search for how to build a fake wall to hide a room, this is usually the type people mean.
- Half walls (half wall room divider): A wall that stops below shoulder height. It keeps sight lines open while still defining the space. If you want how to build a half wall room divider, you will frame only the needed height and add a strong top rail.
- Pony walls (pony wall room divider): Similar to half walls, but usually a bit taller. Pony walls often reach around counter height. If you are exploring how to build a pony wall room divider, think of it as a sturdier divider that can support built-in features.
For full privacy, go with a full-height partition wall. For a softer look, choose half or pony styles. For sound control, consider insulation in walls and careful sealing at the floor and ceiling lines.
Materials and tools you will need
Your material list depends on wall height, length, and whether you will run wires. For most DIY builds, you will use a standard stud frame plus drywall or another finish surface. Plan to buy a little extra for cuts around outlets and corners.
Use this baseline setup for a typical drywall installation. You can adjust for false, half, or pony walls.
- Framing: Wood studs (2x4 or 2x3) or metal studs, plus top plate and bottom plate material.
- Fasteners: Screws for studs and drywall screws for sheathing.
- Sheathing: Drywall sheets for full or partial height walls. For a half wall, you may use drywall on the face and a finish board on the top rail.
- Finishes: Joint compound, mesh tape, corner bead (if needed), primer, and your paint or wallpaper.
- Optional insulation: Fiberglass or mineral wool for acoustic separation and temperature help.
- Backing: 3/4 inch plywood scraps or blocking where you will mount shelves or any future hardware.
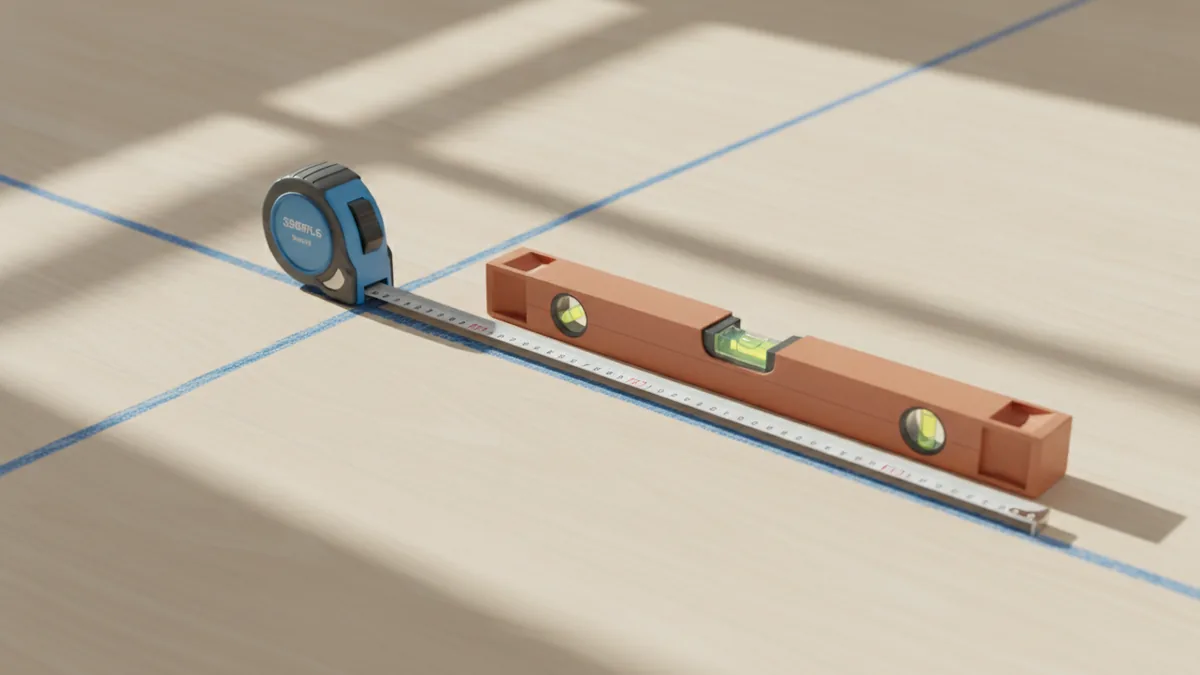
You will also want a measuring and layout kit. Get a tape measure, chalk line, level, stud finder (for existing wall checks), and a straightedge. A drill, circular saw or miter saw, and a utility knife are essential.
Step-by-step installation guide for a room divider wall
Use this sequence if you are asking how to build a room partition wall or how to build a wall to separate a room. It is designed for a finished room where you must work cleanly around existing floors and trim.
1) Plan the layout and confirm the path
Start by deciding where the divider starts and ends. Measure the room width at multiple points because floors can be out of square. Mark a centerline or wall line using a pencil and a tape measure, then snap a chalk line.
Check what is above and below your proposed line. Look for HVAC vents, return grilles, or duct runs in the ceiling. Also scan the floor area for plumbing, especially near bathrooms and kitchens.
2) Measure height, then map stud spacing
Pick your wall height based on the type you want. A half wall room divider often lands around 36 to 42 inches, depending on your room. A pony wall room divider is commonly taller, which changes how you frame the top rail.
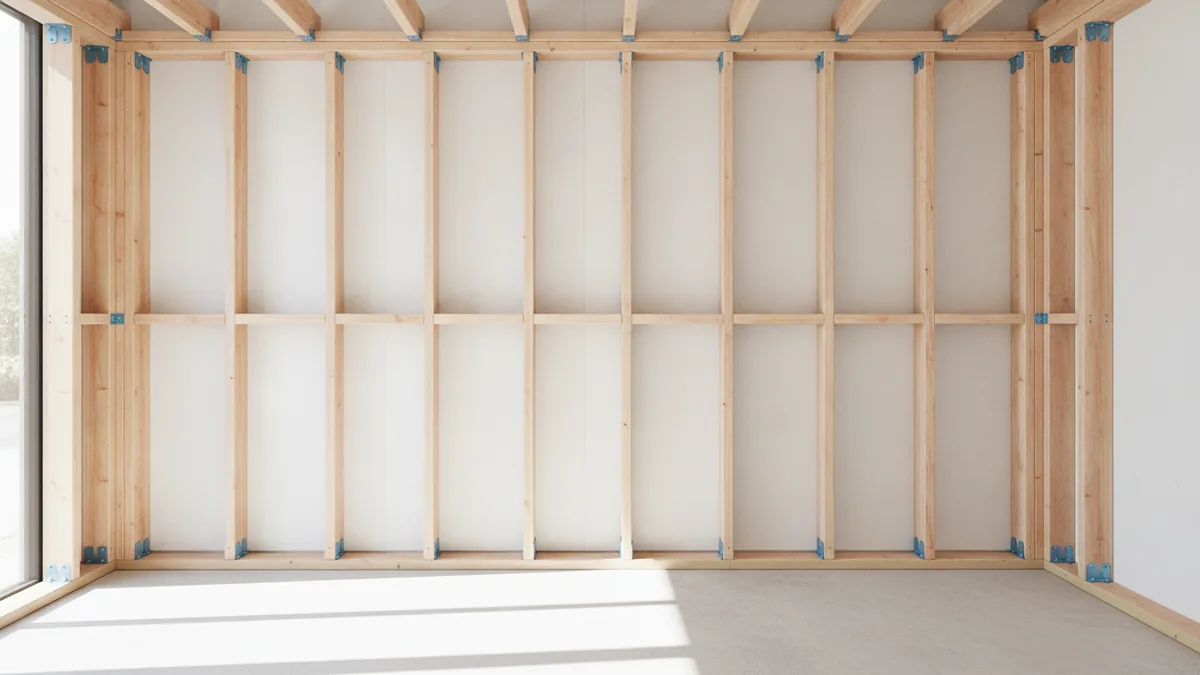
For drywall installation, studs are often spaced 16 inches on center. If you use wider panels, you may adjust spacing to match sheet edges. Mark stud positions on the top and bottom plate before you cut anything.
3) Prepare the floor and ceiling contact lines
Make sure the area under the bottom plate is flat. If your floor is uneven, you may need shims under the base. Place the bottom plate on your line, then verify alignment with a level.
At the ceiling, mark where the top plate will touch. If you are building in a room with crown molding, you may need to remove a small section or use a cover trim afterward. The cleanest results come from planning this before framing.
4) Frame the wall in place
Begin by securing the bottom and top plates to structure. Use appropriate anchors for your floor type, like concrete anchors for slabs. For wood subfloors, normal screws into framing members work well.
Then install studs between plates. Add blocking where you expect to mount anything later. A common example is a future bookshelf or decorative mantel shelf on a pony wall room divider.
Safety check: Wear eye protection when cutting studs. Watch for electrical lines when fastening near existing walls.
5) Plan electrical wiring and plumbing before you close
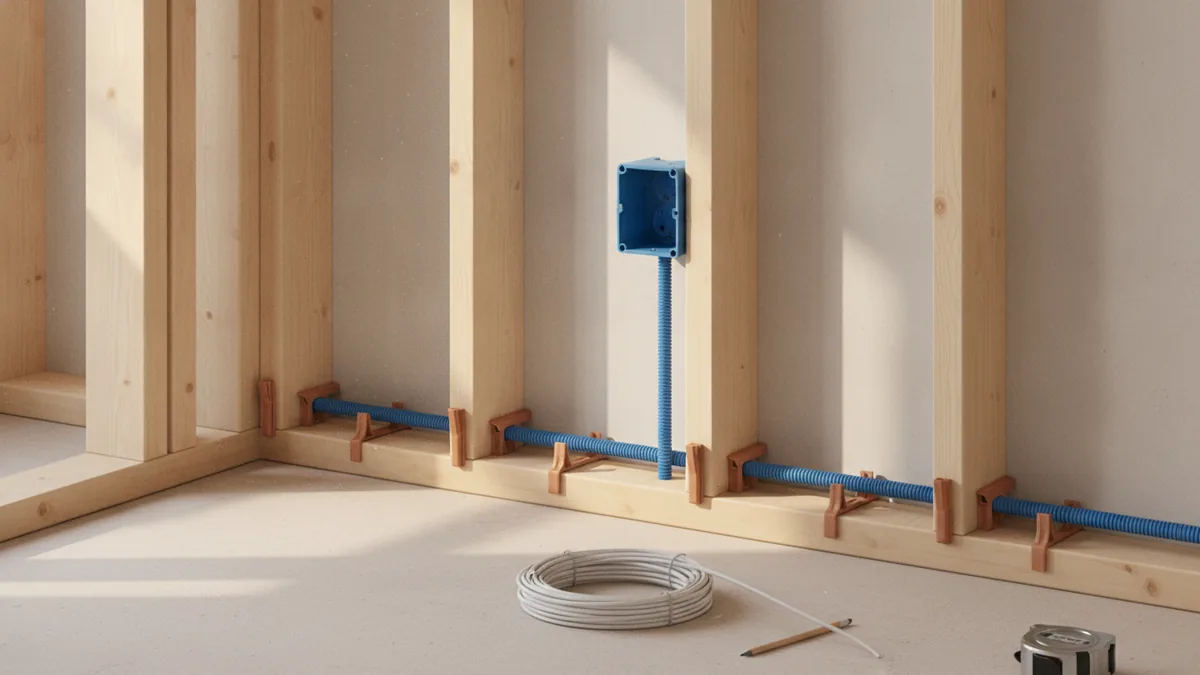
If you will add outlets or a switch, plan it now. You can run low-voltage cabling for lights or speakers, too, but keep power wiring separate. Follow local building codes and use the right junction box types.
Typical practice is to install wiring in the stud cavity before drywall closes. Keep wires within permitted routes and avoid driving screws into cable paths. If you suspect plumbing in an exterior wall or adjacent wall chase, stop and verify before fastening.
As a simple example, for an outlet at about 12 inches above finished floor, mark the box height on studs. Then cut openings for boxes, clamp them in place, and route cables to your power source.
6) Install drywall or wall sheathing
For a how to build a wall in a room build, start with full sheets where possible. Stagger seams so you do not create a long crack line. Lift panels carefully and fasten them to studs using drywall screws.
If you are building a half wall room divider, you may need a trim board on top. This creates a straight edge and a more furniture-like look. For a pony wall room divider, the top rail often acts as the main design feature.
Finishing touches and decoration
Finishing turns a frame into a real interior design element. Start with joint compound and tape. Apply compound in thin passes, then sand smooth between coats. The goal is a wall surface you can prime without bumps.
Once the wall feels level to the touch, prime it. Then choose your finish. Paint is the most flexible option, especially if you will match adjacent walls. Wallpaper can add drama, but plan pattern alignment at seams and corners.
Trim also makes a divider look intentional. Add base trim where it meets the floor, and consider casing or a cap trim at the top edge. For acoustic separation, remember that gaps at edges can reduce performance.
How to decorate a half wall room divider
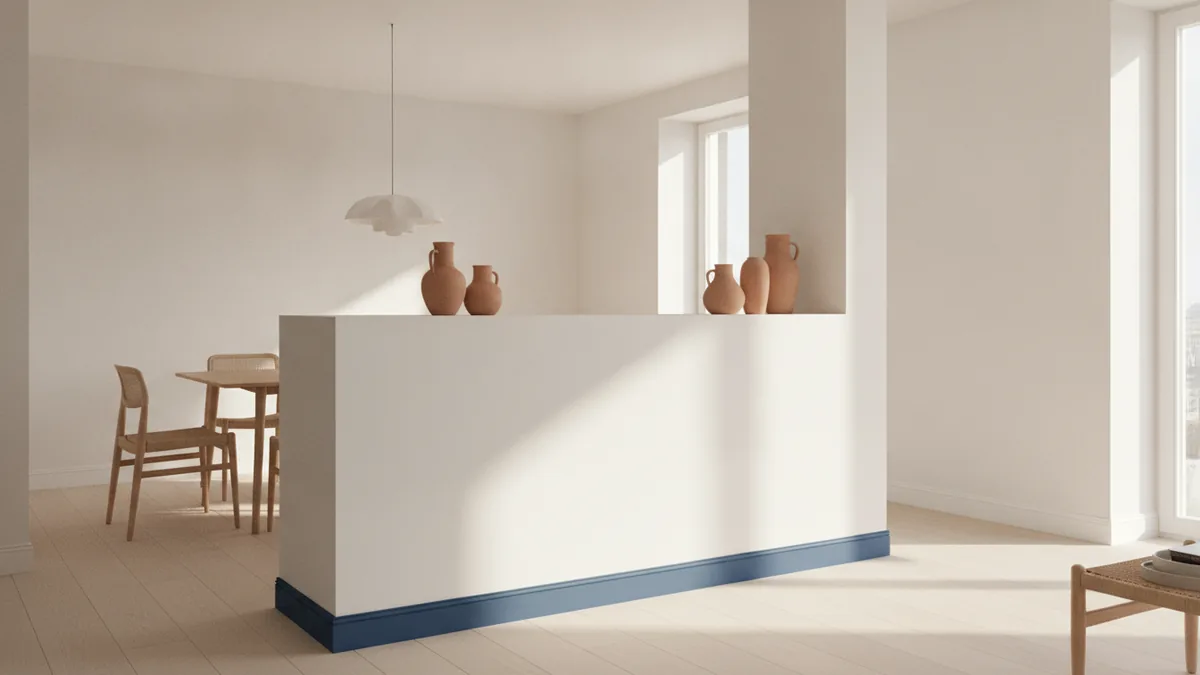
A half wall room divider can feel open and airy while still defining boundaries. A popular choice is to paint it the same color as the walls, then use contrasting trim for edges. You can also add wall art directly above it for a layered look.
For function, place floating shelves on the face. If you want storage, plan plywood backing inside the frame so shelves hold weight. This is one reason you should consider blocking while you are building.
How to decorate and style a pony wall room divider
A pony wall is ideal for plant stands, media shelves, or serving zones. Its height can align with counters, which makes it easier to style. You can add a wood cap for warmth or use tile for a durable surface.
If you are aiming for DIY home improvement style, combine a matte paint base with a stained top rail. That contrast hides minor finish differences and looks designed. Keep grout or seal lines clean if you use tile.
Built-in cabinet ideas
Many people also ask how to build wall cabinets for laundry room or how to build wall cabinets for living room. While this article focuses on the divider itself, the key detail is pre-planning backing and stud locations. Install cabinets by fastening into studs and solid blocking, not only into drywall.
If you want a divider that supports cabinets, frame extra horizontal blocking at the cabinet mounting height. Then finish the wall as planned, and mount cabinets after primer or paint dries.
Common mistakes to avoid
Small errors can make the finished wall look crooked or unstable. Avoid these issues while you build a partition wall in a finished room.
- Skip planning for outlets: Cutting openings after drywall is harder. Map wiring and box locations before sheathing.
- Assume the room is square: Floors and ceilings often drift. Measure from two directions and recheck alignment often.
- Fasten only into drywall: Cabinets and shelves need stud or blocking support. Add backer wood before drywall installation.
- Loose floor contact: Gaps at the base can create noise and drafts. Shim and seal carefully where plates meet the floor.
- Over-sanding or under-taping joints: Thin coats fix the crack risk. Thick compound can crack before paint.
- Ignoring building codes: Electrical work and load support can be code sensitive. If you are unsure, consult a local pro.
Another frequent issue is rushing the top edge on half and pony walls. A straight top rail controls the visual finish. Spend time on the first framing pass, then your decoration choices will land cleanly.
Finally, do not treat how to build a fake wall to hide a room as a “quick cover.” If it is freestanding or lightly anchored, it must still resist pushing and vibration. Solid plate fastening and good bracing matter.
Conclusion and practical tips
Learning how to build a partition wall in a finished room is mostly about planning and sequencing. Decide the wall type first. Then measure, frame, wire-check, and finish in a predictable order.
If you are building a room divider, treat layout like a design step. Use a level often and verify wall line alignment before you close the cavity. When you finish, prioritize smooth joints, strong trim lines, and cohesive color choices.
For acoustic separation, prioritize insulation in walls and reduce gaps at edges. For DIY home improvement confidence, start with a small half wall room divider project. After you nail alignment and finishing techniques, you can scale up to longer walls or full-height partitions.
Step-by-step
- 01 Plan the divider type and layout
Choose false, half, pony, or full-height based on privacy and style. Measure the room and mark the wall line with a level and chalk snap.
- 02 Confirm hidden obstacles
Check for ceiling ducts, floor plumbing, and existing wiring paths. Adjust the line early so you avoid drilling surprises later.
- 03 Frame the wall with correct spacing
Install bottom and top plates, then add studs at consistent spacing. Add blocking for any future shelves, cabinets, or hardware.
- 04 Route wiring or plumbing before sheathing
Install outlet boxes and cables inside stud bays before drywall installation. Keep routes inside approved areas and avoid cable contact with fasteners.
- 05 Install drywall or wall sheathing
Cut panels to fit and fasten them to studs. For half and pony walls, plan a strong top edge and clean transitions.
- 06 Finish joints, then paint or paper
Tape seams, apply joint compound in thin coats, and sand smooth. Prime, then finish with paint, wallpaper, or trim for a polished look.
Frequently asked questions
- What is a partition wall used for in a finished room?
- A partition wall divides interior space for privacy and layout control. It can also improve acoustic separation when you plan insulation and sealing.
- How do I measure and mark for a room partition wall?
- Measure from two directions to check for out-of-square. Use a level and chalk line to set a clear wall line before you fasten plates.
- Can I add electrical outlets in a DIY partition wall?
- Yes, but you should plan box locations before drywall installation. Follow local building codes and run wiring in the stud cavity with proper junction boxes.
- What is the difference between a half wall and a pony wall divider?
- A half wall divider is shorter and keeps more sightlines open. A pony wall divider is usually taller, so it can support more functional styling.
- How do I finish a partition wall so it looks built-in?
- Use tape and thin joint compound coats, then sand smooth. Prime and apply paint, wallpaper, or trim to match the room’s interior design.
- What are common mistakes when building a room divider wall?
- Common issues are skipping wiring planning, ignoring room square, and not adding backing for shelves. Slow down on layout and fasten to studs and solid blocking.
Related reading
Couch Placement — Comfort, Flow, and Style
Arrange couches for easy movement, good conversation, and a balanced room.
Small Kitchen Design — Light, Space and Smart Storage
Use light, smart storage, and slim furnishings to make a small kitchen feel more open.
Living Room Paint — Measurements and Buying Tips
Measure your walls, count coats, and buy the right amount of living room paint.