How to Build a Temporary Wall to Divide a Room (Guide)
Learn how to build a temporary wall to divide a room without permanent changes. Materials, tools, steps, design tips, and safety.
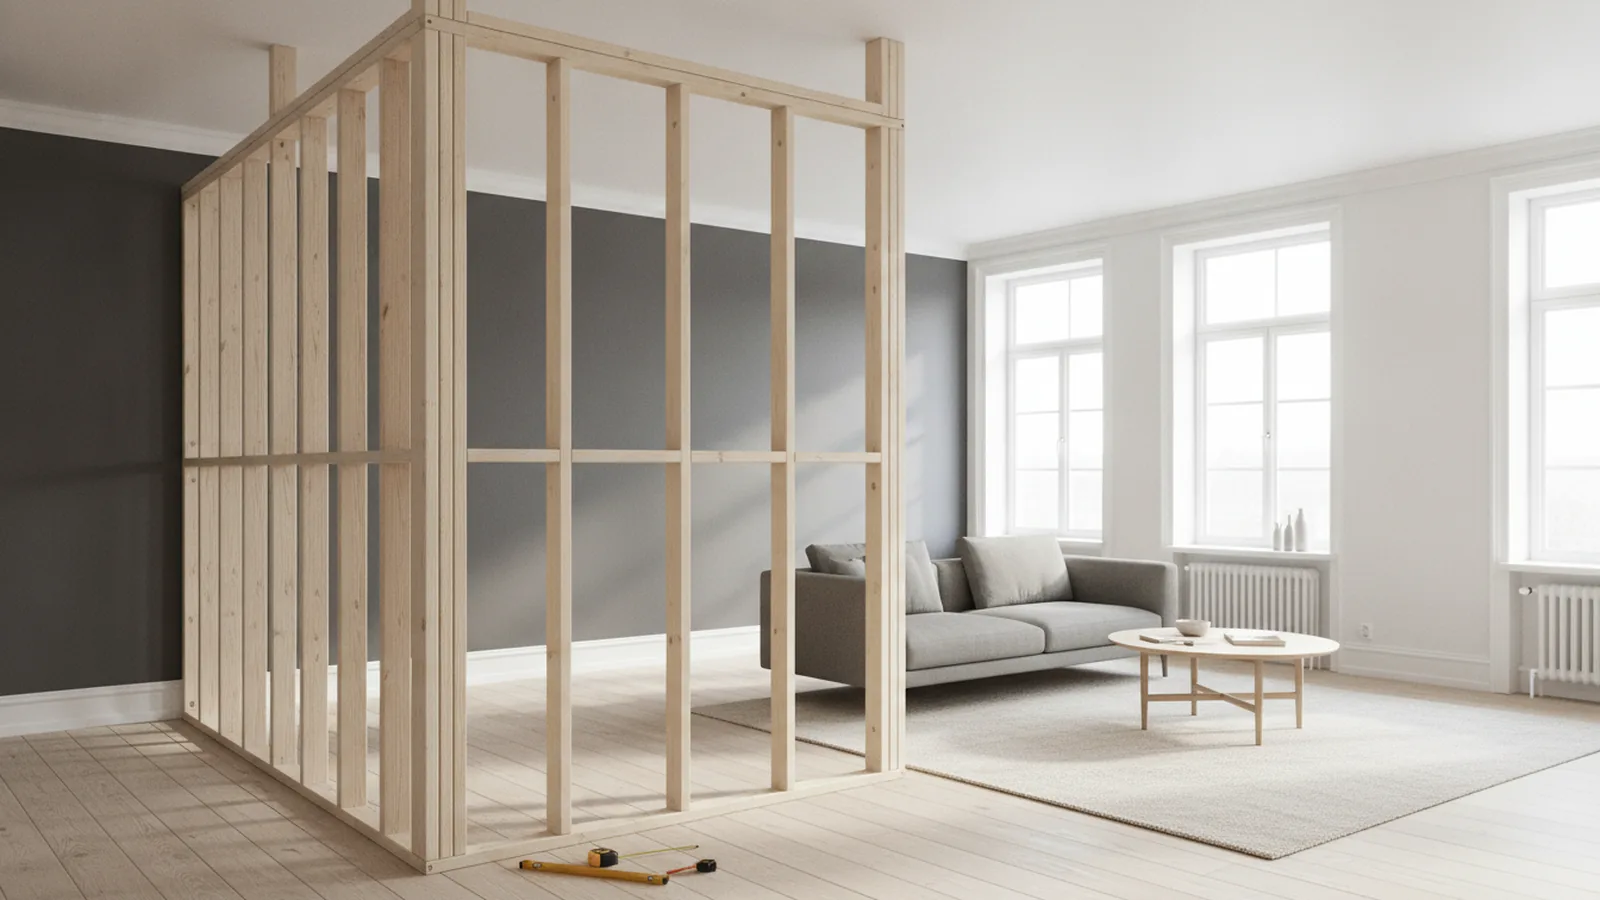
Understanding temporary walls
If you want how to build a temporary wall to divide a room, the key idea is simple. You build a non-load-bearing partition that lives inside your space, then comes out later.
Most temporary walls use a light frame and panels. They are often made with 2x4 wood studs and drywall, or with plywood where you need a sturdier surface.
A good rule is to avoid permanent changes to the existing structure. That means no structural cuts into beams, no load-bearing posts, and no permanent anchors into concrete or masonry unless you plan for real repairs.
In practice, you have two common patterns. One is a framed wall that touches the floor and ceiling. The other is a freestanding wall that stands using base weight and bracing.

Essential tools and materials
Before you build, map your plan to the height and length of your room divide. A wall that is 8 feet tall by 6 feet long uses far fewer parts than a full-height partition across an entire living room.
For a typical interior partition with drywall, expect the following. Exact quantities depend on wall size, stud spacing, and panel width, but these categories stay the same.
- Framing: 2x4 lumber (studs, top plate, bottom plate), construction screws, and corner blocking if needed
- Wall panels: 1/2-inch drywall for most room partitions, plus screws or nails sized for drywall
- Fasteners: anchors or screws for securing the bottom and top, if you are allowed to use them on non-structural surfaces
- Tools: miter saw or circular saw, drill/driver, level (4-foot level is common), tape measure, stud finder, and a utility knife
- Optional adhesives: removable adhesive for short-term fixtures or light attachments
If you are aiming for a DIY home improvement approach, keep the materials forgiving. For example, use consistent stud spacing so panel edges land cleanly on studs.
Also plan for insulation only if it serves your goals. If you need privacy or sound dampening, add batt insulation between studs before you close the wall.

Step-by-step instructions
This section walks through how to put up a wall to divide a room with a framed, non-load-bearing design. The steps assume you are not cutting into structural members and you want the wall to be removable.
Step 1: Determine the wall location and measure accurately. Choose the exact line where the wall will sit. Measure the full length at floor level and also check the ceiling height at each end. If the floor is not level, note the height variation. Mark stud lines on the floor using a tape measure and a chalk line if you have one.
Step 2: Gather tools and materials. Confirm you have the saw, drill, and level you will use to keep everything straight. Typical stud spacing is 16 inches on center, but you can adjust based on your panel size. Buy drywall sheets sized for your plan so seams fall near studs. This saves time on patching later.
Step 3: Build the frame and secure it to the floor and ceiling. Cut your bottom plate and top plate to the wall length. Then cut studs to match the ceiling height minus the thickness allowances you need for your plates. Assemble the frame on the floor first if possible. When you lift it into place, secure the bottom plate to the floor and the top plate to the ceiling with fasteners appropriate to the surfaces.
For temporary fixtures like mounts for decor, consider removable adhesive where it will not damage paint. Use it only for lightweight items. Do not rely on it for structural support.
Step 4: Attach wall panels and check alignment as you go. Start with a full panel if one fits your layout. Screw drywall into studs, keeping edges aligned with the planned seam lines. Use a level to confirm the wall stays plumb at several points. If you need outlets or switches, leave openings before you fully close the wall.
If you choose a modular approach, you can build sections. This can make the wall easier to move out when you remodel. However, each seam must be framed so panel joints remain stable.
- Measure twice along both the floor and ceiling lines
- Snap a layout line so the wall sits on your marks
- Frame on the floor for easier squaring
- Plumb the frame before fastening panels
- Close both sides or at least brace the open side safely
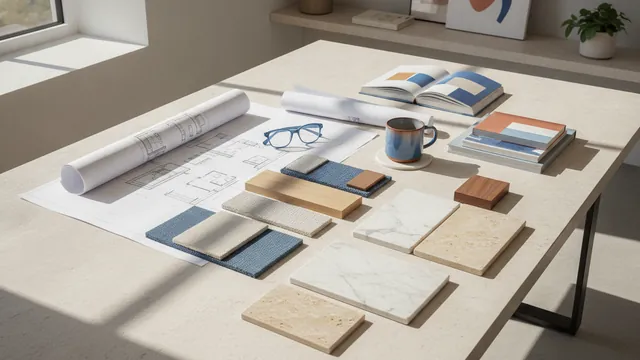
Design considerations for a clean room divide
Once you understand the build, you need a plan for how it will look and function. Room dividers should consider traffic flow, door placement, and sight lines.
Start with the question: is this a full height wall or partial height? Full height partitions feel more private, while half walls can keep a room open. If you plan to add a door, frame for the opening before drywall so you can install a proper header.
Next, think about how the new wall meets existing surfaces. If the wall meets a hallway wall, you need tight seams where drywall edges land. If it meets a corner, add blocking so your trim can sit flat.
Sound and privacy matter for interior design, especially for bedrooms or home offices. You can improve results by using insulation and sealing gaps at the top and sides. For the best finish, seal small spaces between framing and adjacent drywall with joint compound or appropriate sealant.
Finally, consider what you will do after removal. If this is part of renovation space management, plan for repair-friendly anchoring. For example, keep fasteners limited to surfaces that can accept patching.
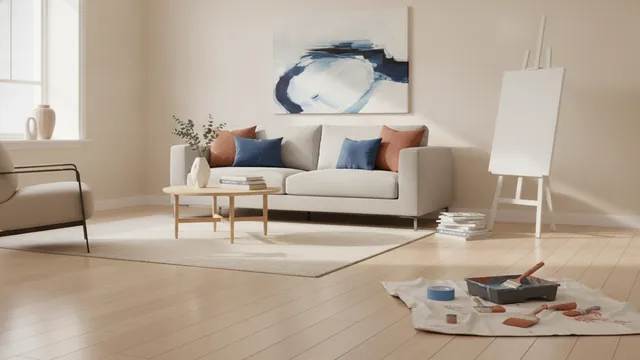
Finishing touches and aesthetics
Finishing turns a build into a space. After panels are up, tape and mud the seams like you would on a standard drywall wall. Use a drywall knife to apply thin coats, then sand between coats once dry.
Paint is often the fastest path to blending the wall with existing decor. Match the sheen and color if you can. If your room has eggshell paint, avoid switching to flat by accident. That mismatch can look obvious even with good seam work.
Trim can hide small gaps and create crisp edges. Baseboards can cover the bottom seam where the wall meets the floor. Crown molding or chair rail can help the divider look intentional rather than temporary.
If you plan to hang artwork, locate studs before drilling. Light fixtures or heavier shelving need reliable anchors. Use appropriate anchors only where they are rated for your wall type.
| Finishing step | What it solves | Typical timing |
|---|---|---|
| Tape and mud | Seam strength and smoothness | Same day setup, multiple coats |
| Sand and spot-fix | Flat finish for paint | After each dry coat |
| Prime and paint | Match existing wall finish | Once seams are smooth |
| Add trim | Crisp edges and gap coverage | After final paint test |
If your goal is a modular room solution, finishing can be lighter. You might use removable paneling or a more basic surface. Just keep edges durable enough for repeated removal.
Safety precautions for tools and wall materials
Safety should guide every stage of how to build a wall to divide a room. You will work around sharp blades, heavy panels, and power tools. Set up with clear access and stable footing.
Wear eye and hearing protection during cutting and drilling. Use a dust mask if you are sanding drywall. Keep your drill bits sharp to reduce tool kickback. Turn off the drill before changing bits.
Heavy materials are another risk. Drywall sheets can be awkward and can pinch fingers. Two people make panel placement easier and safer, especially above waist height. Use proper lifting technique and keep hands clear of pinch points.
If you are securing a frame to ceilings, verify what you are drilling into. Avoid random fasteners in unknown ceiling cavities. Locate joists or other safe mounting points when you can.
- Measure with a stable tape line and mark carefully before cutting
- Clamp boards when cutting to prevent blade drift
- Keep cords and saw stands out of walk paths
- Check plumb and level before you screw anything permanent
- Let mud and paint dry fully before sanding or re-coating
These norms also protect your finished results. A plumb frame reduces sanding, and careful anchoring reduces cracks.
Benefits of temporary walls
A well-built temporary wall gives you control without long delays. It can support changes in layout for work, family life, or short-term rental needs. It also helps you manage privacy while you plan a longer build.
Temporary construction keeps costs more predictable. You can reuse lumber and panels if you plan the layout well. That lowers waste when you move on to a new layout.
Flexibility is the big win. If you later decide to reconfigure the room divide, you can adjust it. This can be helpful for interior design refreshes or seasonal needs.
Lastly, a temporary wall can teach you wall framing techniques. Once you understand the basics of layout, framing, and panel alignment, you can scale up to more permanent renovations with fewer surprises.
Frequently asked questions
- Do I need to attach a temporary wall into studs or structural beams?
- Usually, no. A temporary wall should be non-load-bearing and secured at non-structural surfaces when possible. Always verify what you are drilling into before fastening overhead.
- What materials are best for a temporary wall dividing a room?
- Common choices include 2x4 wood framing and 1/2-inch drywall. If you need a faster setup, you can also use plywood panels, but alignment matters even more for a clean finish.
- How do I measure for a temporary wall that fits correctly?
- Measure the wall length on the floor and check ceiling height at both ends. If the floor or ceiling is not level, note the variation and adjust stud lengths to keep the frame plumb.
- Can I make a temporary wall without permanent damage to my room?
- Yes, if you keep anchoring limited and plan for patching. Avoid structural cuts and use removable approaches where appropriate for light fixtures.
- How can I make a temporary wall look like it was built in?
- Finish seams with tape and mud, then paint to match the room. Add trim to cover the bottom seam and create crisp edges around corners.
- Is a temporary wall safe to build as a DIY project?
- It can be safe if you use correct tool handling and lifting practices. Wear eye protection, secure lumber while cutting, and get help when raising drywall sheets.
Related reading

How to Fit Two or More Beds in a Small Room
Smart layouts and storage ideas for fitting two or more beds in a small room.
Room Painting Costs and How to Choose the Right Color
Room paint costs, color tips, and smart ways to plan your project.
How Much Do Interior Designers Make? A Practical Pay Guide
See interior designer pay by location, experience, billing model, and project type.