How to Prepare a Room for Painting: A Smooth Start
Get walls ready fast: clear, clean, fix, tape, and protect floors for a clean paint job.
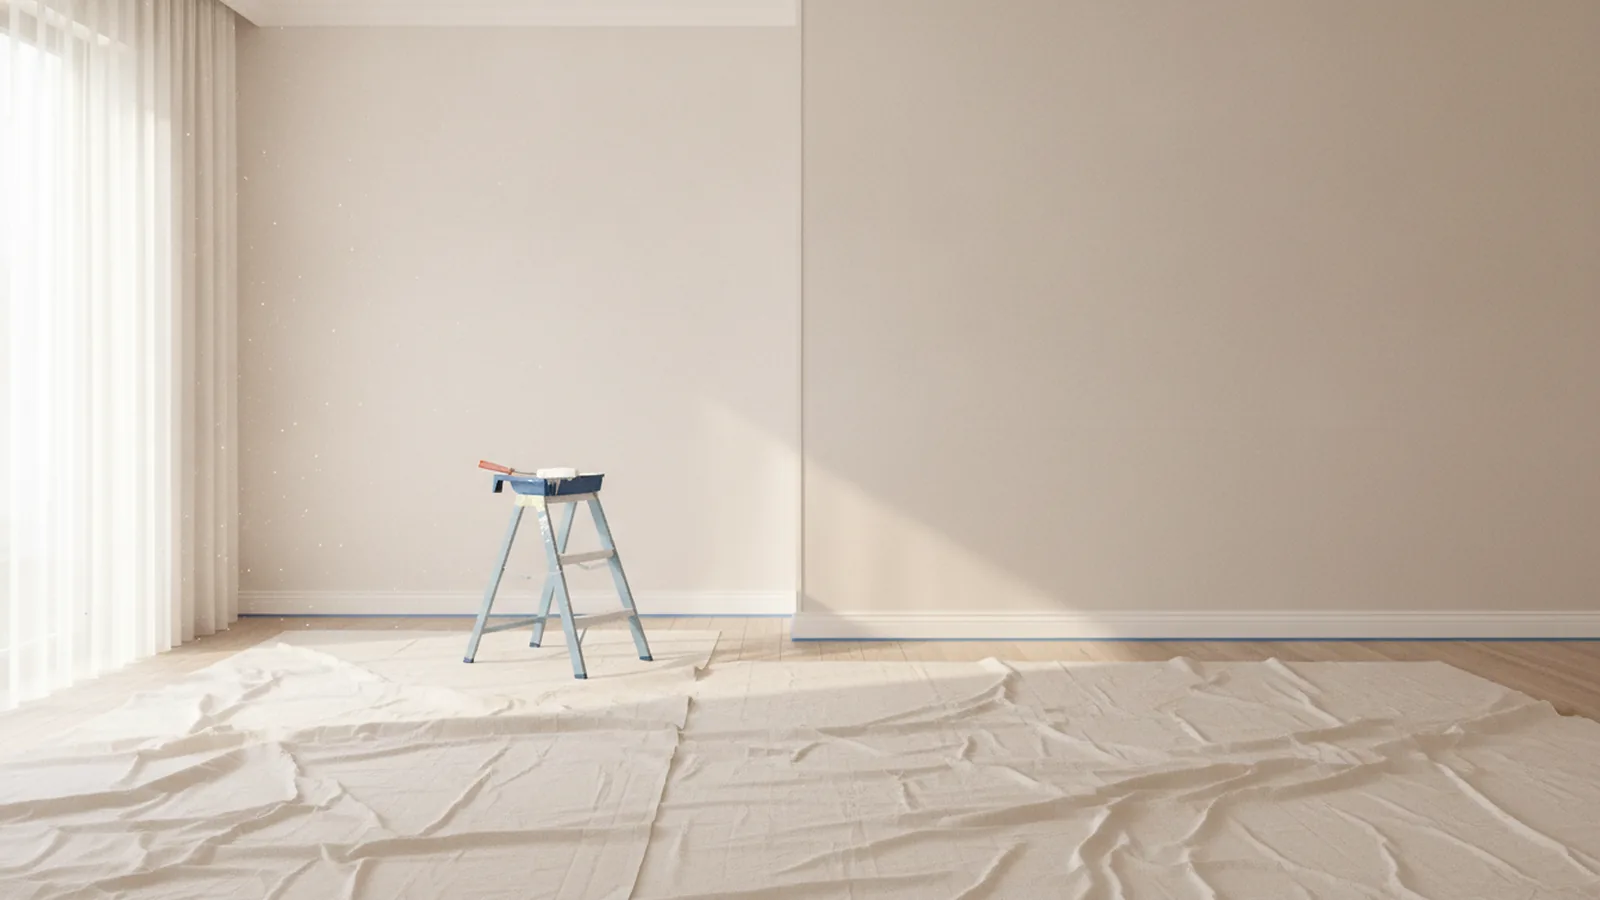
Preparing the Room
How do you prepare a room for painting? Start by protecting the space and making the walls easy to work on. You want paint-ready surfaces and zero obstacles near trim, outlets, and doorways. This reduces missed spots and limits rework later.
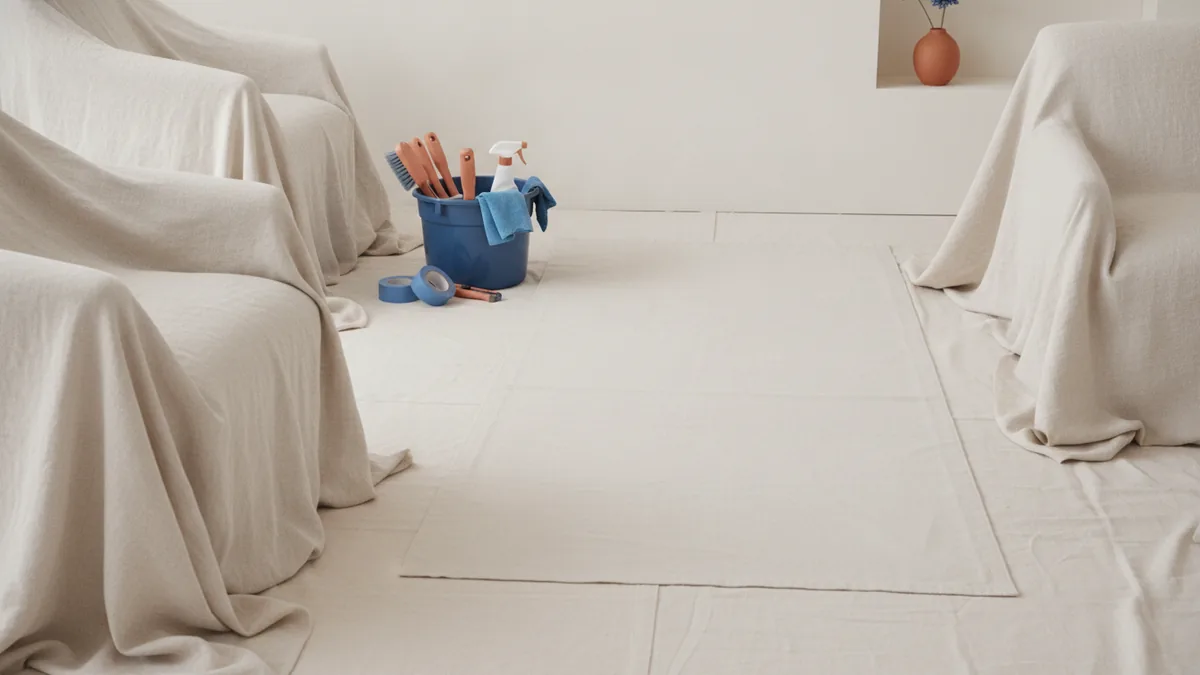
Begin by clearing as much furniture as possible. If something is too heavy to move, cover it tightly with drop cloths. Leave yourself a clear path so you can cut in along edges without constantly stepping around items.
Also plan your ventilation. Open windows if you can, and keep a box fan aimed outward to move fumes out of the room. Just be mindful that fans can blow dust back onto freshly cleaned walls.
- Move small items like lamps, frames, and rugs into another room.
- Cover large furniture with drop cloths so fabric does not catch overspray.
- Keep pets and kids out until the paint dries.
Gathering Necessary Supplies
Before you start, gather everything so you do not pause mid-job. The biggest delays come from stopping to find tape, filler, or the right brush. Build a small “paint prep station” near the work zone.
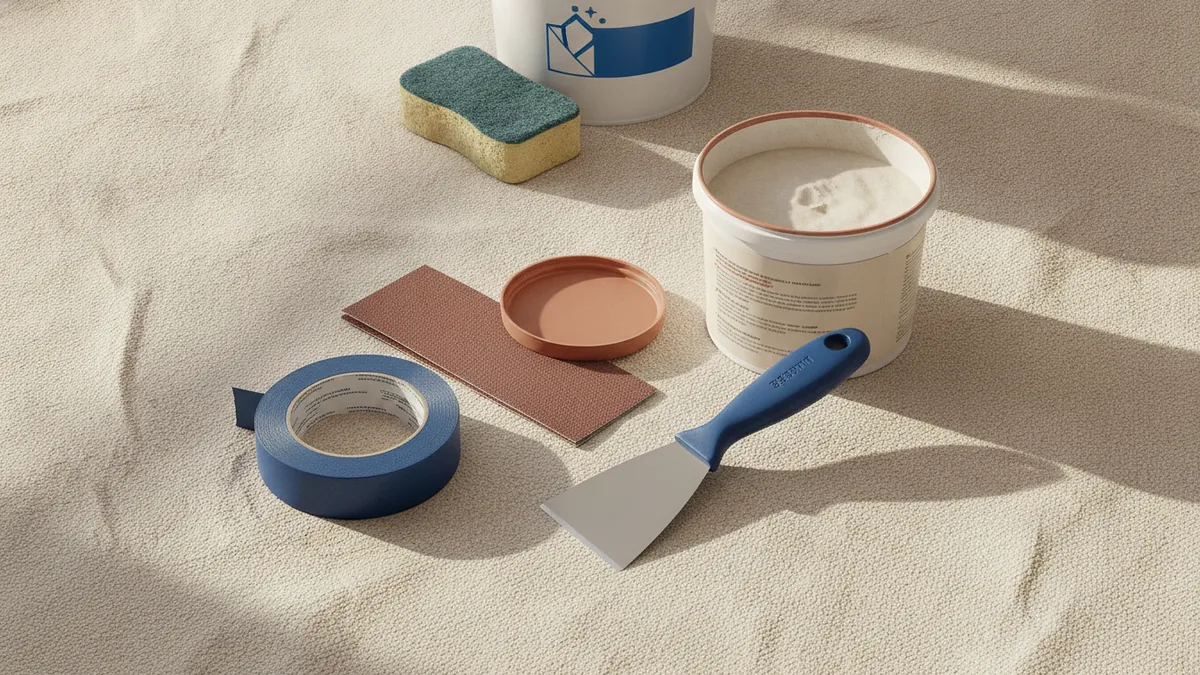
You will typically need wall cleaner, spackling compound, and sandpaper. Choose sandpaper around 120–220 grit for smoothing repaired spots. If you have glossy paint or heavy grime, you may need an additional cleaning step.
For taping, have painter’s tape and a steady hand-ready tool like a putty knife or plastic tape applicator. Having a small cloth helps you wipe edges as you go. For floor protection, use drop cloths that cover the entire footprint of the room.
- Wall cleaner, plus a bucket and clean rinse water.
- Spackling compound or wall filler for cracks and holes.
- Sanding supplies for smoothing and feathering edges.
- Painter’s tape, putty knife, and a scraper or utility knife.
- Drop cloths for floors and any items that stay.
Removing Furniture and Decor
Wall prep goes faster when you remove what can snag or get splattered. Remove wall decor, artwork, and anything mounted on the walls. Take down hooks, picture hangers, and mirrors so you can clean and repair behind them.
Next, remove light switch covers and outlet plates. This step helps you avoid paint splatters on hard-to-clean plastic and keeps edges crisp around openings. If your room has multiple outlets, label plates so you reinstall them in the same spot.
If you are painting near baseboards, check for caulk lines that look cracked or peeled. You will not fix everything in this step, but noting problem areas saves time during final touch-ups. Also move or protect window coverings so paint does not land on fabric.
- Do wall decor removal before washing so you can access the full surface.
- Remove outlet plates and switch covers to keep edges clean.
- Roll up blinds or secure them away from wall height where you cut in.
Cleaning and Inspecting Walls
Clean walls thoroughly before any paint touches them. Use warm soapy water for most dusty rooms, and scrub with a sponge or soft brush to lift grime. Rinse with clean water afterward so soap residue does not dull adhesion.
Let walls dry fully before inspecting. Then scan with a light from an angle, like a flashlight held near the wall. This makes small imperfections and uneven patches easier to see.
Look for cracks, nail holes, tiny bubbles, and worn spots where paint has chipped. If you find grease near kitchens or hallways, clean those areas more aggressively until the surface looks uniform. Dirt is one of the most common reasons paint flakes after curing.
| Issue to spot | Where you see it | What you do next |
|---|---|---|
| Dust and grime | Near vents, corners, and doorways | Clean with wall cleaner and rinse |
| Cracks | Along seams and corners | Fill with spackling compound |
| Holes | Nail marks and anchors | Patch and sand smooth |
| Chips | Trim edges and high-touch areas | Sand and blend for repainting |
Repairing Wall Imperfections
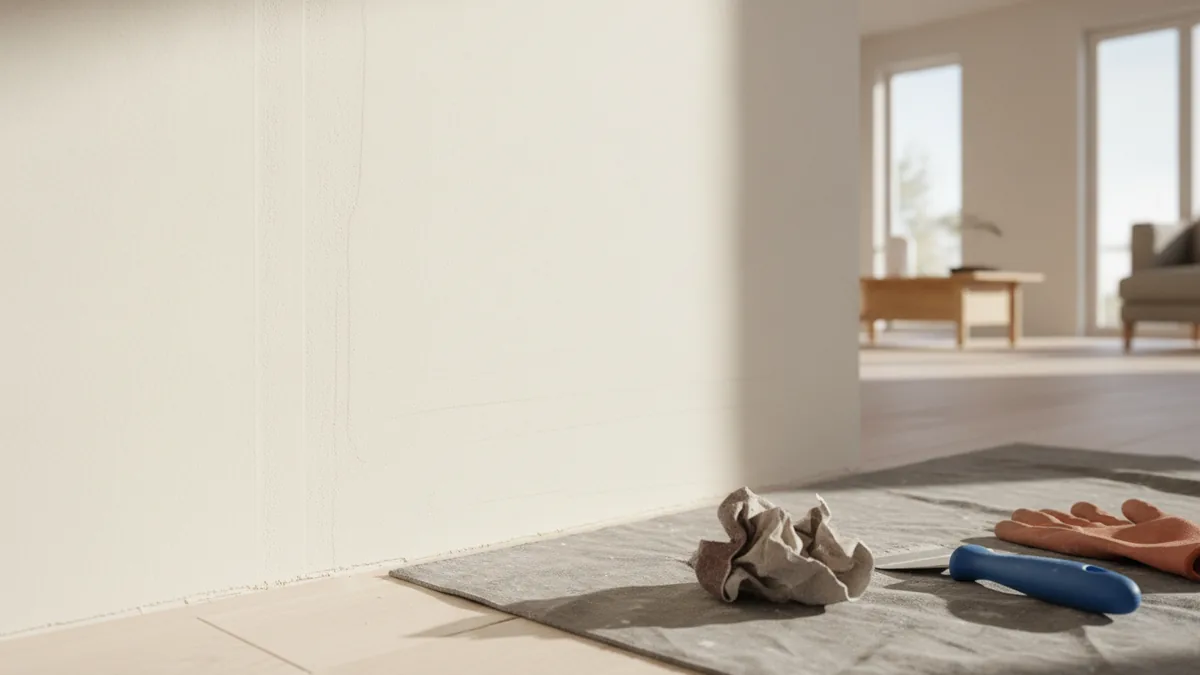
After you inspect, repair wall damage before sanding. For small nail holes and hairline cracks, spackling compound works well. Apply it with a putty knife and aim for a slightly overfilled spot so you can smooth it later.
For larger gaps, use a wall filler product that is meant for deeper repairs. Follow the label on cure time before sanding. If you rush, the filled area can crumble or leave ridges that show through paint.
Once the repairs are dry, sand them lightly to blend with the surrounding wall. Smooth feathered edges are the goal, not a shiny patch. Wipe dust away after sanding, since sanding dust can interfere with both primer and paint.
- Fill cracks and holes with spackling compound.
- Let filler cure fully, then check for low or high spots.
- Sand the area until it feels level with the wall.
- Wipe dust off using a dry cloth or lightly damp sponge.
Applying Painter’s Tape
How to tape a room for painting? The method matters because tape is what keeps edges straight and clean. Start with painter’s tape, and press it firmly along the line you want to protect. Take your time at corners and along trim because most mistakes show up there.
To tape off a room for painting, begin by cleaning edges again if you can. If dust is on the trim, tape will not seal well and paint can seep underneath. Then run tape in one continuous line where possible, overlapping slightly at corners.
Press the tape edge down with a putty knife or your fingertip. This “seal” step helps when you cut in with a brush. After painting, remove tape while the paint is still slightly wet to reduce tearing.
When you tape a room to paint, plan your order. Do you want sharp lines around trim and along ceilings? Tape those edges first, then work your brush along the taped boundary so you do not smear paint onto the tape face.
- Press down the tape edge along trim and molding seams.
- Overlap tape at inside corners so paint cannot sneak through.
- Remove tape at the right time to avoid peeling or tearing.
Final Preparations Before Painting
Before decorating with fresh paint, do a final walk-through. Confirm the room is protected with drop cloths, and check that floors and nearby items are fully covered. Look at the areas around outlets and switch locations to ensure nothing is still exposed to splatters.
Check that all repairs are sanded and cleaned. Then set up for painting by organizing brushes, rollers, and a paint tray so you can keep a wet edge. If you are using primer on repairs or bare spots, apply it now and let it dry per the product instructions.
Finally, if you are learning how to tape off a room for spray painting, adjust your plan. Spray creates more mist, so consider covering extra areas and sealing tape more carefully along edges. Keep a steady distance from surfaces and paint in controlled passes to limit overspray buildup.
Once you are ready, keep the room at stable temperature and humidity. Avoid painting on days when walls are very cold or damp, since that can slow drying and affect finish quality.
- Verify drop cloth coverage on floors and near furniture edges.
- Confirm outlet and switch openings are prepped for paint.
- Check repairs and tape lines one last time.
- Arrange tools so you can paint without interruptions.
Frequently asked questions
- How do you prepare a room for painting before you open the paint cans?
- Clear furniture, protect the floor with drop cloths, and remove wall decor. Then clean the walls with warm soapy water and let them dry fully.
- Do I need to remove outlet plates and light switch covers before painting?
- Yes. Remove switch covers and outlet plates to prevent paint splatters and keep edges neat around openings.
- What’s the best way to tape off a room for painting?
- Use painter’s tape and press the edge down firmly along trim and where you want a clean line. Seal corners well and remove tape when paint is still slightly wet.
- How to tape a room for painting near baseboards and window trim?
- Tape along the exact trim line, overlapping at inside corners. Cut in with a brush along the tape boundary to avoid smearing.
- How to tape off a room for spray painting differently than brush or roller work?
- Expect more mist, so cover extra surfaces and seal tape edges carefully. Keep controlled passes and avoid heavy overspray buildup.
- How long should I wait after repairing wall damage before sanding and painting?
- Let spackling compound or filler cure as the product label says. Sand only after it is fully dry, then wipe away dust before painting.
Related reading
Kitchen Cabinet Tops — Style, Texture and Seasonal Charm
Style cabinet tops with balanced layers, useful texture, and decor that suits your kitchen.

Couch Placement—Flow, Focus and Comfort
Place your couch to frame a focal point, keep paths clear, and make the room feel balanced.

Master Bedroom — Color, Comfort and Personal Style
Build a calm, personal bedroom with smart choices and a budget that works.