Small Wet Room Cost (2026 Guide): Prices & Planning
Learn how much a small wet room costs, what drives the wet room installation price, and how design, waterproofing, and drains impact totals.
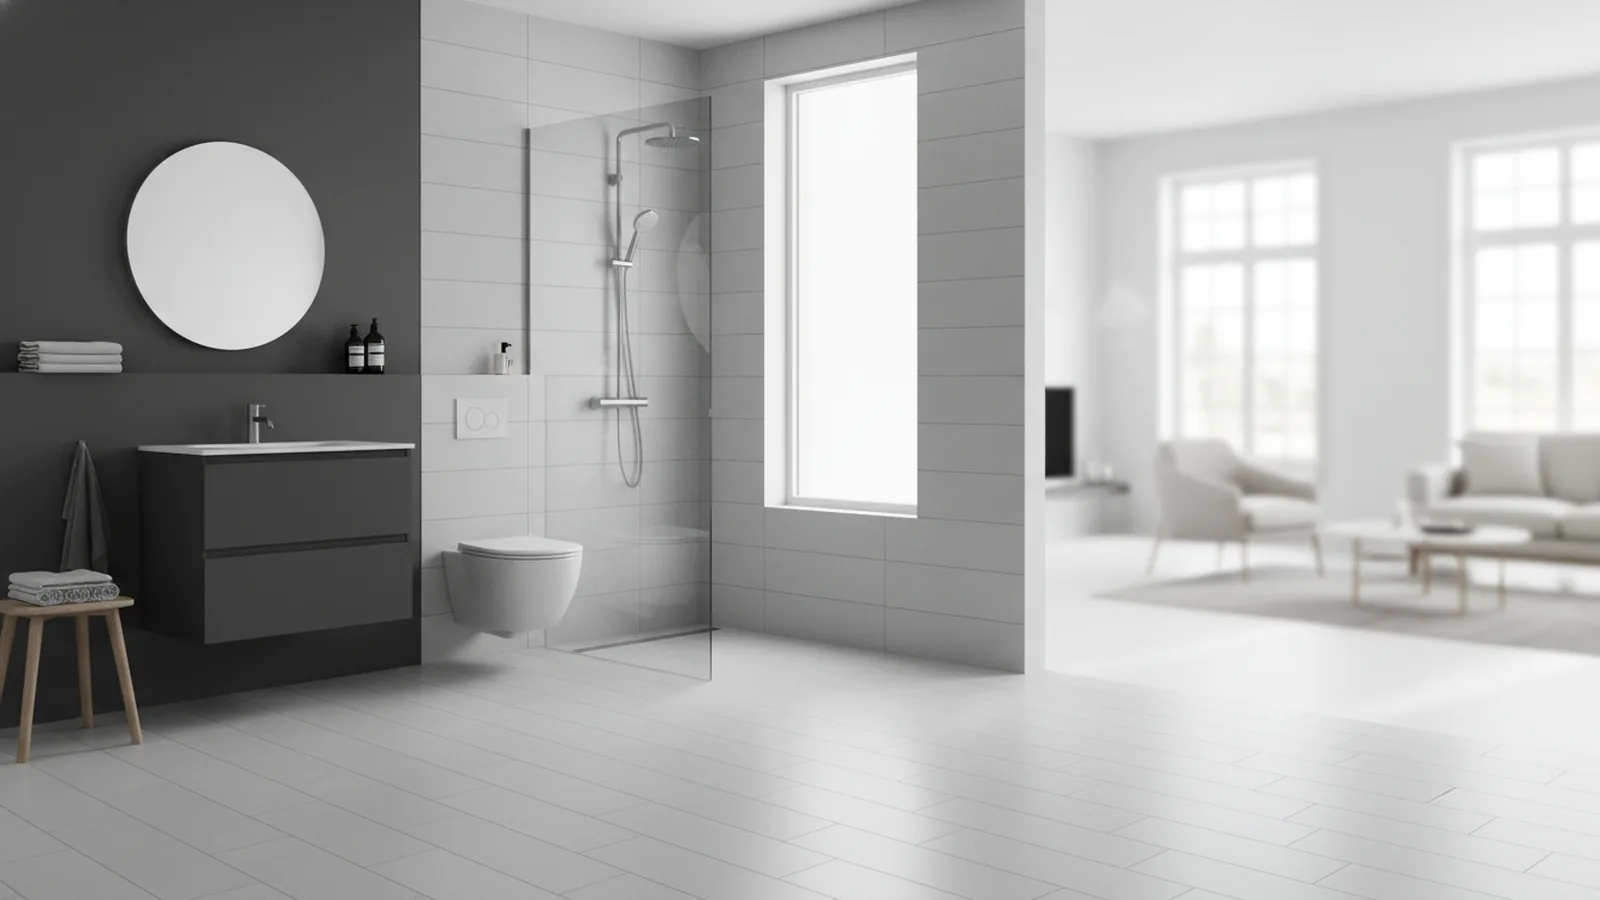
Understanding wet rooms
A small wet room is a fully waterproofed bathroom zone where walls and floors stay water tight. It removes the usual tub or tray barriers and creates one continuous, usable surface. That design lets the space feel more open, even when the room is tight.
In practice, a wet room combines waterproofing, drainage systems, and correct tiling. The floor is finished with tiles that slope toward the drain. The waterproof layer, often called tanking, protects the structure behind the finish.
Because water can reach areas that are normally dry, details matter. Small mistakes at corners, around pipes, or at transitions can cause leaks. That is why contractors treat wet room installation like a full system, not just a tile job.

Benefits of a wet room
One of the biggest benefits of wet rooms is the way they change how a small bathroom feels. Open plan design features reduce visual clutter and give a clearer sight line across the room. You also get a simpler layout for storage, fixtures, and interior design for wet rooms.
Wet rooms can be easier to clean because there are fewer hard-to-reach barriers. Traditional setups often create gaps behind screens, edges on trays, and corners where grime settles. With fewer splits in the layout, routine cleaning is usually faster.
Wet room features can also support accessibility needs. A curbless entry reduces the step height between the room and the wet zone. That can help people with mobility challenges or those aging in place.

Key costs to consider for a small wet room
So, how much does a small wet room cost? For most projects, the cost of installing a wet room ranges from about $4,000 to $10,000. The wet room installation price depends on materials, labor, and the complexity of the existing space.
Budgeting works better when you split the spend into core systems. Wet rooms typically include waterproofing (tanking), drainage systems, and the tiling package. You will also pay for labor to prepare surfaces, build slopes, and install the wet room drain correctly.
Here is a practical breakdown of what often drives cost for a small space. Use it to sanity-check a quote you receive.
| Cost driver | What it includes | Why it changes the price |
|---|---|---|
| Remodel complexity | Wall and floor prep, moving fixtures | More demolition and make-good work increases labor hours |
| Waterproofing system | Tanking materials, membranes, sealants | Quality and coverage plans affect both material and install time |
| Drain and slope build | Drain choice, sub-base setup, fall to drain | Harder floor builds and pipe changes raise labor costs |
| Tiling and finishes | Tile supply, non-slip flooring, grouting | Special formats and larger tiling areas add time and waste |
| Plumbing and electrical changes | Pipe reroutes, safe wiring upgrades | Unexpected adjustments are common in older bathrooms |
| Accessibility upgrades | Curbless entry, grab rail blocking | Extra framing and safe mounting add build steps |
Maintenance costs can also change after install. Many homeowners see lower ongoing costs because the layout avoids awkward hard corners and crevices. The trade is that you still need good routine drying, especially for grout lines and non-slip flooring.

Installation process overview
A wet room installation price usually reflects how many steps happen before tiles touch the floor. The key phases are preparation, waterproofing, drain setup, floor build, and final tiling. Skipping or speeding any phase can break the system later.
Below is a typical workflow contractors follow. The order matters because water needs protection before finishes go on.
- Site survey and measuring to confirm drain location, floor level, and what can be reused.
- Demolition and substrate prep to remove old finishes and check the floor for stability.
- Waterproofing installation with tanking on the floor and relevant wall zones.
- Drainage systems and slope build so the finished floor tiles fall toward the drain.
- Dry-fit and tiling prep to plan layouts, cuts, and non-slip flooring patterns.
- Final tiling and sealing with correct grouting and bonding details.
- Post-install checks to confirm water flow and verify all seals are intact.
If you are asking how to do a wet room floor, this workflow is the short answer. It is a system build, not just tiling. Also, be prepared for small layout decisions to affect cost, like the drain type and tile orientation.
In some homes, plumbing adjustments are the biggest surprise. Moving a drain line or changing pipe routes can add time and trades. Electrical updates may also be needed depending on the bathroom setup and safe zone rules.

Design recommendations for small spaces
How small can a wet room be? Many wet rooms are built as compact zones within a bathroom footprint. The limiting factors usually are drain placement, safe clearances, and room layout for fixtures and doors.
When you want space-saving solutions, start with the floor and drain plan. A well-placed open plan design keeps the drain path short and makes the slope easier. That can reduce the need for a deep floor build that steals headroom.
Next, choose tiling that supports both water management and daily use. Wet room tiling should include non-slip flooring for wet conditions. Also ask for an installation plan that targets grout lines and seal points where water often rests.
If you are dealing with tight corners, plan the “wet zone” boundaries carefully. Even though the system is waterproof, you still want a clean look and predictable maintenance. Interior design for wet rooms often uses a single continuous floor finish to reduce visual breaks.
Some homeowners compare patterns to find what hides wear best. For example, slightly textured tiles can mask minor scuffs. Larger format tiles can reduce grout area, but they require a flatter substrate.
Accessibility options and future-proof features
Accessibility is one of the real benefits of wet rooms. A curbless entry lowers the barrier for step-free movement. If you plan for older age or mobility needs, this is often the highest-impact design change.
It also helps to think about where support will be used. Ask installers to plan backing or blocking behind wall finishes before tiling. That way, future grab rails can mount securely without cutting tiles.
Many projects also include water control and comfort features. Good non-slip flooring reduces fall risk during wet use. A well-located shower head and grab-ready layout can make daily tasks easier.
On the compliance side, some people reference ADA compliance when planning step-free access and safe movement. Even when local rules differ, the core ideas translate well: stable footing, clear access paths, and safe transitions.
Return on investment and future value
A wet room is a bigger build than a surface refresh. Because it changes the floor, plumbing, and waterproofing layers, it can add value when buyers see it as modern and practical. Still, resale impact depends on local market expectations and how well the finish matches the rest of the home.
Maintenance and lifestyle value also matter. If the bathroom is easier to clean and less prone to trapped grime, daily cost goes down. That benefit is strongest for households that use the wet room often.
Future value comes from thoughtful choices, not just waterproofing. A drain built correctly and tiling done with non-slip flooring can hold up for years. Accessibility features, like curbless entry and rail-ready wall backing, can keep the space usable longer.
If you want a smarter purchase decision, ask how long the contractor’s waterproofing system is warranted. Also request details on the drain specification and slope method. Those details are harder to fix later, so they deserve extra attention up front.
Frequently asked questions
- How much does a small wet room cost?
- Most small wet room builds land around $4,000 to $10,000. The final cost of installing a wet room depends on waterproofing, drain work, and any plumbing or electrical changes.
- What makes the wet room installation price go up?
- Complex remodels usually raise labor time. If plumbing or electrical needs change, the wet room installation price can increase quickly.
- What are the key parts of a wet room floor?
- The core parts are waterproofing (tanking), drainage systems, and tiling that slopes to the drain. Non-slip flooring is also important for safety.
- How to lay a wet room floor correctly?
- First, build the slope toward the drain and protect the structure with tanking. Then install tiles with the right bonding and grouting details for wet conditions.
- How small can a wet room be?
- A wet room can be compact, but you still need a workable drain position and safe movement space. Contractors often size it based on clearances and how the slope affects room height.
- Do wet rooms save money on maintenance?
- Often, yes. The design removes hard-to-clean barriers and reduces grime traps, which can lower routine cleaning effort.
Related reading
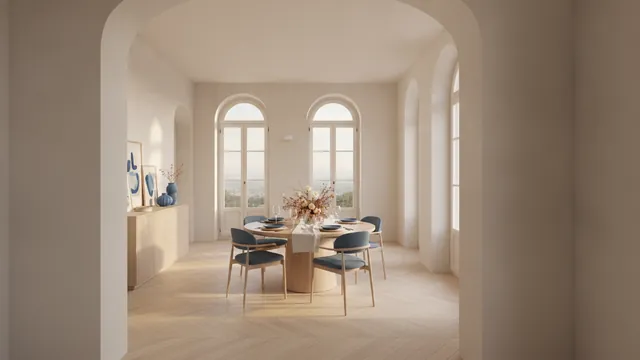
How to Say “Dining Room” in Spanish and When to Use It
“El comedor” means dining room in Spanish. Learn usage, related terms, and memory tips.
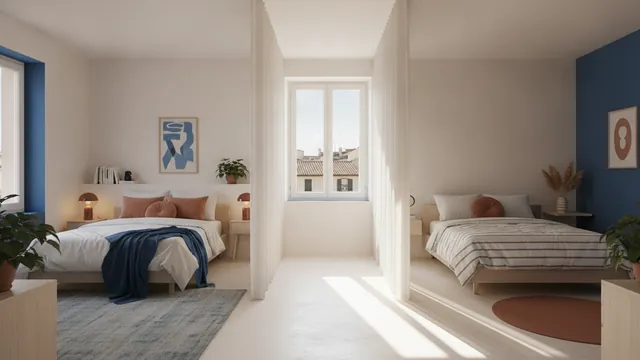
How to Divide a Room Into Two Bedrooms: Practical Methods
Split one room into two bedrooms with walls, curtains, or furniture—plus light and rental tips.
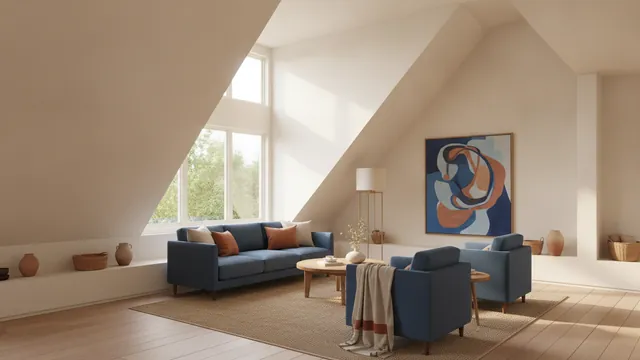
How to Decorate a Room With Slanted Ceilings for More Space
Color, lighting, smart furniture, and storage ideas for slanted ceilings.