How to Get a Smooth Finish When Painting Kitchen Cabinets
Get smooth, durable cabinet paint with better prep, tools, and drying times.
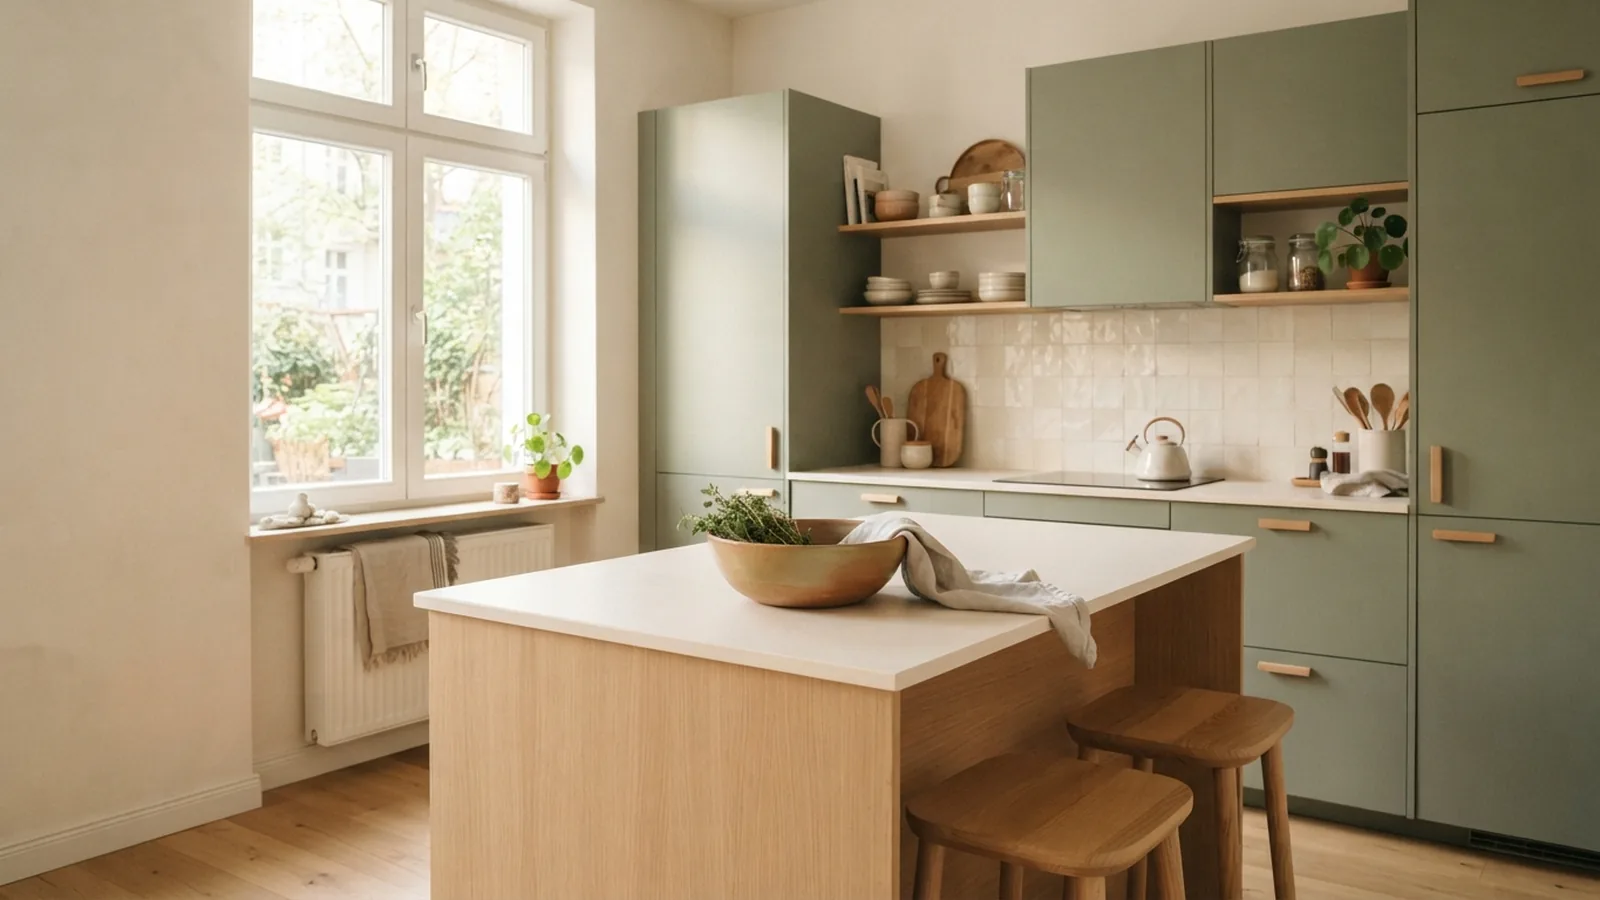
Prep Work Sets Up a Smooth Cabinet Finish
The best way to get a smooth finish when painting kitchen cabinets is to prep every surface well. Paint will not hide grease, dust, dents, or deep scratches. It will make them stand out.
Start by removing doors, drawers, hinges, and knobs. Mark each piece with a simple number on its hidden side. Place the hardware in separate bags. This makes the final fit much easier.
Wash the cabinet boxes, doors, and drawer fronts with a grease-cutting cleaner. Pay close attention to areas near the range and sink. Let each part dry fully before sanding.
Use 120-grit paper to dull the old surface. Follow with 180-grit paper for a finer base. Sand with the grain when the surface shows wood grain. Remove dust with a vacuum and a damp, lint-free cloth.
- Fill dents and old holes with wood filler.
- Sand filler after it dries.
- Wipe away all dust before priming.
- Cover floors, counters, and nearby walls.
Do not skip sanding on glossy laminate or factory-coated doors. You need a dull, even surface for the primer to grip. Test your prep on one hidden spot first.
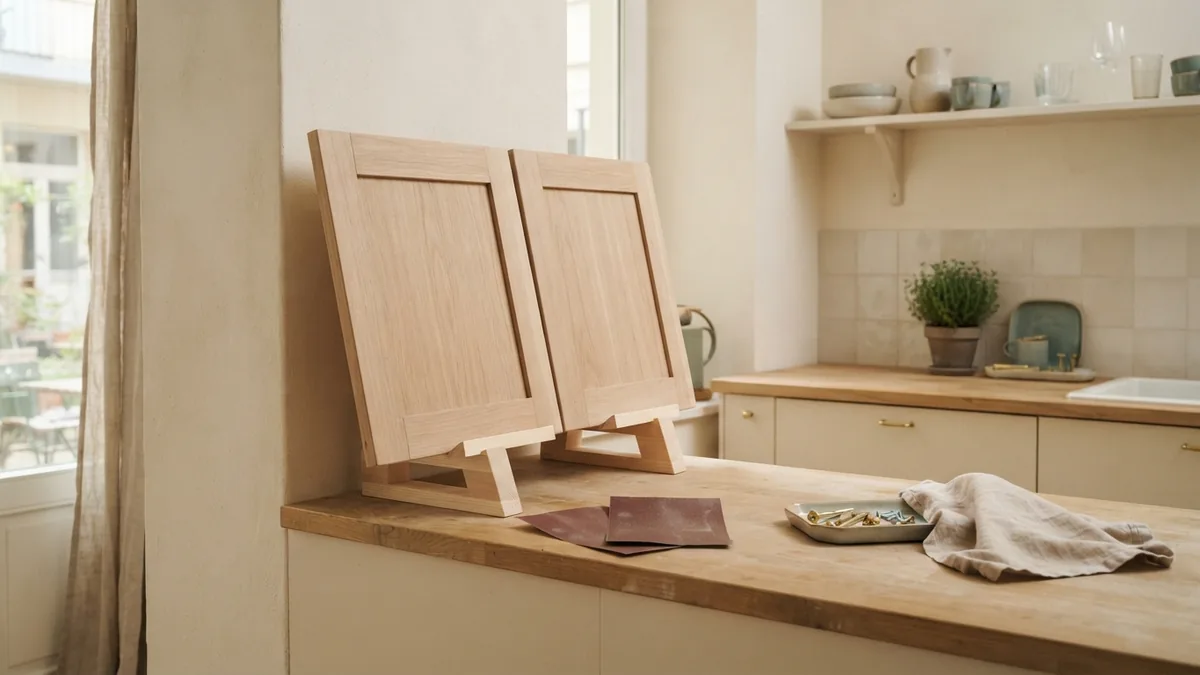
Choose Paint That Suits Kitchen Cabinets
The best paint for kitchen cabinets forms a hard film and levels as it dries. A cabinet enamel made for doors and trim is often the safest choice. It resists scuffs better than basic wall paint.
Satin and semi-gloss finishes work well in most kitchens. Satin hides small flaws and gives a soft sheen. Semi-gloss sheds grease and cleans with less effort.
Water-based enamel is a useful choice for most home projects. It dries faster and has less odor than many oil paints. Oil paint can form a tough coat, but it dries slowly and may yellow over time.
Read the label before you buy. Look for paint made for cabinets, doors, or trim. Check the stated recoat time. A paint that dries fast may still need several days to cure.
| Paint type | Best use | What to know |
|---|---|---|
| Water-based enamel | Most wood and laminate cabinets | Low odor and quick cleanup |
| Satin enamel | Soft, low-sheen surfaces | Hides small flaws well |
| Semi-gloss enamel | Busy kitchens | Easy to wipe clean |
| Oil-based enamel | Very hard-wearing coats | Long dry time and strong odor |
Buy enough paint for the full job. Mixing cans helps prevent small color shifts. Stir the paint gently so you do not add air bubbles.
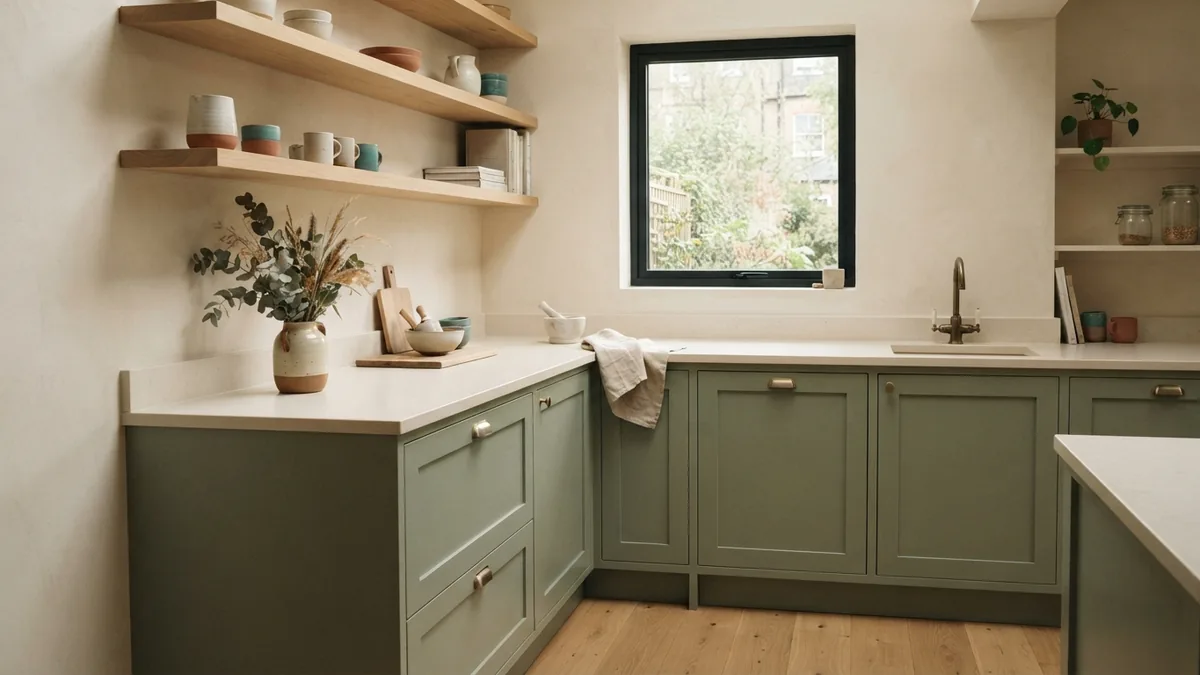
Use the Right Tools and Paint Techniques
Your tool choice affects the final finish as much as your paint. A high-density foam roller gives flat doors a clean, even coat. Use a quality angled brush for corners, profiles, and narrow edges.
A spray gun can give the smoothest result on removable doors. It needs careful masking, thin paint coats, and a dust-free area. It also creates more setup and cleanup work.
Keep the paint layer thin. Load the roller lightly, then roll in long passes. Finish each pass in the same direction. Do not keep working paint after it starts to set.
Brush marks often come from too much paint or a dry brush. Keep a wet edge as you move across the panel. A small amount of paint should cover each section.
- Use a new foam roller for each major coat.
- Do not press hard while rolling.
- Brush details before the flat field dries.
- Check the surface from several angles.
- Keep the room between 60 and 80 degrees Fahrenheit.
Runs form when paint gathers along an edge or corner. Watch these spots for the first ten minutes. Smooth a fresh run with a nearly dry brush.
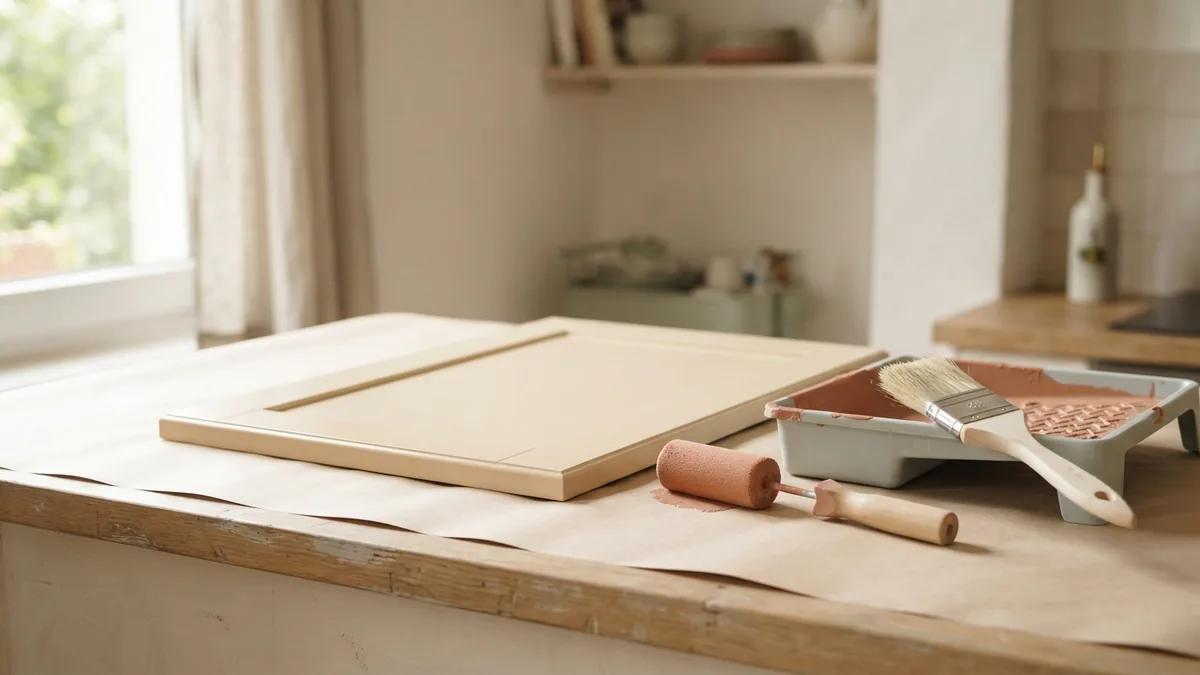
Follow a Clear Cabinet Painting Process
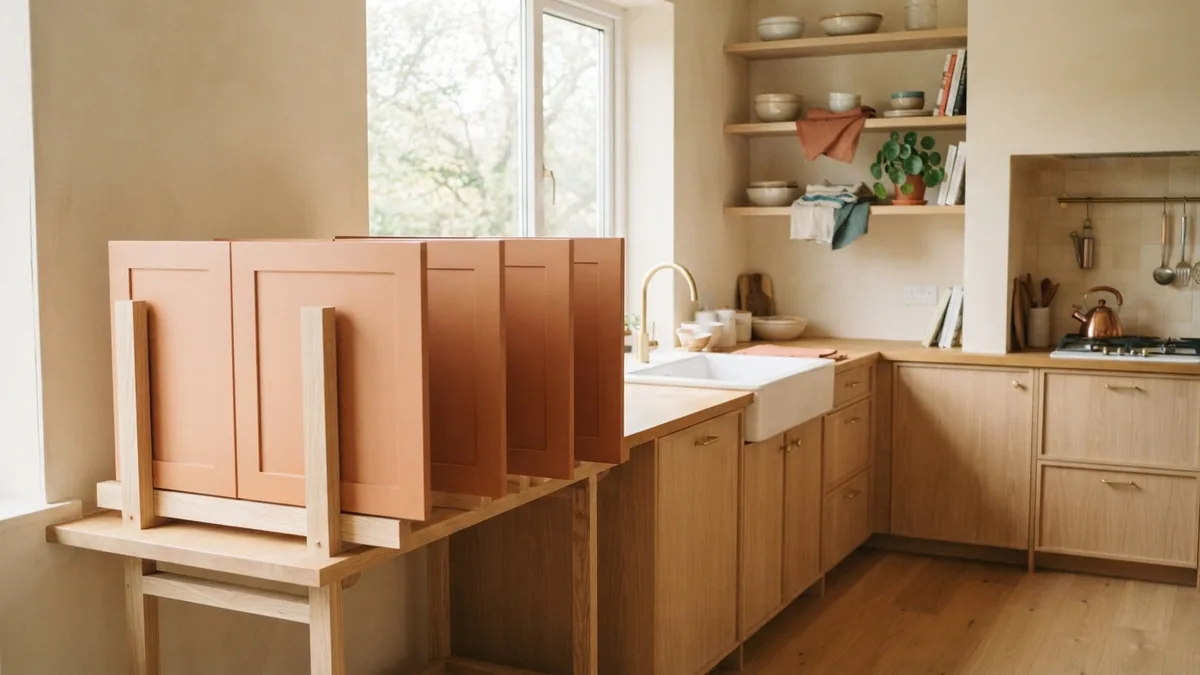
Lay doors flat on painter's pyramids or clean supports. Paint the backs first if both sides need color. This order lets you handle the pieces with less risk.
- Remove and clean. Take off hardware and wash every painted part.
- Sand and repair. Dull the surface and fill dents or holes.
- Prime the surface. Apply one thin coat and let it dry.
- Sand the primer. Use 220-grit paper with a light touch.
- Apply the first paint coat. Roll flat areas and brush the details.
- Apply the second coat. Keep the coat thin and even.
- Let the paint cure. Refit the parts only when the coat feels firm.
Primer helps paint bond and blocks stains from wood, smoke, and old grease. Use a bonding primer on laminate or a slick factory coat. Let it dry for the full time on the label.
Most water-based cabinet paints need two to four hours before recoating. Some need longer in cool or damp air. Waiting one extra hour can prevent soft paint and visible drag marks.
After the final coat, let doors dry for at least 24 hours before turning them. Wait two to three days before rehanging them when possible. Full cure can take one to four weeks.
Paint the cabinet interiors when the old finish looks worn or the color change matters. When painting kitchen cabinets, do I paint the inside? Usually, paint the shelf edges and visible inner sides first. You can leave hidden areas alone if they are clean and sound.
Fix Runs, Drips, and Other Common Problems
Runs and drips need quick action. If the paint is still wet, level the spot with a clean, lightly loaded brush. If it has dried, sand it flat after the coat hardens.
Brush marks usually point to thick paint, poor flow, or late touch-ups. Sand the coat with 220-grit paper. Remove dust, then apply a thinner coat with a fresh tool.
Dust bumps can spoil an otherwise good finish. Stop work if the room becomes dusty. Clean the floor and let airborne dust settle before you start again.
Paint can peel when the surface has grease or weak old paint. Scrape loose areas, clean them, and sand the edges smooth. Prime the repair before adding new paint.
Sticky doors often close too soon after painting. Add small felt pads after the paint cures. Adjust the hinges only after the doors move without rubbing.
Use a Small Test Area
Test your full process on one door or drawer front. Check the color, sheen, coverage, and texture in daylight. This step can reveal a bad primer or paint match before the full job.
Add Final Touches and Protect the New Finish
Inspect every door in bright, soft daylight. Look across the surface rather than straight at it. Light will reveal ridges, thin spots, and missed edges.
Use a fine sanding pad only when the paint feels hard. Remove the dust with a soft cloth. Add a small touch-up coat instead of rubbing a wet finish.
Reinstall clean hinges and pulls after the cure period. Tighten screws by hand to avoid chipping fresh paint. Place doors back on their marked positions.
Protect painted cabinets with gentle daily care. Wipe spills with a damp cloth and mild dish soap. Avoid rough pads, bleach, and strong solvent cleaners.
- Keep steam and standing water away from cabinet edges.
- Use cabinet liners under sink supplies.
- Touch up chips before water reaches the bare surface.
- Check high-use doors twice each year.
Do not add a clear coat unless the paint maker allows it. Some clear finishes can change the sheen or turn yellow. A good cabinet enamel already includes the needed protective film.
A smooth result comes from thin coats, clean tools, and patient drying. Good cabinet preparation matters more than speed. Take your time, and the finish will look even and last longer.
Step-by-step
- 01 Remove and clean the cabinet parts
Remove doors, drawers, and hardware. Wash all surfaces with a grease-cutting cleaner, then let them dry.
- 02 Sand and repair the surfaces
Sand with 120-grit paper, then smooth with 180-grit paper. Fill dents and holes before removing all dust.
- 03 Apply and sand the primer
Use bonding primer on slick surfaces and stain-blocking primer where needed. Let it dry, then sand lightly with 220-grit paper.
- 04 Paint the first coat
Roll flat areas with a high-density foam roller. Brush edges and profiles with a thin, even coat.
- 05 Add the second coat
Wait two to four hours or follow the paint label. Apply the second coat without pressing hard or reworking drying paint.
- 06 Dry, cure, and reinstall
Let doors dry for at least 24 hours. Rehang them after two to three days when possible, then treat the finish gently while it cures.
Frequently asked questions
- How do you get a smooth finish when painting kitchen cabinets?
- Clean and sand the cabinets first. Use bonding primer, thin paint coats, and a high-density foam roller or spray gun.
- What is the best paint for kitchen cabinets?
- Water-based cabinet enamel is a strong choice for most kitchens. Satin hides small flaws, while semi-gloss is easier to wipe clean.
- How long should cabinet paint dry between coats?
- Many water-based cabinet paints need two to four hours between coats. Follow the label, since cool or damp air can extend that time.
- When painting kitchen cabinets, do you paint the inside?
- Paint the inside when it is visible, worn, or part of a major color change. You can leave hidden areas alone when they are clean and sound.
- How do you avoid brush marks on painted cabinets?
- Use thin coats and do not overwork the paint. A foam roller works well on flat panels, while a lightly loaded brush suits edges and profiles.
- How long should painted kitchen cabinets cure?
- Let doors dry for at least 24 hours before turning them. Wait two to three days before rehanging, then allow one to four weeks for full cure.
Related reading
Kitchen Cabinet Spray Painting — Tools, Steps, and Costs
Spray kitchen cabinets with less mess, better prep, and a smooth finish.
Choosing Paint for Kitchen Cabinets, Cupboards, and More
Choose the right paint, prep well, and get a smooth cabinet finish.
Unfinished Kitchen Cabinets—A Custom Paint Finish
Paint unfinished cabinets well with smart prep, the right tools, and patient drying time.