Unfinished Kitchen Cabinets—A Custom Paint Finish
Paint unfinished cabinets well with smart prep, the right tools, and patient drying time.
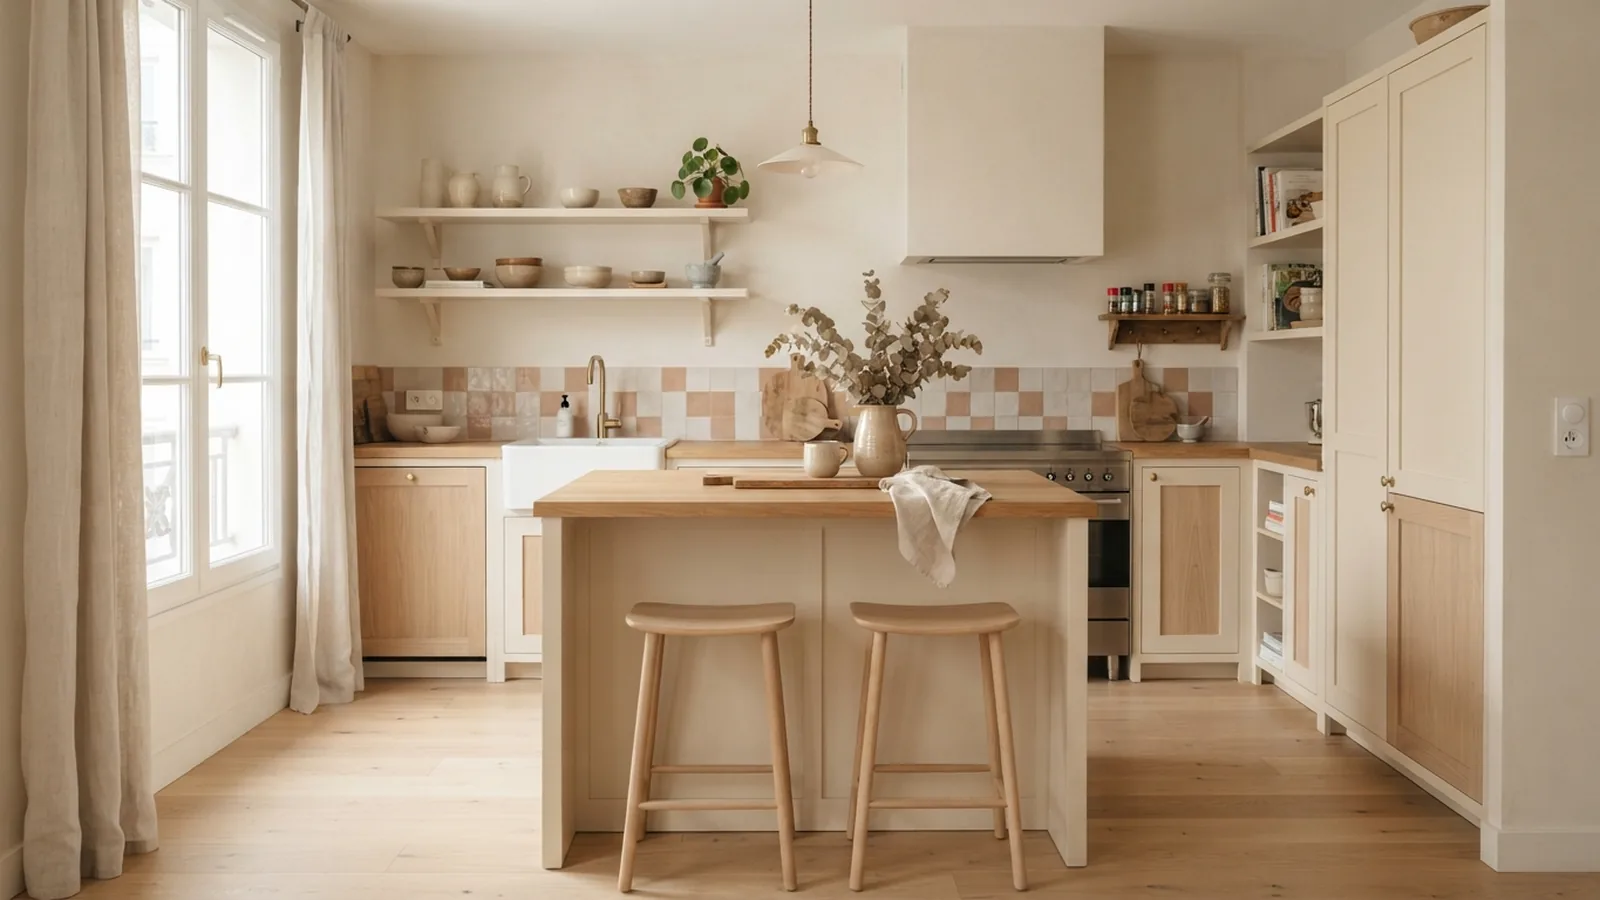
Why Unfinished Cabinets Suit Custom Kitchen Updates
To paint unfinished kitchen cabinets, start with careful cleaning, sanding, priming, and slow drying between coats. This process works for new cabinets and older wood boxes. It also gives you control over color, sheen, and style.
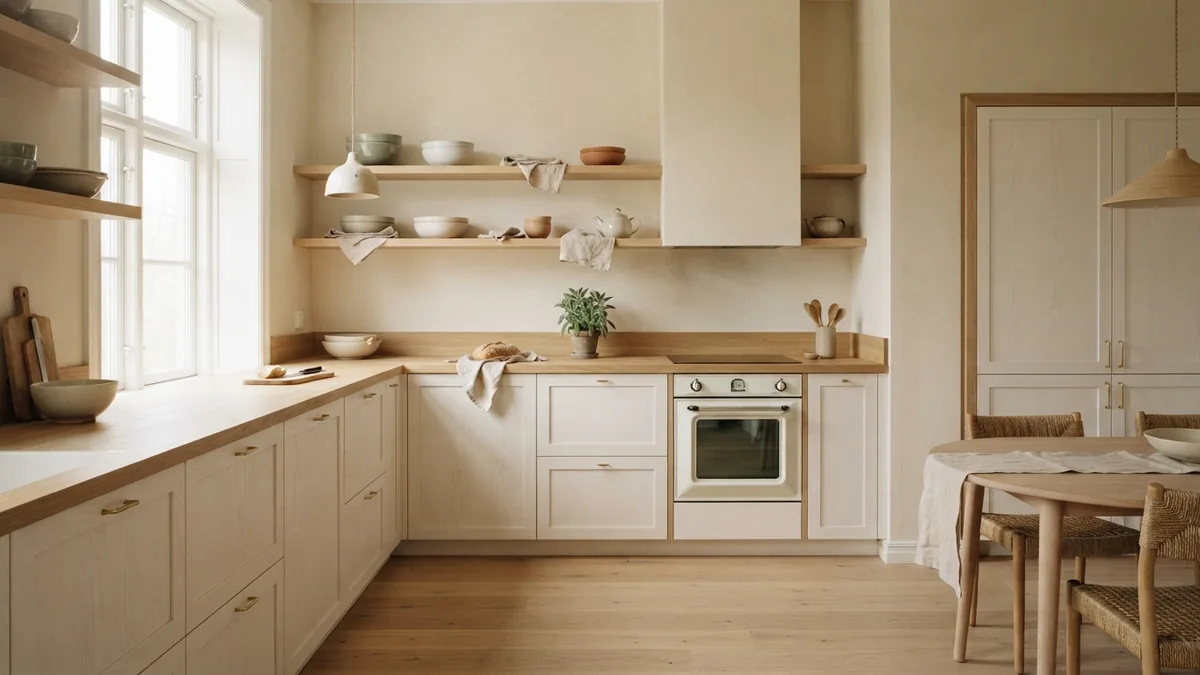
Unfinished cabinets offer a cost-effective choice for a kitchen renovation. You avoid paying for a factory finish that may not suit your room. You can create warm white cabinets, soft sage doors, or a bold muted shade.
New unfinished kitchen cabinets often have clean wood surfaces. They still need prep before paint. Oak cabinets need extra care because their open grain can show through a smooth finish.
- Use paint-grade cabinets for a painted look.
- Choose stain-grade wood when you want visible grain.
- Test your full paint system on one spare door first.
This test reveals how the wood, primer, and paint will work together. It also helps you check the final color under kitchen lighting.
Prepare the Cabinets Before Any Paint
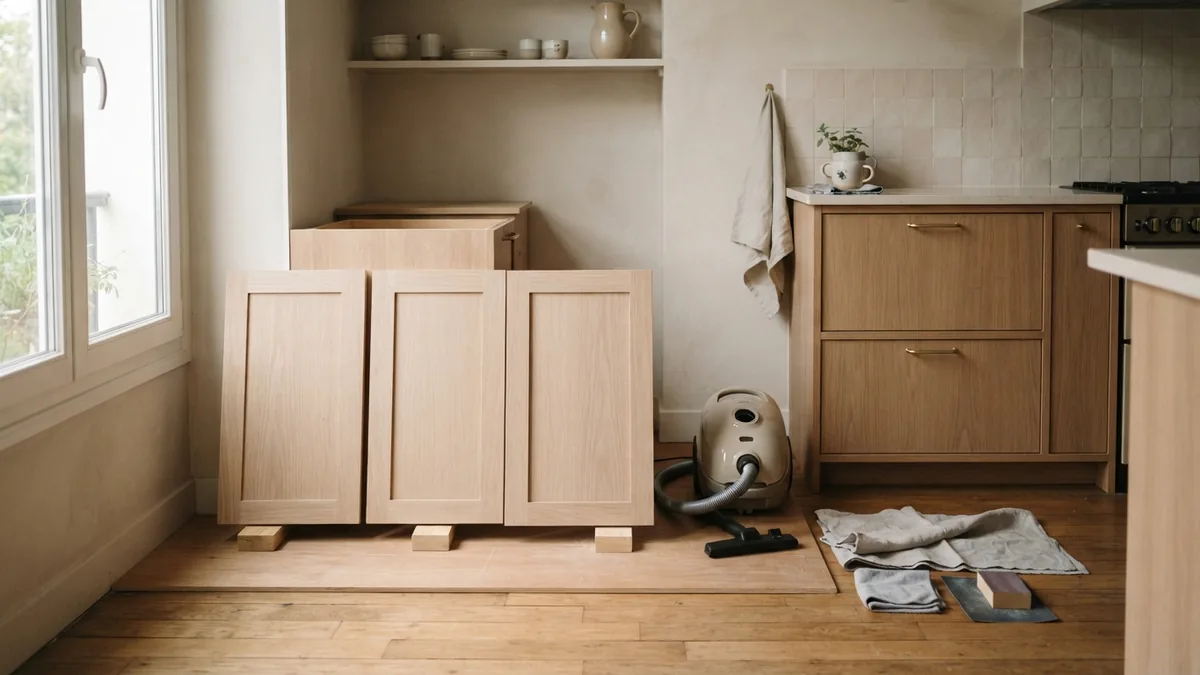
Good preparation creates the smooth surface that paint needs. Remove every door, drawer front, and hinge before you begin. Mark each piece with a simple number on its hidden edge.
Place doors on a flat work surface with small blocks underneath. This lifts them slightly and keeps paint from sticking to the table. Remove knobs, pulls, and other hardware.
Wipe the wood with a mild degreaser. Kitchen dust and grease can block primer from bonding well. Let each part dry fully before sanding.
- Sand bare wood with 80-grit paper where rough spots need work.
- Move to 120-grit paper across the full surface.
- Wipe away dust with a vacuum and clean cloth.
- Fill dents or open joints with wood filler.
- Sand repaired areas smooth after the filler dries.
Use 220-grit paper after the first primer coat. This step removes raised wood fibers and tiny bumps. Sand lightly so you do not cut through the primer.
Oak needs special attention during prep. Its deep grain can remain visible beneath paint. Use a thin coat of grain filler if you want a flatter finish.
Choose Paint, Primer, and Useful Tools
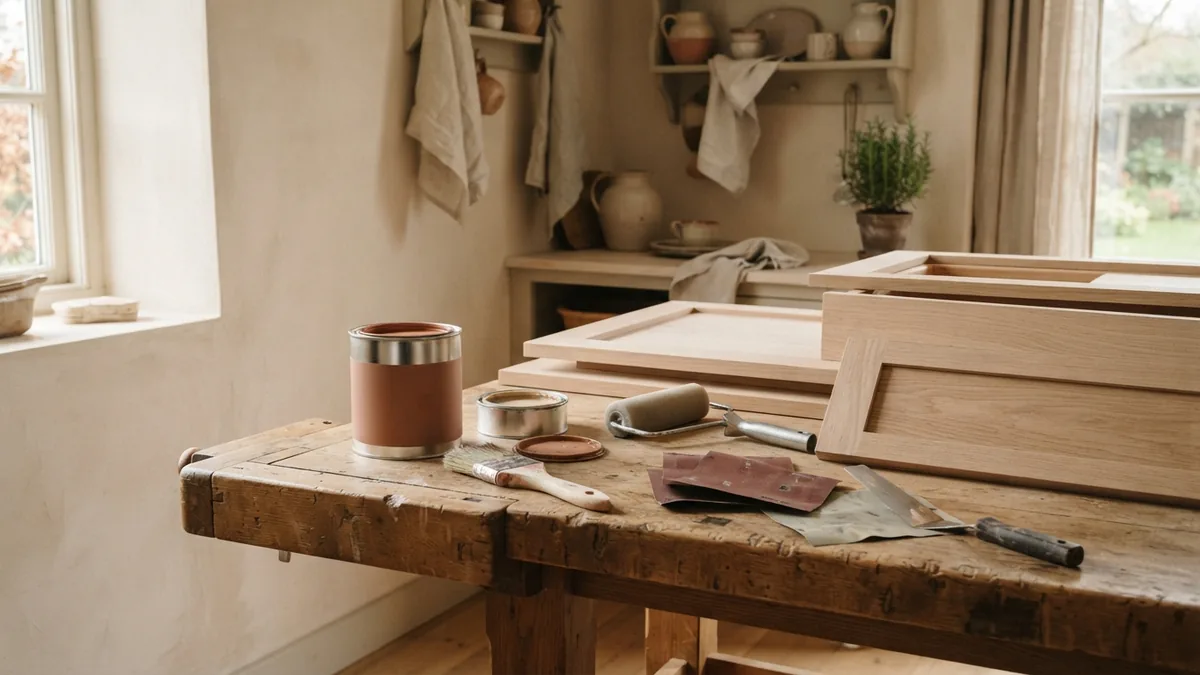
Choose a bonding primer made for bare wood. Match the primer to your paint type. Water-based paint works best with a water-based primer in most home projects.
Oil-based paint needs an oil-based primer or a product that clearly supports oil paint. Read the product label before mixing systems. A poor match can cause peeling or slow drying.
Many homeowners choose water-based cabinet paint. It has less odor and dries faster than oil paint. It also cleans up with soap and water.
Buy a cabinet paint with a satin or semi-gloss sheen. Satin hides small flaws better. Semi-gloss gives stronger wipe resistance but shows more surface bumps.
- High-quality bonding primer
- Cabinet paint for wood surfaces
- Two angled brushes, about 2 and 2.5 inches wide
- Small foam or microfiber rollers
- 80-, 120-, and 220-grit sandpaper
- Wood filler, clean cloths, and a vacuum
- Painter's tape, drop cloths, and paint trays
- Small blocks or drying racks for raised doors
Use brushes inside corners and along profiles. Use a roller across broad flat areas. This blend reduces brush marks and keeps coverage even.
Follow the Painting Process Step by Step
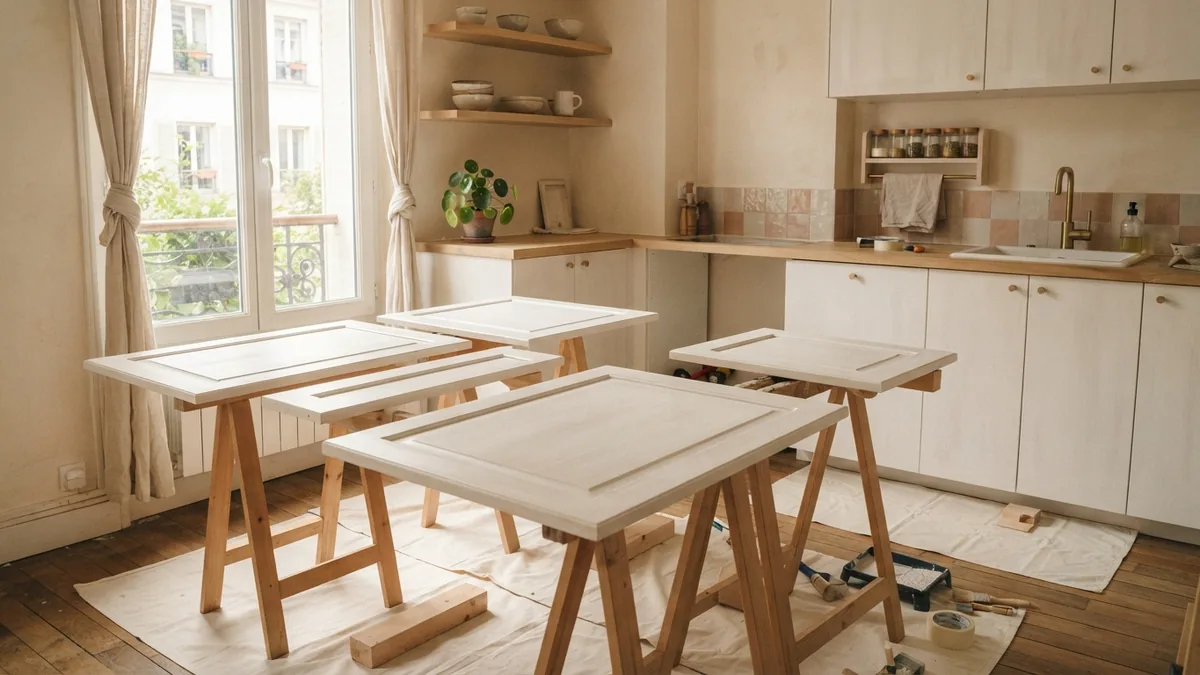
Set up a clean space with steady airflow. Avoid painting when dust moves through the room. Keep the temperature within the range listed on the paint can.
1. Prime the bare wood
Stir the primer gently instead of shaking it. Apply a thin coat with a brush on edges and profiles. Roll broad panels with light, even passes.
Do not chase full coverage with one thick coat. Thick primer can sag, wrinkle, or stay soft. Let the coat dry for the full time on the can.
2. Sand and clean the primer
Sand the dry primer with 220-grit paper. Use gentle pressure across flat areas. Vacuum the dust, then wipe the surface with a clean cloth.
Check the wood from several angles. Add primer to any bare spots or dark grain. Let those areas dry before the first paint coat.
3. Apply the first paint coat
Brush paint onto edges and detailed areas first. Then roll the flat faces with light pressure. Keep a wet edge as you work across each panel.
Do not overwork paint as it begins to set. Brush marks often appear when you keep touching a drying area. Stop and let the coat level on its own.
4. Add the second coat
Wait until the first coat feels dry and firm. Dry time can range from four hours to overnight. Humidity and cool air can make drying take longer.
Apply the second coat with the same thin method. Inspect the finish under side light before moving each door. Add a third coat only where coverage still looks weak.
5. Refit the hardware
Let painted parts cure before fitting them back in place. Dry paint can still mark easily during the first few days. Reattach doors with care and adjust the hinges slowly.
For anyone learning how to paint new kitchen cabinets, this order prevents rushed work. It also keeps clean doors away from dusty sanding tasks.
Use Techniques That Create a Professional Finish
Work from the inside edges toward the outer faces. Paint rails and stiles before the center panel. This order helps you catch drips before they dry.
Keep your paint coats thin. Two or three thin coats look smoother than one heavy coat. They also dry more evenly and resist early damage.
Watch the lower edges of doors. Paint can collect there and form hard drips. Check each piece after five minutes, then smooth any run with a nearly dry brush.
- Paint in the direction of the wood grain.
- Use a fresh roller when its surface starts to drag.
- Keep dust away from open paint cans.
- Sand only when the last coat feels fully dry.
- Let doors cure before stacking or closing them.
To paint unfinished kitchen cabinets white, use a strong stain-blocking primer. White paint can reveal knots, tannins, and dark oak grain. A second primer coat may help create a clean base.
For unfinished oak kitchen cabinets, expect some grain texture. A grain filler gives the smoothest result. Without filler, choose a satin finish that makes the texture look intentional.
Brushes and rollers serve different jobs. A brush reaches corners and shaped edges. A small roller leaves a level finish on wide panels.
Protect the Finish and Keep It Looking Fresh
Paint needs more time to cure than it needs to dry. Avoid hard scrubbing and repeated contact during the first week. Follow the cure time listed by the paint maker.
A clear topcoat can add protection in busy kitchens. Choose a water-based clear coat that will not turn white paint yellow. Test it first because some products change the color or sheen.
Apply the topcoat in thin layers with a clean roller. Let each layer dry before adding another. Two light coats often protect better than one heavy coat.
Clean painted cabinets with a soft cloth and mild soap. Avoid rough pads, strong solvents, and standing water. Wipe spills soon, especially near sinks and dishwashers.
Check hinges and pulls twice each year. Loose hardware can rub against fresh paint and cause chips. Touch up small marks with the leftover paint from your project.
Painting unfinished wood kitchen cabinets takes patience more than skill. Careful sanding, thin coats, and enough drying time drive the final result. Take your time, and the custom finish will reward you.
Step-by-step
- 01 Remove and label each cabinet part
Take off doors, drawer fronts, and hardware. Mark each part on a hidden edge for easy replacement.
- 02 Clean and sand the wood
Degrease every surface, then sand with 80-grit and 120-grit paper. Fill dents and remove all dust.
- 03 Prime the cabinet surfaces
Apply a thin coat of matching bonding primer. Let it dry for the full time listed on the product.
- 04 Sand the dry primer
Use 220-grit paper with light pressure. Vacuum and wipe away dust before painting.
- 05 Apply two thin paint coats
Use a brush on edges and a roller on flat areas. Let each coat dry fully before the next coat.
- 06 Cure, protect, and reinstall
Allow the paint to cure before fitting hardware. Add a tested clear coat when extra protection suits your kitchen.
Frequently asked questions
- Can you paint unfinished kitchen cabinets without sanding?
- You should sand unfinished cabinets before painting. Sanding removes rough fibers and helps primer bond to the wood.
- What primer should you use on unfinished kitchen cabinets?
- Choose a bonding primer made for bare wood. Match it to your paint base, such as water-based or oil-based paint.
- How do you paint unfinished oak kitchen cabinets smoothly?
- Sand oak well and consider using grain filler. Apply thin primer and paint coats to reduce visible grain and brush marks.
- How long should painted kitchen cabinets dry between coats?
- Follow the paint can directions, since dry times vary. Many water-based products need four hours or more between coats.
- Should you add a clear coat to painted kitchen cabinets?
- A clear topcoat can improve protection in busy kitchens. Test it first because some products can change white paint's color or sheen.
Related reading
Kitchen Cabinet Spray Painting — Tools, Steps, and Costs
Spray kitchen cabinets with less mess, better prep, and a smooth finish.
How to Get a Smooth Finish When Painting Kitchen Cabinets
Get smooth, durable cabinet paint with better prep, tools, and drying times.
Best Paint for Kitchen Cabinets — Finish, Durability, and Cost
Choose the right cabinet paint, prep well, and get a finish that lasts.