How to Draw Interior Design Plans and Sketches
Draw room plans, sketch furniture, and add depth with color, texture, and shadows.
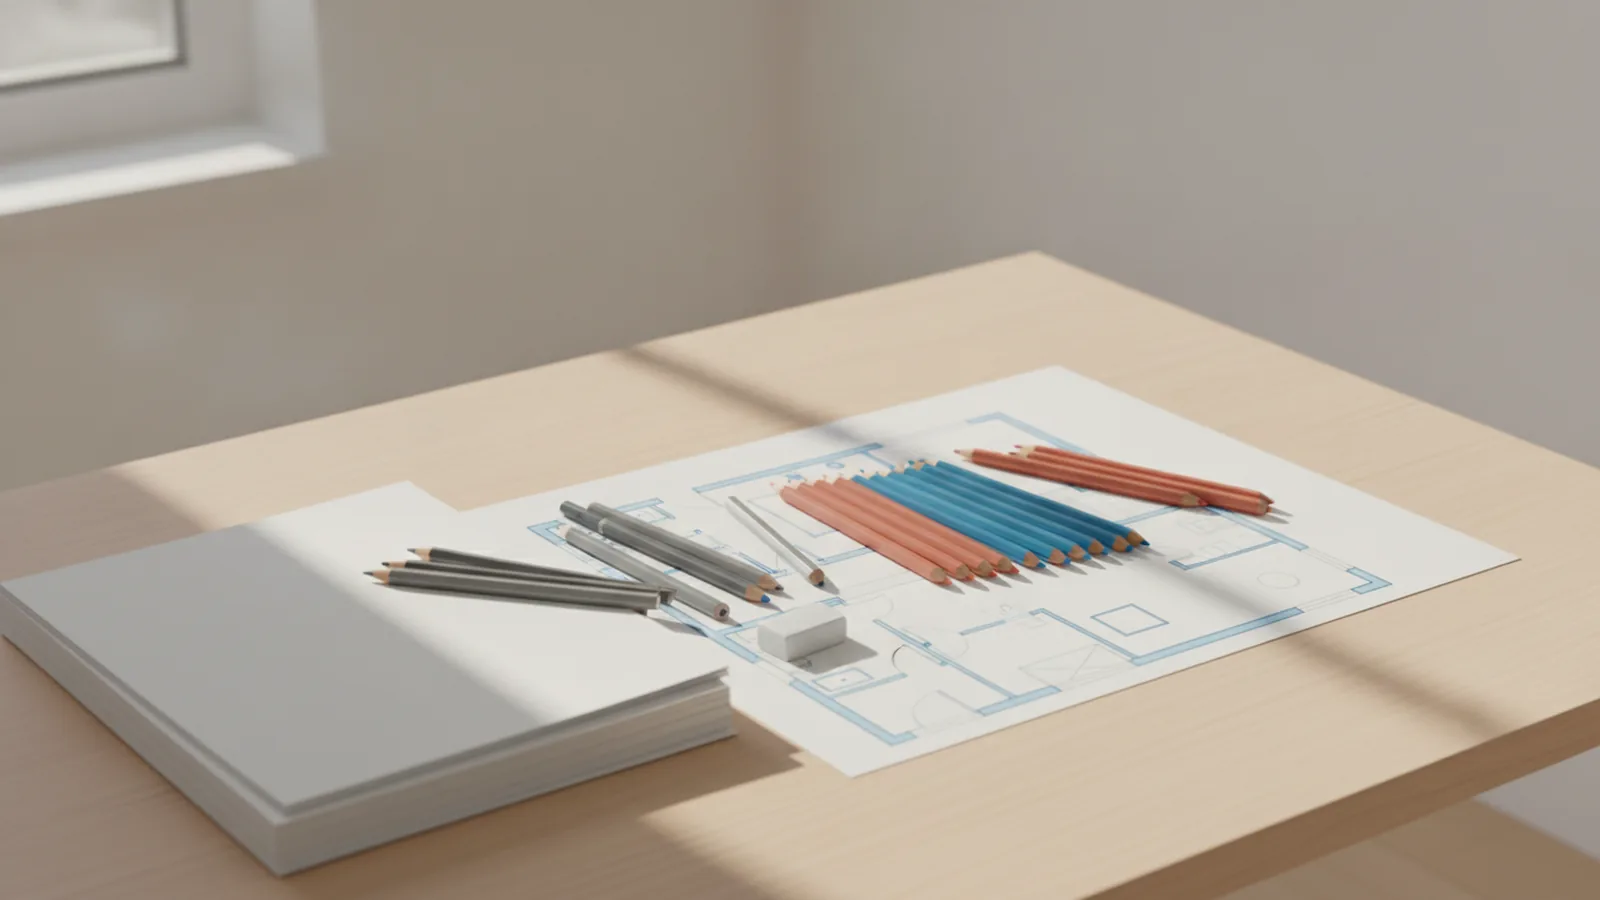
Start with sketches: the quickest path to better interior design
If you want to learn how to draw interior design, begin with sketching. Sketches turn ideas into visible options fast. They also help you spot problems early, like awkward circulation or furniture that feels cramped. In practice, a solid sketch is often the fastest way to confirm the direction of a design.
When you sketch first, you reduce rework later. A plan can take hours, but a pencil sketch can test three layouts in twenty minutes. This keeps your decisions grounded in space, not just mood. For how to draw rooms for interior design, this matters because rooms are about relationships between objects and paths.
Think of interior design sketching as a conversation with the room. Draw, adjust, and redraw until the space feels clear. Then you move toward cleaner lines for your plan and presentation sheets. That shift is part of how to draw a interior design plan that actually supports development.
Essential tools for drawing plans and sketches
You do not need a studio full of gear to start. Basic tools are enough to build clean lines and readable layouts. Most sketching mistakes come from tools that feel frustrating, not from lack of talent. Choose tools that let you draw confidently and quickly.
Start with pencils and paper you can work on repeatedly. A kneaded eraser helps lift lines without damaging the page. Add color tools for mood and hierarchy once your layout reads clearly. Below is a practical kit for sketching techniques and mixed media in design.
- Pencils: HB for light layout lines, 2B for emphasis, and 4B for darker shadows
- Paper: plain sketch paper for thumbnails, thicker paper for finished sheets
- Erasers: kneaded eraser for soft lifts, plus a block eraser for small fixes
- Colors: colored pencils for control, markers for bold emphasis
- Optional: ruler or T-square for straight edges and clean walls
For how to draw interior design sketches, keep your line weight simple. Use light lines for construction, then commit with darker lines. If you use color, apply it in layers. This prevents one heavy color pass from blocking your forms.
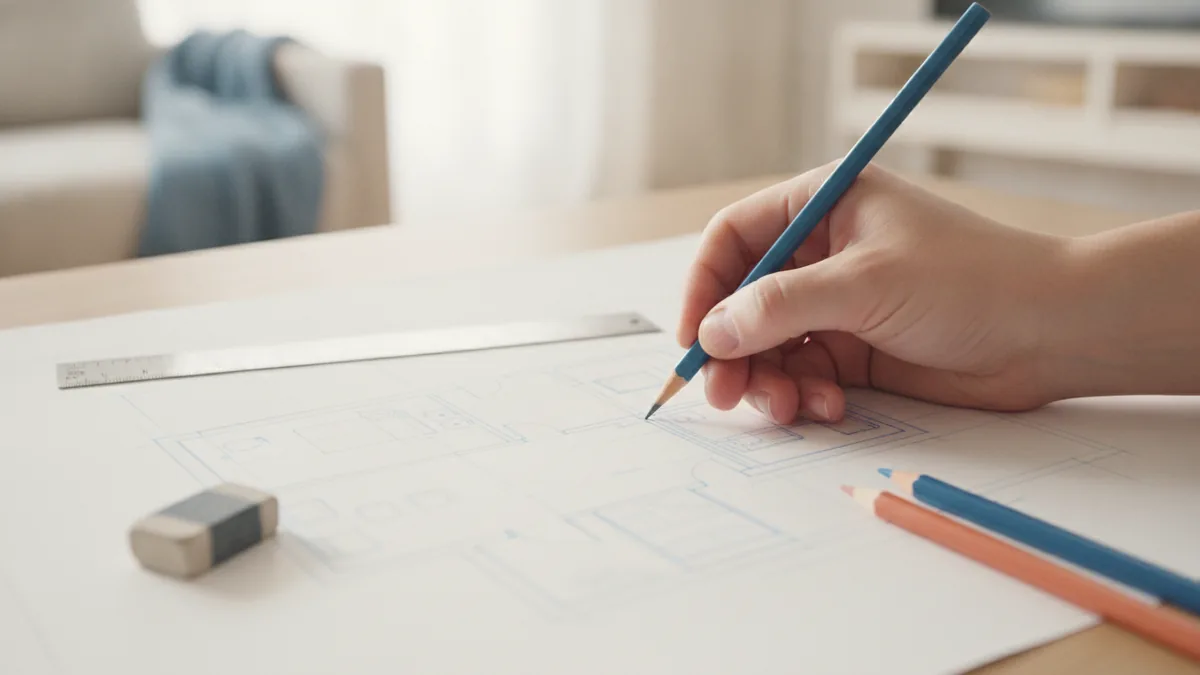
Perspective drawing: one-point vs two-point rooms
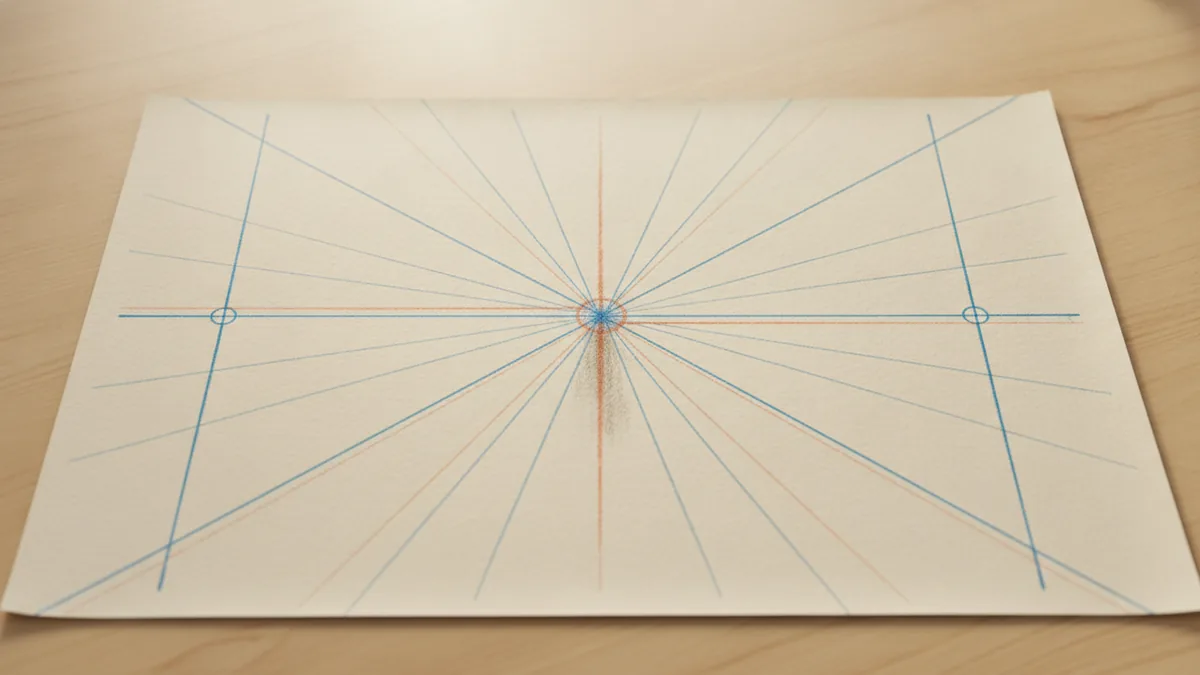
Perspective drawing is the method that creates believable space. It is also one of the first topics in how do you draw interior design with depth. The simplest starting point is one-point perspective. It fits views where walls and lines converge toward a single vanishing point.
Use one-point perspective for hallways, direct views toward a wall, or simple room corners. Draw the horizon line first, then place a single vanishing point on it. Next, guide vertical edges straight up and down. Then connect horizontal edges back to the vanishing point.
Two-point perspective helps when you look at a corner from an angle. Here, lines converge to two vanishing points on the horizon. This method feels more dynamic because it captures width and depth at once. For how to draw rooms for interior design, two-point perspective is often more realistic for corner views.
Finding vanishing points is a skill you can practice quickly. Pick the view first, then place the horizon line based on your eye level. After that, measure nothing at the start. Just set vanishing points and draw a few test lines to confirm the space looks right.
| Perspective type | Best for | Vanishing points |
|---|---|---|
| One-point | Facing a wall straight on | 1 |
| Two-point | Corner or angled views | 2 |
To create depth, use consistent line behavior. Edges parallel in real life should behave parallel in your drawing. If a line drifts, the room stops feeling real. This is also where people often lose accuracy while learning how to draw interior design sketches.
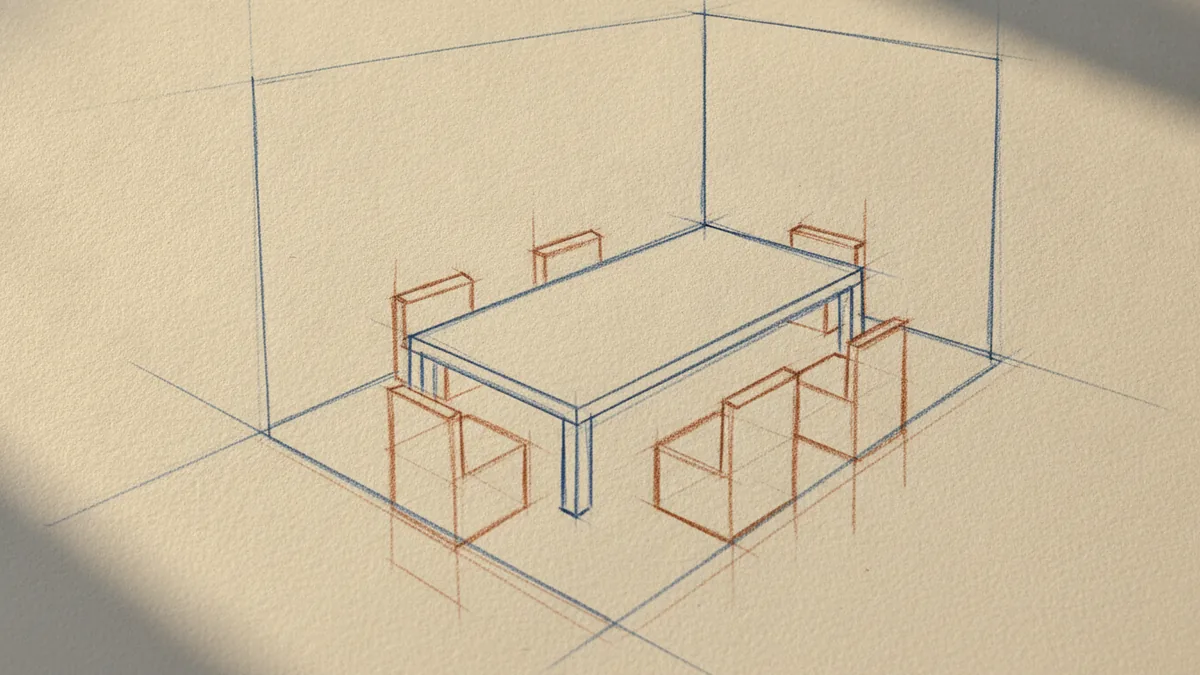
When you learn how to draw furniture interior design, accuracy is about repeatable steps. Start with simplified shapes, not final details. A table is a box or prism. A chair is a stack of forms. Once the form is correct, details become easier and faster.
Before adding perspective, map the furniture layout in plan view. This is your furniture layout check. Then bring each key item into perspective using the same vanishing points. If your chair looks right in plan but wrong in perspective, fix the view lines first.
For common objects, use these construction ideas. Treat the seat as a plane, then draw the backrest as another plane. For cabinets and built-ins, draw outer frames, then interior panels. Keep proportions simple and correct by referencing the room scale you already planned.
- Block in the form: draw a light box for the furniture footprint
- Match the perspective: connect key edges to the correct vanishing points
- Adjust proportions: compare widths and heights against nearby objects
- Add core features: legs, doors, armrests, and key openings
- Finish with line weight: darken outlines that face the viewer
One more depth trick is to draw furniture legs with care. Legs create shadows and separation, so they must sit convincingly on the floor plane. If you struggle, draw the floor first, then anchor legs to it. This also helps when you add shadows and depth later.
Color, texture, and shadow: make the sketch feel designed
Color in a design sketch is not decoration. It is a tool for showing emotion and hierarchy. Use color theory to guide where attention should go. For example, warm tones can suggest comfort, while cool tones can feel calm and quiet.
In practice, keep your palette limited at first. Pick one main wall tone, one accent fabric or surface, and one furniture or metal tone. Then let paper and linework do the rest. This approach is especially helpful when you practice interior design sketching for design presentation.
Texture in drawing adds realism without over-detailing. Use small, consistent marks to suggest materials. For fabric, try short strokes and gentle variation. For wood, use directional hatching aligned with the grain. For tile or stone, use controlled blocks and subtle shading.
Shadows and depth should follow light direction. Pick a light source and commit to it. Then shade the underside planes and any contact edges. This is where your sketch moves from “object drawing” to “space drawing.”
- Texture in drawing: match mark style to the material feel
- Shadows: shade contact points darker first
- Depth: fade distant items slightly in value
- Color: use a limited palette for faster decisions
If you use mixed media in design, separate roles. Keep markers for large color areas and pencils for edges and texture. This prevents messy layers from hiding your perspective drawing work.
Finalize your interior design layout for presentation and development
A finished plan should communicate clear relationships. It should show how people move, where key furniture sits, and how the room reads at a glance. This is what makes how to draw a interior design plan usable for development. Even if your drawing is rough, the layout should be confident.
Start by cleaning your walls and main openings. Then refine furniture placement using your plan view. Check circulation paths first, then seating and sightlines. For a living room, for instance, ensure the sofa has space in front for access and the coffee table does not block entry paths.
Next, decide what level of finish you need for each sheet. For presentation sheets, focus on readability and mood. For development insights, show your underlying logic with lighter construction lines. This is how to incorporate sketches into final design sheets without losing the value of your early thinking.
To keep your presentation consistent, use a simple hierarchy. Use darker lines for final walls and key furniture outlines. Use mid tones for secondary elements. Use lighter pencil for guides and hidden construction. Your audience should understand your plan within ten seconds.
| Sheet type | What to emphasize | What to keep light |
|---|---|---|
| Presentation | Color, focal furniture, clear views | Construction lines and test marks |
| Development | Exact placement logic, room flow | Fully rendered details not needed now |
If you are wondering how to draw interior design sketches that lead to plans, this is the bridge. Use your sketch to decide the layout, then draw the plan to communicate it. Together, they reduce back-and-forth during design development.
Tips for practice and improvement (so your drawings get better fast)
Practice beats talent in drawing. But you should practice with a system. A good routine is to do short sketching sessions with a clear target each time. For example, one day focus on one-point perspective, and another day focus on furniture blocks.
Use repeatable prompts that match real rooms. Draw a small kitchen layout, then redraw the same view with a different dining arrangement. Draw a bedroom with two wardrobe options. This builds faster layout design thinking, not just isolated drawing skills.
Track progress by comparing old and new pages. Look at line weight consistency, perspective stability, and how well shadows separate objects from the floor. Those are measurable improvements. If your vanishing points shift each drawing, your room will feel unstable.
- Do 10-minute thumbnails: test three layout options before details
- Set a perspective target: one-point or two-point per session
- Copy with intent: redraw one chair from a new angle
- Review the last page: fix one thing next time only
- Practice weekly: build skill through repetition, not bursts
Finally, keep your mindset practical. You are learning how to draw interior design as a design skill, not an art contest. With regular practice, your sketches will start looking like spaces, not disconnected objects. Then your plans and presentations will follow naturally.
Step-by-step
- 01 Sketch quick layout thumbnails
Draw 3 rough layouts in plan view. Focus on paths, scale, and furniture spacing first.
- 02 Choose one view and set perspective
Pick either one-point or two-point perspective for your view. Add a horizon line and vanishing point(s) before details.
- 03 Block furniture with simple forms
Draw furniture as boxes, prisms, and planes. Match those forms to your perspective guide lines.
- 04 Add line weight, color, and texture
Darken final outlines and fade construction lines. Apply color in layers, then suggest texture with controlled marks.
- 05 Finalize the plan and presentation sheet
Clean walls and key furniture placement. Keep construction logic visible for development insights, and prepare a readable presentation version.
Frequently asked questions
- What is the first step in how to draw interior design?
- Start with quick sketching to test layouts. Your sketches guide your plan and reduce rework later.
- How do you draw a interior design plan that looks organized?
- Clean your walls first, then place furniture based on circulation. Keep line weight hierarchy so the layout is readable fast.
- How to draw furniture interior design accurately in perspective?
- Block furniture into simple boxes and planes first. Then connect key edges to the right vanishing points.
- How do you find vanishing points in interior design sketches?
- Set the horizon line at your eye level, then place vanishing points on it. Test a few construction lines, and adjust until the space feels stable.
- What colors should I use when learning how to draw interior design sketches?
- Pick one wall tone, one accent, and one furniture or metal tone. A limited palette keeps your design idea clear.
- Should I use texture and shadows in every sketch?
- Use them when they help clarity. Add shadow for contact points and value separation, not for overwhelming detail.
Related reading
Couch Placement—Flow, Focus and Comfort
Place your couch to frame a focal point, keep paths clear, and make the room feel balanced.
Master Bedroom — Color, Comfort and Personal Style
Build a calm, personal bedroom with smart choices and a budget that works.
Room Painting Labor Costs — Rates and Budget Factors
See typical room-painting labor rates and learn what drives the final price.