How to Do 3D Rendering for Interior Design (Practical Guide)
Learn what 3D rendering in interior design is, the full workflow, top tools, common issues, and tips for photo-realistic results.
What 3D rendering is in interior design
3D rendering for interior design turns your space concept into a viewable image or short scene. You build a 3D model of the room, apply materials, set lights, then capture a final render from a camera angle. This is what is 3d rendering in interior design, and it is the fastest way to test ideas before anything is built.
In practice, rendering is not just “making it look pretty.” It lets you check scale, proportions, sight lines, and how finishes feel in real light. Many teams call this virtual visualization or architectural rendering when they focus on the environment. Done well, it bridges imagination and reality.
You will also hear “photo-realistic renderings” because the goal is believable texture, shadows, and color. That belief comes from good materials, correct lighting, and accurate camera framing. The best 3d rendering techniques for interior design aim for clarity first, then polish.

Why 3D rendering matters for clients and design decisions
The biggest value is client communication. A render shows furniture placement, circulation, and material contrast in a way a floor plan rarely does. It reduces back-and-forth because clients can react to a clear visual instead of abstract descriptions.
Rendering also helps with internal decision-making. You can compare multiple layouts quickly and spot issues early, like poor legroom around dining chairs. This matters in space planning because small shifts change the whole feel of the room.
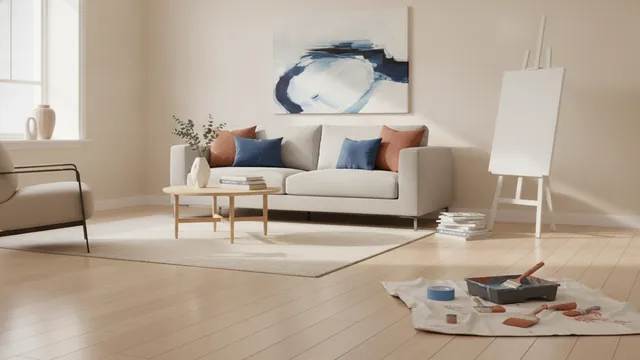
Another common use is virtual staging. You start with an empty room and add realistic furniture and decor to help clients “see themselves there.” If you plan to use interactive 3D floor plans later, renders are still useful because they establish baseline views and style direction.
- Shortens approvals by replacing guesswork with clear visuals
- Helps you validate layout and scale before ordering finishes
- Supports client confidence through consistent presentation
How to do 3d rendering for interior design: a step-by-step workflow
If you want to know how to do 3d rendering for interior design, follow a repeatable workflow. The standard pipeline is sketching, modeling, detailing, then final rendering. You can do each part manually, or speed up steps with libraries and templates.
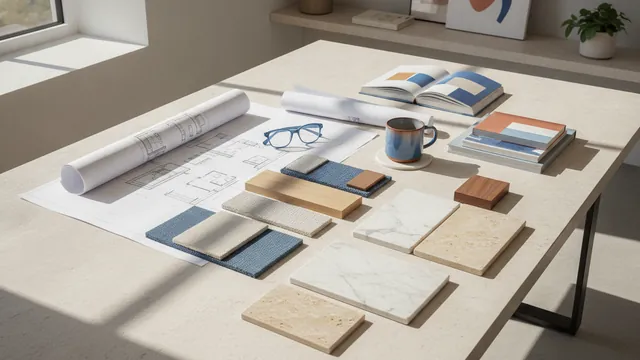
Start with inputs that already feel “design-real.” Use measurements from the room, plus a mood reference that defines style and materials. If you have 2D drawings, confirm door swings and clearances first. This prevents rework later.
Next, build the model. Keep geometry clean and purposeful, then add only what you need for the camera shots. A render of a corner will not need full detail on hidden walls, for example.
- Sketch and set camera intent Decide where the main viewpoint will be. Mark a few likely angles and note what you want clients to notice.
- Model the room and key elements Create walls, floors, ceilings, and openings. Then add furniture volumes as blocking so you can check scale.
- Detail with materials and finishes Assign materials to walls, floors, fabrics, and metals. Focus on the materials that appear in your chosen shots.
- Light the scene Add daylight sources and interior lights. Then adjust intensity so skin tones, fabrics, and paint colors look natural.
- Render and refine Test render settings, then iterate on exposure and shadows. Export a final image with consistent color and sharpness.
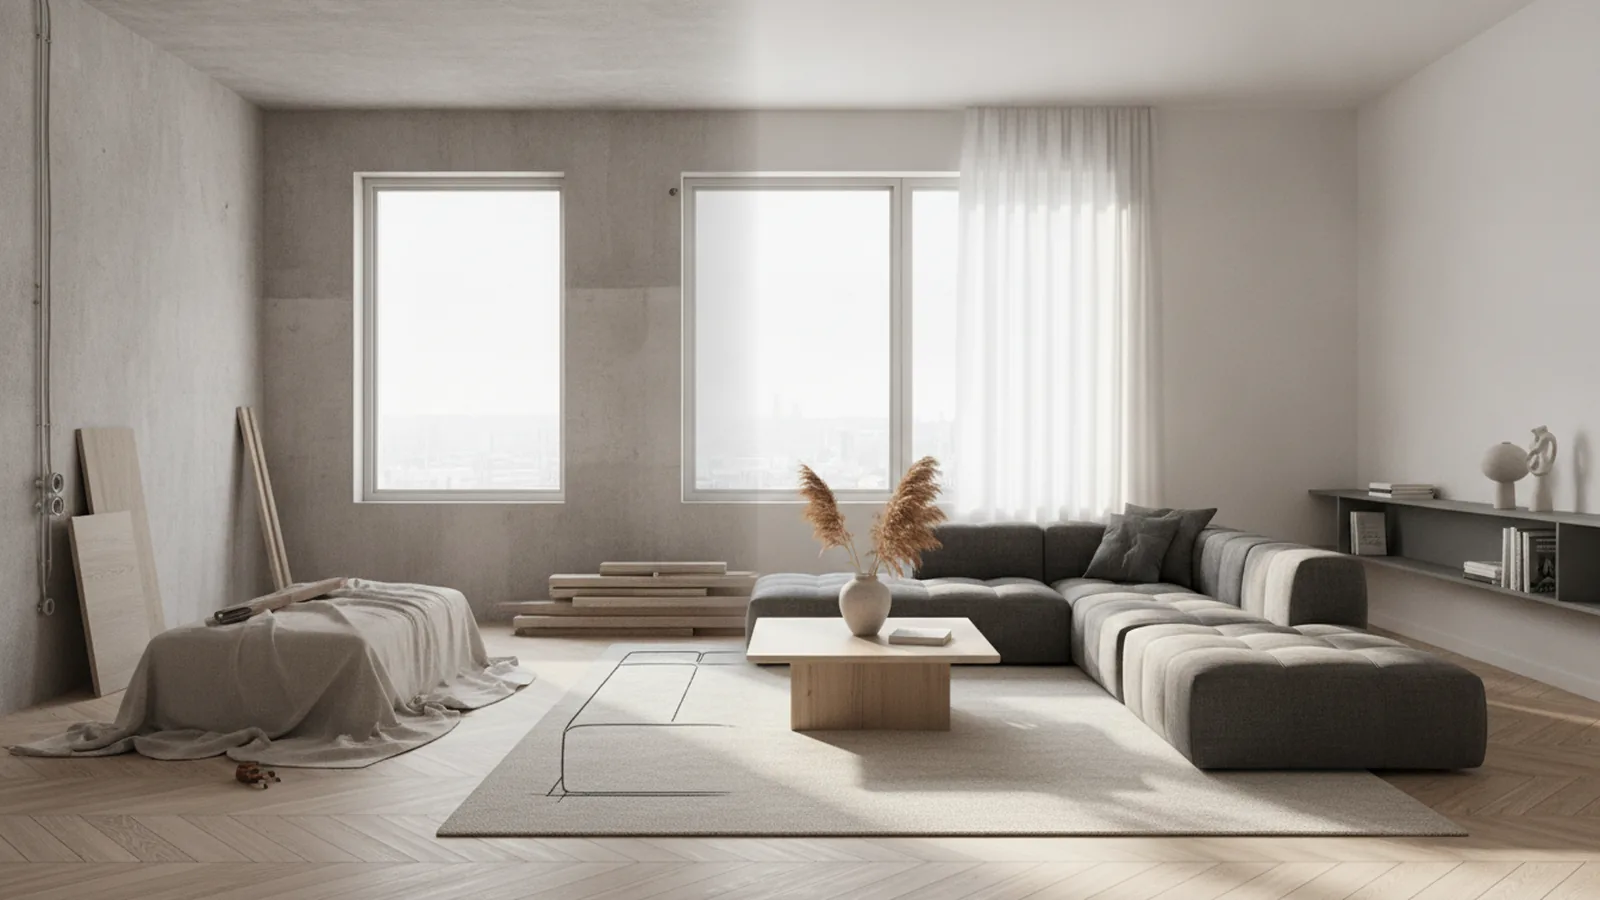
Here is a concrete mini example. Suppose you design a small living room with a sofa, rug, and built-in shelves. You would model the room, block the sofa and shelf openings, apply wood and fabric materials, then light it for morning daylight. Finally, you render the view from the sofa end so the shelving depth reads correctly.

Choosing the right 3D rendering software for your workflow
Tools shape your output quality, speed, and learning curve. A good rendering software comparison is less about “best for everyone” and more about what fits your tasks. For interior work, you usually need modeling flexibility, material control, and reliable lighting.
Blender is a popular choice because it is flexible and supports full 3D pipelines. It can also produce high-quality results when you invest time in materials and lighting. If you want a tool that can cover everything from modeling to final frames, it is a strong option.
3ds Max is common in architecture and visualization pipelines. Many designers like it for workflow familiarity and strong modeling tools. If your team already uses it for architectural visualization, you may get faster handoffs.
SketchUp is widely used for quick modeling and concept layout. It is especially helpful for early space planning, because you can model volumes quickly and iterate layouts. You then pair it with a renderer or workflow that supports photo-realistic renderings.
Lumion focuses on speed for visual storytelling. It is often used for virtual visualization when you want quick iterations and convincing lighting. It can be ideal for presenting design directions to clients within tight timelines.
| Software | Best fit | Strength |
|---|---|---|
| Blender | Full pipeline control | Flexible modeling and strong rendering options |
| 3ds Max | Architecture-focused teams | Powerful modeling tools and mature workflow |
| SketchUp | Fast concept layout | Quick geometry and easy iteration |
| Lumion | Rapid presentation | Fast lighting setups and visual speed |
When you pick, think about your deliverables. Do you need static images, animations, or interactive 3D floor plans. Each goal changes what you prioritize in a 3D rendering techniques for interior design workflow.

Common challenges in interior rendering and practical fixes
Most rendering problems come from a few predictable causes. Materials look wrong, lighting feels flat, and details do not match the real world. The fix is usually not “more rendering.” It is better input and targeted iteration.
One common issue is scale mismatch. If your camera lens or model scale is off, everything looks slightly “off,” even if materials are good. Confirm your unit system early and keep consistent dimensions from sketch to final export.
Another issue is lighting that ignores real behavior. If shadows are too dark or too soft, the scene feels fake. Balance ambient light with a key light and add subtle fill so surfaces reveal texture.
Material realism is also a frequent blocker. Wood can look like plastic if roughness settings are wrong. Fabric can look like paint if you do not use an appropriate texture and bump or normal detail. Always test one material in isolation before swapping across the scene.
- Problem: flat shadows → Increase contrast via light angle and adjust exposure.
- Problem: wrong color → Calibrate lights, then check material base color values.
- Problem: blurry edges → Reduce excessive post blur and re-check camera focus settings.
- Problem: slow renders → Simplify hidden geometry and use lower sample tests first.

Tips for effective 3D rendering that clients will trust
Professional output comes from consistency, not just quality settings. Use a repeatable naming scheme for models, cameras, and lights. Then keep your final renders aligned with your client review needs: clear framing, true colors, and readable materials.
Camera angles matter as much as lighting. Choose a viewpoint that matches how people actually stand in the room. For a living room, a near-eye camera at standing height usually reads better than a top-down view. If you show multiple angles, keep camera height consistent so comparisons feel fair.
Detail accuracy builds credibility. You do not need to model every screw, but you do need correct relationships. Doors should clear trim, rugs should align with furniture edges, and patterns should not stretch unnaturally.
Finally, treat rendering as part of design thinking, not the final step only. Run quick test renders during modeling, then again after materials and lighting. This keeps you from investing hours into final frames for a layout that still needs changes.
- Do quick “draft” renders every stage to catch scale and layout issues early
- Use one main light direction, then add subtle fill to support texture
- Match camera height to real viewing positions
- Focus detail where the camera looks, not everywhere
If you want to deliver the best client communication, align your renders with your presentation story. Show the before and after concept, then support the final direction with photo-realistic renderings from your best angles. That is how 3d rendering techniques for interior design turn into decisions.
Frequently asked questions
- What is 3D rendering in interior design?
- It is the process of building a 3D room model, assigning materials, lighting the scene, and exporting final images or scenes. It helps designers test layouts and finishes before construction.
- How do I do 3D rendering for interior design from scratch?
- Start with measurements and a camera plan. Then model the room, block furniture for scale, add materials and lighting, and render test drafts before your final output.
- What are common 3D rendering techniques for interior design?
- Typical techniques include space planning renders, virtual staging, and architectural rendering for specific viewpoints. Photo-realistic renderings depend on correct materials, camera framing, and believable lighting.
- Which software is best for interior rendering: Blender, 3ds Max, SketchUp, or Lumion?
- Blender fits full pipeline control, while SketchUp speeds up concept layout. 3ds Max suits teams with an architectural workflow, and Lumion is strong for fast presentation iterations.
- Why do my renders look fake even with good models?
- Usually lighting or material settings are off. Check exposure, light direction, shadow softness, and make sure material roughness and texture scale match the real world.
- How do I improve client communication with renders?
- Show multiple angles with consistent camera height and clear framing. Use drafts during the process so clients can approve direction early, not after you lock everything.
Related reading

How to Fit Two or More Beds in a Small Room
Smart layouts and storage ideas for fitting two or more beds in a small room.
Room Painting Costs and How to Choose the Right Color
Room paint costs, color tips, and smart ways to plan your project.
How Much Do Interior Designers Make? A Practical Pay Guide
See interior designer pay by location, experience, billing model, and project type.