How to Build a Living Room Chair from Scratch
Build a sturdy custom chair with clear cuts, frame steps, and upholstery tips.
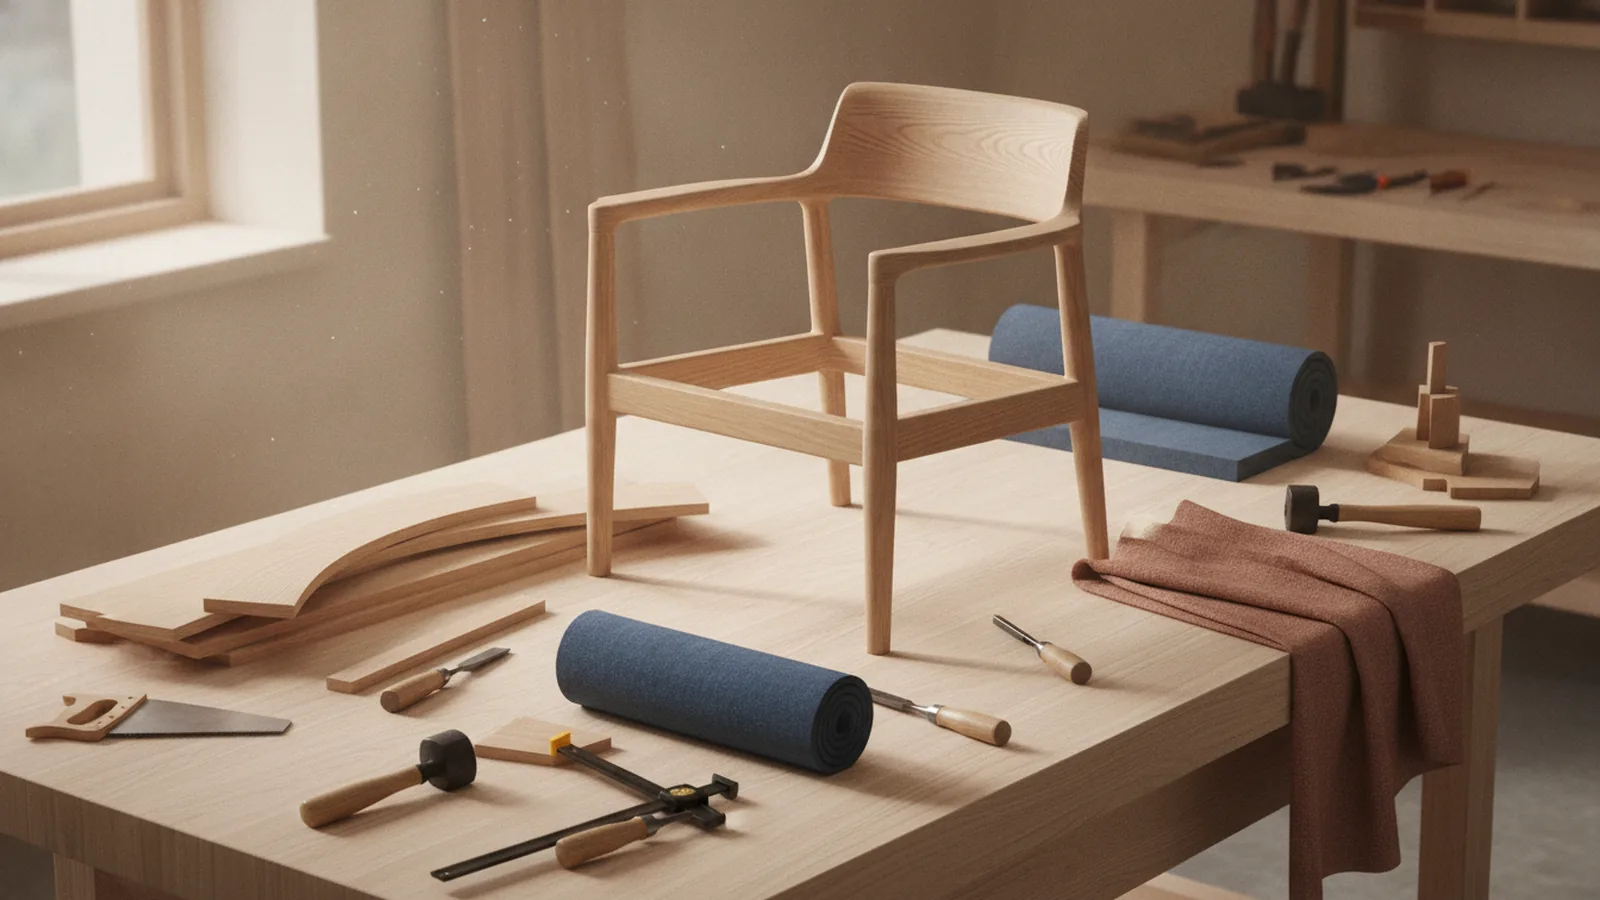
Introduction to DIY Chair Building
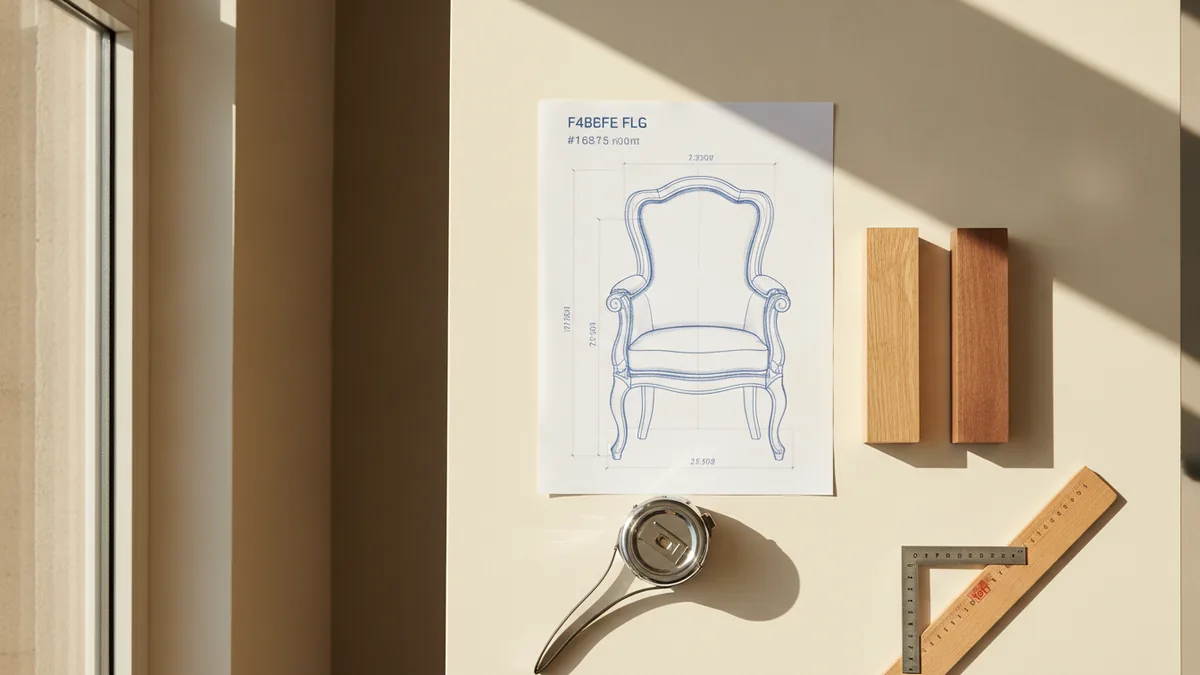
Learning how to build a living room chair starts with a clear plan. You need a strong frame, firm foam, and hard-wearing fabric. This project suits beginners with basic wood skills.
A DIY living room chair adds a personal touch to your space. You choose the width, height, wood tone, cushion feel, and fabric. A custom build can also cost less than many ready-made chairs.
Plan for a chair about 30 inches wide, 32 inches deep, and 34 inches high. Keep the seat near 18 inches high. Adjust these sizes for your room and body.
- Seat width: 24 to 26 inches
- Seat depth: 20 to 22 inches
- Seat height: 17 to 19 inches
- Back angle: about 10 to 15 degrees
Sketch the front, side, and top views. Mark each cut with its length and width. This drawing becomes your chair construction guide during the build.
Essential Materials for Your Chair
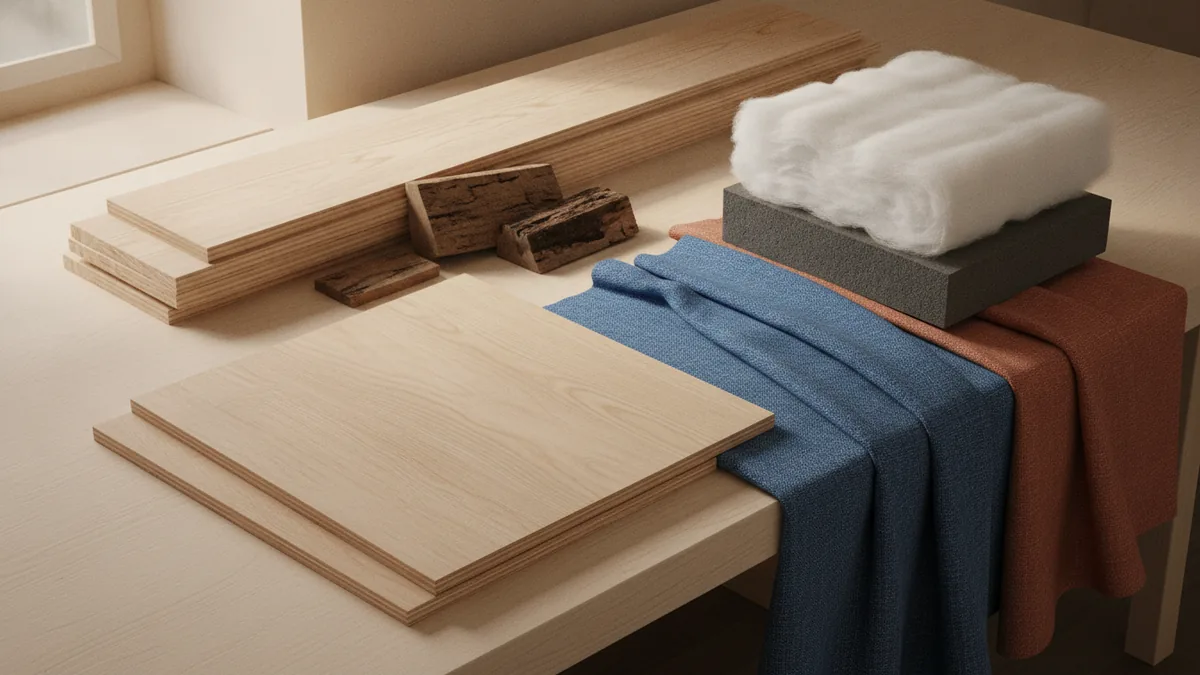
Wood forms the chair frame, so choose boards without large knots or cracks. Pine is cheap, light, and easy to cut. It works well when you build your own chair for the first time.
Oak costs more, but it resists wear and shows a rich grain. It also weighs more than pine. Plywood gives you wide, stable panels for the seat and back.
- Pine boards for rails, legs, and arms
- Three-quarter-inch plywood for the seat and back
- Wood glue and two-inch wood screws
- High-density foam, three to four inches thick
- Quilt batting for a smooth cushion shape
- Upholstery fabric, thread, and matching welt cord
- Wood stain, paint, or clear finish
- Sandpaper in 80, 120, and 220 grit
Choose fabric for both looks and daily use. Cotton feels soft, but it may wear sooner than a tight weave. Canvas, microfiber, and performance fabric often handle heavy use well.
Buy two to three yards of fabric for one armchair. Check the fabric width before cutting. Add more when using stripes, checks, or large prints.
Tools Needed for the Project

The right tools make chair construction safer and more exact. You need a saw for cuts, a drill for holes, and clamps for steady joints. A tape measure and square help keep each part true.
- Circular saw or miter saw for straight cuts
- Jigsaw for small curves and cutouts
- Drill with pilot bits and driver bits
- Clamps for holding glued joints
- Measuring tape, pencil, and carpenter square
- Orbital sander or sanding block
- Staple gun for fabric and batting
- Utility knife and sharp fabric scissors
- Safety glasses, hearing protection, and a dust mask
A miter saw speeds up repeated leg cuts. A circular saw works well with a straight guide. Use a jigsaw only when the design needs curves.
Test every tool on scrap wood first. Check that the blade cuts square. Make sure the drill bit matches your screws. Small tests prevent large frame errors.
Step-by-Step Construction Guide
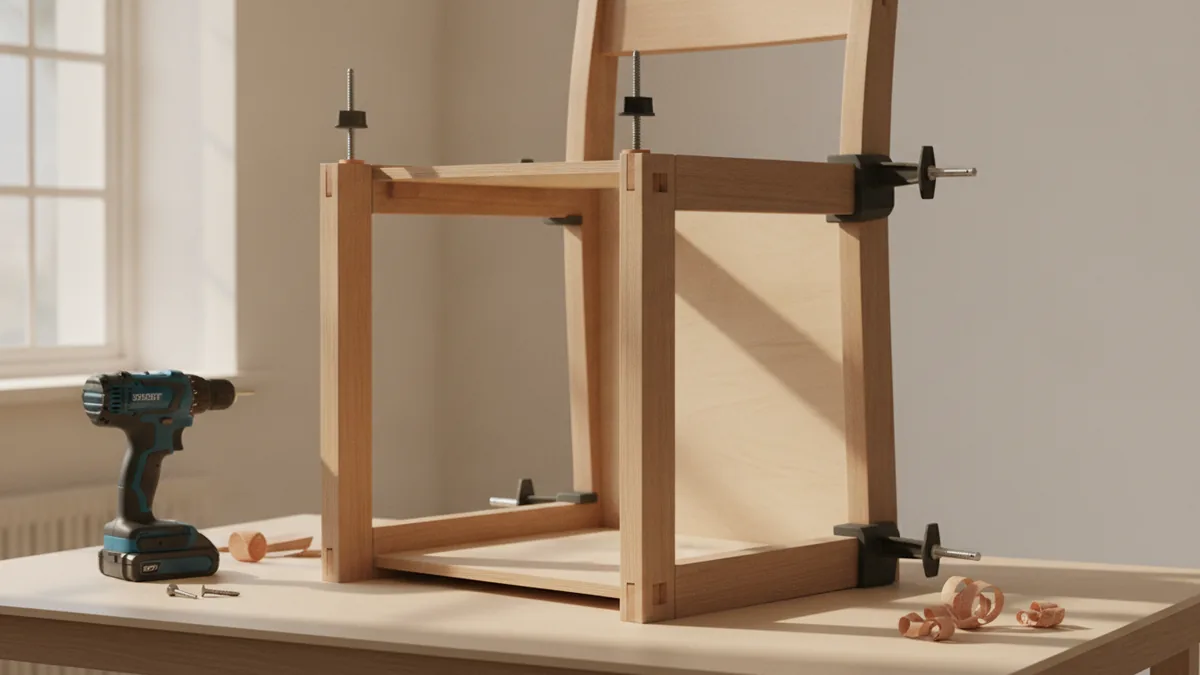
Start making a living room chair by cutting every part from your plan. Label each piece with its place and length. Keep labels on areas hidden beneath fabric.
- Cut the frame parts. Cut four legs, two side rails, a front rail, and a back rail. Cut the seat and back panels from plywood.
- Shape and dry-fit the base. Set the legs beside each rail on a flat floor. Clamp the parts without glue. Measure the frame diagonals.
- Join the side frames. Drill pilot holes through each rail. Add glue to the joint faces. Drive screws into the legs.
- Add the front and back rails. Join these rails to the side frames. Keep the top edges level. Measure the diagonals again.
- Install support blocks. Add short blocks below the seat edges. Place one near each corner. Add two more along the long sides.
- Fit the seat panel. Place the plywood on the supports. Leave a small gap around the edges. Fasten the panel with screws.
- Attach the back supports. Set the rear posts at your chosen angle. Use a level and square to check both sides. Add top and lower rails.
- Secure the back panel. Fasten the plywood to the rear rails. Keep it centered. Add a center brace if the panel flexes.
Check the frame before adding foam. Sit on the bare seat for a short test. Look for movement, sharp edges, or an uncomfortable back angle.
Do not rush the glue-up. Wipe away squeezed glue before it dries. Let each joint cure for the time shown on the glue label.
Finishing Touches and Upholstery
Sand every exposed wood surface before you add a finish. Start with 80-grit paper for rough spots. Move to 120-grit, then finish with 220-grit paper.
Remove all dust with a vacuum and a clean cloth. Apply stain, paint, or clear finish in thin coats. Let each coat dry before light sanding.
Cut foam to match the seat panel. Wrap it with batting, then pull the fabric over the top. Start with one staple on each side. Add more staples as you work toward the corners.
Keep the fabric smooth, but do not pull it too hard. Fold each corner in a neat pleat. Trim extra fabric after the shape looks even.
A simple upholstery order
- Cover the seat first.
- Cover the back panel next.
- Attach fabric to the outer frame.
- Add welt cord to hide rough seams.
- Trim loose threads and check every staple.
Tips for Customization and Design
Comfort should guide each design choice. A deeper seat can feel relaxed, but it may need a firmer back cushion. A higher seat can help taller users rise with less effort.
Make a cardboard template before cutting unusual shapes. Set it on the frame and check the fit from several angles. This step can save wood, foam, and fabric.
Color can change the chair's role in the room. Neutral fabric blends with many styles. A bold pattern can make the chair a clear focal point.
Small changes can make the piece feel custom. Consider these options:
- Use tapered legs for a lighter look.
- Add removable cushions for easier cleaning.
- Round exposed corners for a softer profile.
- Match the wood finish to nearby furniture.
- Add a lower rail for extra frame strength.
Before use, test every joint and screw. Rock the chair from side to side. Tighten loose hardware and smooth any rough edge.
Careful planning makes making a living room chair far easier. Work in stages, check each measurement, and let finishes dry fully. The result should feel safe, stable, and made for your space.
Step-by-step
- 01 Plan the chair size
Set the chair width, depth, seat height, and back angle. Draw front, side, and top views.
- 02 Gather materials and tools
Choose sound wood, plywood, foam, batting, fabric, glue, and screws. Prepare the saw, drill, clamps, sander, and staple gun.
- 03 Cut and dry-fit the frame
Cut each part from the plan and label it. Clamp the frame without glue, then check its shape and diagonals.
- 04 Join the wood frame
Drill pilot holes and add glue to each joint. Drive the screws, then add support blocks and back rails.
- 05 Install the panels
Fit the plywood seat and back panels. Fasten them after checking the frame for movement or sharp edges.
- 06 Sand and finish the wood
Sand from coarse to fine grit. Remove dust, then apply stain, paint, or clear finish in thin coats.
- 07 Add foam and fabric
Cut the foam to fit the seat and wrap it with batting. Pull the fabric smooth and staple it below the frame.
- 08 Test the finished chair
Check every joint, screw, edge, and staple. Sit in the chair and fix any movement before regular use.
Frequently asked questions
- What materials do I need to build a living room chair?
- Use straight pine, oak, or plywood for the frame. Add high-density foam, batting, upholstery fabric, glue, and screws.
- What tools are needed to build a living room chair?
- Most chairs need a saw, drill, clamps, tape measure, square, sander, and staple gun. Safety glasses and a dust mask also help.
- What is a good size for a DIY living room chair?
- A useful starting size is 30 inches wide, 32 inches deep, and 34 inches high. Keep the seat near 18 inches high.
- How do you make a living room chair step by step?
- Cut and join the wood frame first. Then fit the panels, sand the wood, add the finish, and cover the foam with fabric.
- What is the best fabric for a homemade chair?
- Canvas, microfiber, and performance fabric often resist daily wear well. Check the fabric width before you buy.
Related reading

Kitchen Wall Décor — Style and Function
Make a bare kitchen wall feel warm, useful, and thoughtfully styled.

Bathroom Paint — Moisture, Finishes and Cost
Choose bathroom paint based on dampness, airflow, surface prep and finish.

Large Living Rooms — Comfort, Zones and Flow
Make a spacious living room feel warm, useful, and easy to move through.