How to Recover Dining Room Chairs for a Fresh, Neat Finish
Refresh worn dining chairs with new fabric, foam, and a clean finish.
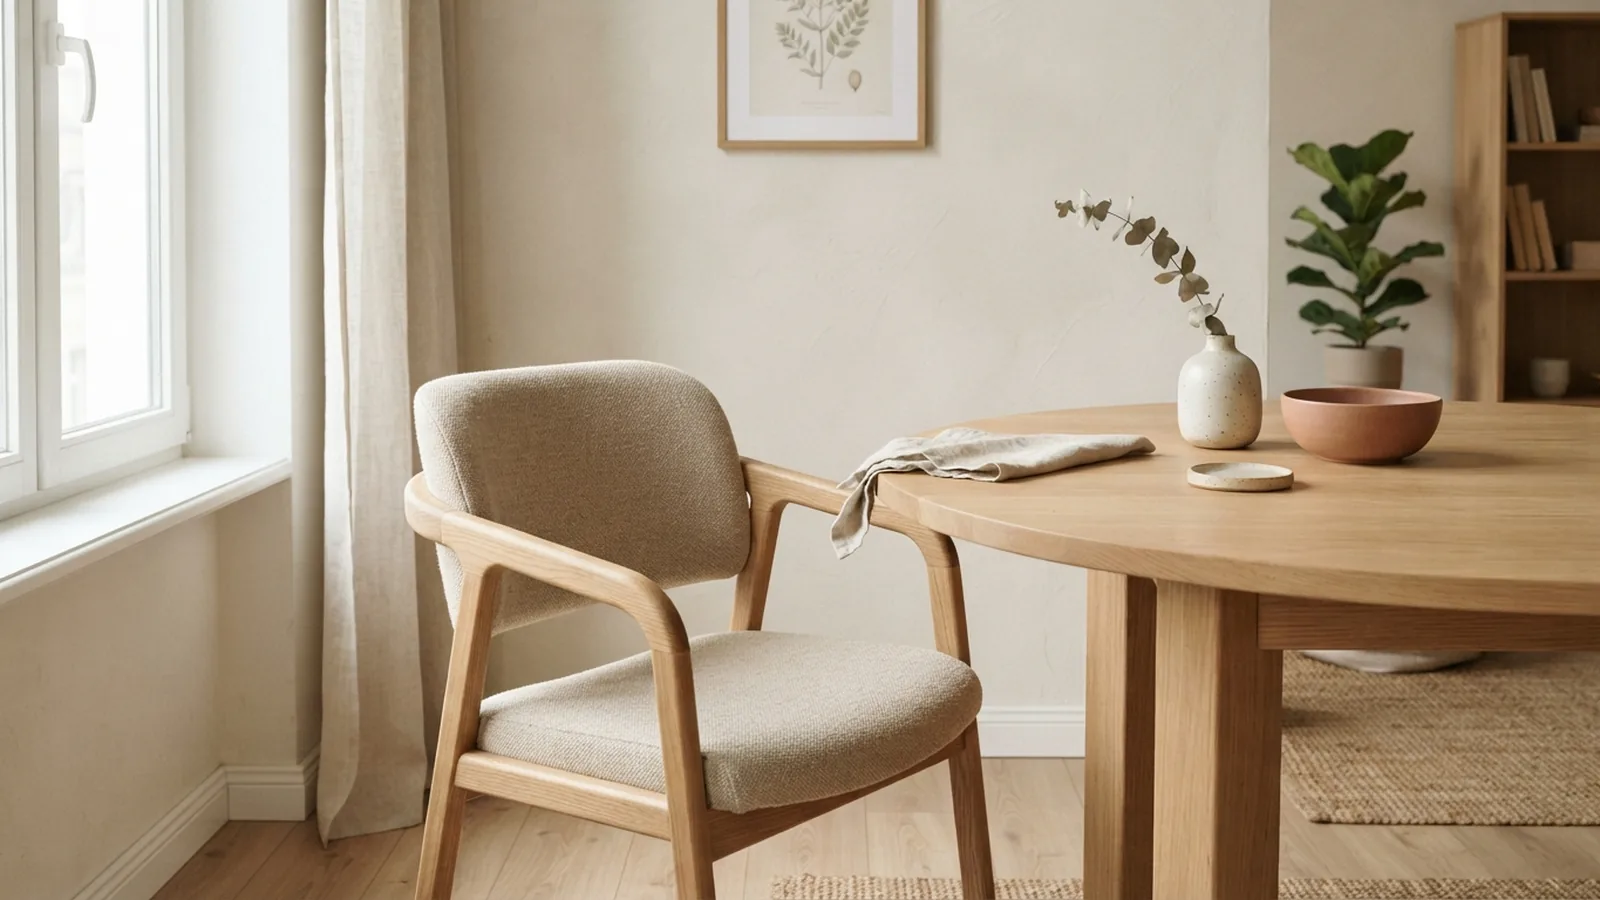
Why Recovering Dining Chairs Makes Sense
To recover dining room chairs, remove the old cover, check the padding, and fit new fabric. Most seat cushions need basic tools and a free afternoon. You can also cover a chair back or make removable slipcovers.
Recovery costs less than replacing a sound chair frame. It also lets you match new fabric to your dining room. Keep the old cover until the new cover fits well.
Choose upholstery when you want a firm, lasting fit. Choose slipcovers when you want easy washing or seasonal changes. For loose cushions, use covers with zips, ties, or envelope flaps.
- Upholstery: Best for fixed seats and a smooth, tailored look.
- Slipcovers: Best for removable covers and homes with frequent spills.
- Reupholstery: Best when foam, webbing, or padding also needs repair.
Gather the Right Tools and Materials
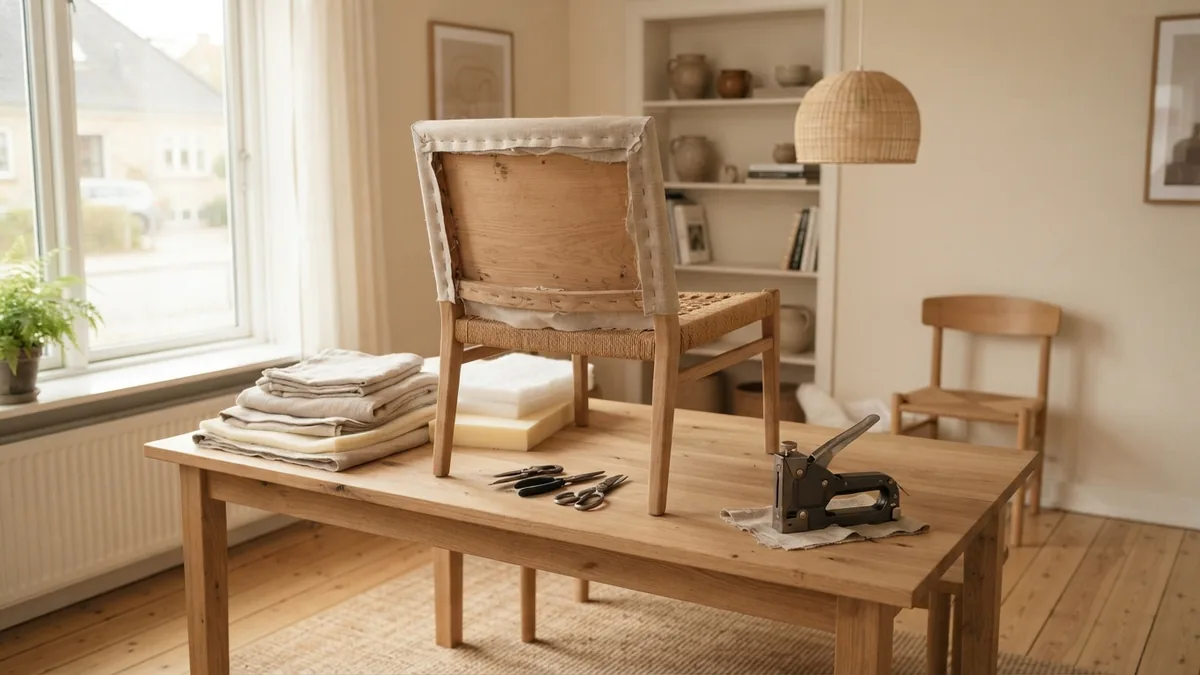
Start with fabric made for furniture use. Cotton blends, linen blends, canvas, and performance fabrics work well. Avoid thin dress fabric because it can tear under daily use.
Measure your chair before buying supplies. A firm seat often needs foam between 1 and 2 inches thick. Add a thin layer of batting for a softer shape and smoother fabric.
Use a hand stapler for small jobs. An electric stapler can save time on several chairs. Keep staples short enough to avoid passing through the wood.
- Upholstery fabric and matching thread
- High-density foam and polyester batting
- Staple gun with 6 to 10 millimetre staples
- Flat screwdriver, pliers, and fabric scissors
- Tape measure, chalk, and a marker
- Dust mask, work gloves, and a clean work surface
A flat screwdriver helps lift old staples. Pliers pull them out without tearing the frame. Take photos before removing parts from a complex chair.
How to Recover Dining Room Chair Seats
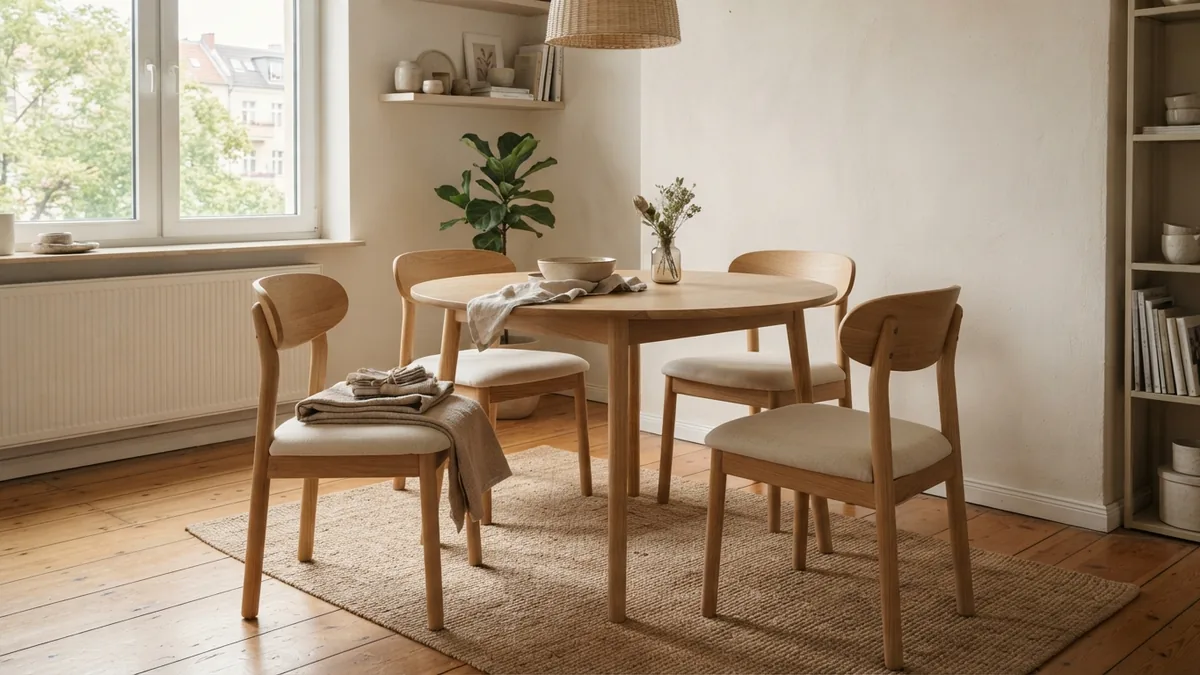
Begin by turning the chair upside down. Remove the seat screws and place them in a small dish. Mark the front edge with chalk before lifting the cushion.
- Remove the old cover. Pull out staples from the underside. Keep the cover flat for use as a pattern.
- Check the base. Replace cracked wood, loose webbing, or sagging support first.
- Cut the foam. Match the seat shape, then trim rough edges with a sharp knife.
- Add batting. Cut it with a 50 millimetre overlap on every side.
- Cut the fabric. Add 75 millimetres beyond each seat edge for pulling and stapling.
- Set the layers. Place fabric face down, then batting, foam, and the seat base.
- Staple the fabric. Fix the centre of each side first. Work outward in small, even steps.
- Trim and refit. Cut away excess fabric, then screw the seat back into place.
Keep the fabric grain straight across the seat. For stripes, centre the pattern before stapling. Pull firmly, but do not stretch fabric until it shines.
To recover dining chair cushions with zips, use the old cover as your pattern. Add a small seam allowance around each piece. Test the zip before fitting the cover over fresh foam.
How to Recover a Dining Room Chair Back
Chair backs need more care than flat seats. First, check whether the back panel lifts away. Many designs have a front panel, rear panel, or open wood frame.
For a removable panel, trace the old fabric before taking it apart. Add 25 millimetres for a seam or staple edge. Keep any piping, ties, or decorative trim as pattern guides.
For a padded back, place the foam and batting over the front. Staple the fabric at the top, bottom, and sides. Work from the centre toward each corner.
For an open wood back, measure the inside opening. Cut fabric with enough extra room to wrap behind the frame. Finish the rear edge with trim, a second fabric panel, or neat folded corners.
Handling Corners and Decorative Shapes
Dining chair corners can bunch when too much fabric meets one point. Make small relief cuts toward the corner. Stop about 6 millimetres from the foam or wood edge.
Fold one side inward, then fold the other side over it. Keep the top fold flat and place staples below the visible edge. On rounded corners, use several small folds instead of one deep pleat.
For carved frames, avoid covering the detail. Tuck fabric into the gap with a blunt tool. Use a narrow strip of cardboard beneath the edge for a crisp line.
Getting a Professional Finish
Good tension creates a neat result. Staple opposite sides in turns, rather than finishing one side first. This keeps the cover centred and reduces wrinkles.
Check the top surface after every few staples. Remove any staple that creates a ridge or pulls the pattern off line. A clean underside matters too, especially when chairs move often.
- Press fabric smooth from the centre outward.
- Place staples about 25 millimetres apart.
- Leave space near screw holes and frame joints.
- Use a tack strip for long, straight edges.
- Hide rough edges with trim or a dust cover.
Do not cover damp foam or dusty frames. Moisture can lead to musty smells beneath the new fabric. Let repaired parts dry before closing the chair.
Make one chair first. Sit on it for a day and inspect the fit. Then use that chair as your model for the rest.
How Much Fabric Do Dining Room Chairs Need?
The amount depends on seat size, cushion thickness, pattern direction, and chair backs. A standard seat often needs about 0.5 metre of fabric. A seat with a thick cushion may need more.
Measure the seat length and width. Add twice the cushion depth, then add 150 millimetres for wrapping. Use this formula for a flat seat:
Fabric length = seat length + twice the seat depth + 150 millimetres.
For example, a 450 millimetre square seat with a 50 millimetre cushion needs about 700 millimetres. Add more for stripes, checks, or large prints. Pattern matching can raise waste by 20 to 30 percent.
| Chair part | Typical fabric allowance | Extra planning note |
|---|---|---|
| Flat seat | 0.5 to 0.7 metre | Add room for thick foam and staple edges |
| Seat and padded back | 0.8 to 1.2 metres | Match patterns before cutting |
| Two-piece slipcover | 1.2 to 2 metres | Allow for seams, hems, and closures |
Multiply your estimate by the number of chairs. Then add at least 10 percent for mistakes. Buy all fabric from one dye lot when possible.
Caring for Newly Recovered Chairs
Vacuum the fabric each week with a soft brush. Blot spills at once with a clean, dry cloth. Rubbing can push liquid deeper into the weave.
Check the care label before using water or cleaner. Test any product on a hidden area first. Some fabrics need solvent cleaning rather than soap and water.
Keep chairs away from strong, direct sun when possible. Sunlight can fade natural fibres and some printed cloths. Rotate chairs around the table to spread wear evenly.
- Check loose staples after the first month.
- Tighten seat screws when chairs begin to wobble.
- Keep pets and sharp objects away from exposed fabric.
- Wash removable covers only as their care label allows.
- Replace flattened foam before the fabric begins to sag.
With steady tension and sound padding, recovered chairs can last for years. The best result comes from careful measuring, not rushed stapling.
Step-by-step
- 01 Remove the seat and old cover
Turn the chair upside down and remove the seat screws. Pull the old staples and save the cover as a pattern.
- 02 Inspect the chair base
Check the wood, webbing, foam, and padding. Repair weak parts before adding new fabric.
- 03 Cut the foam, batting, and fabric
Match the foam to the seat shape. Add 50 millimetres for batting and 75 millimetres for fabric on each side.
- 04 Place the new layers
Lay the fabric face down, then add batting, foam, and the seat base. Centre the pattern before stapling.
- 05 Staple the cover
Staple the centre of each side first. Work outward in small steps while keeping the fabric smooth.
- 06 Finish the corners
Make small relief cuts near each corner. Fold the fabric neatly and trim away excess material.
- 07 Refit and test the chair
Trim the underside, replace the seat screws, and check the finished cover. Sit on the chair before recovering the next one.
Frequently asked questions
- How do you recover dining room chairs at home?
- Remove the seat, strip the old fabric, check the padding, and cut new fabric. Staple the new cover from the centre of each side outward.
- How much fabric do I need to recover dining room chairs?
- A flat seat often needs 0.5 to 0.7 metre. Add more for thick cushions, chair backs, large patterns, and matching repeats.
- What fabric is best for dining room chair seats?
- Choose a durable upholstery fabric, such as a cotton blend, canvas, linen blend, or performance cloth. Avoid thin dress fabric.
- How do I recover a dining room chair back?
- Remove or trace the back panel, then add extra fabric for seams or stapling. Fit the centre first and work toward the edges.
- How do I recover dining room chair corners without wrinkles?
- Make small relief cuts near the corner, then fold each side inward. Use several small folds on rounded corners.
- Can I use slipcovers instead of fixed upholstery?
- Yes. Slipcovers work well for removable washing and seasonal changes. Add seams, hems, and a secure closure for a neat fit.
Related reading
Reupholster Dining Room Chairs: A Practical Step-by-Step Guide
Refresh worn dining chairs with a clear DIY reupholstery guide.

Small Kitchen Costs — Prices, Choices and Budget Tips
Compare small kitchen prices, key cost drivers, and ways to keep a remodel on budget.

Dining Table Clearance — Space for Chairs and Walkways
Plan table and chair clearances for a dining area that feels comfortable.