Plan a Kitchen Recessed Lighting Layout That Lights the Counters
Plan brighter counters, fewer shadows, and a warmer kitchen with recessed lights.
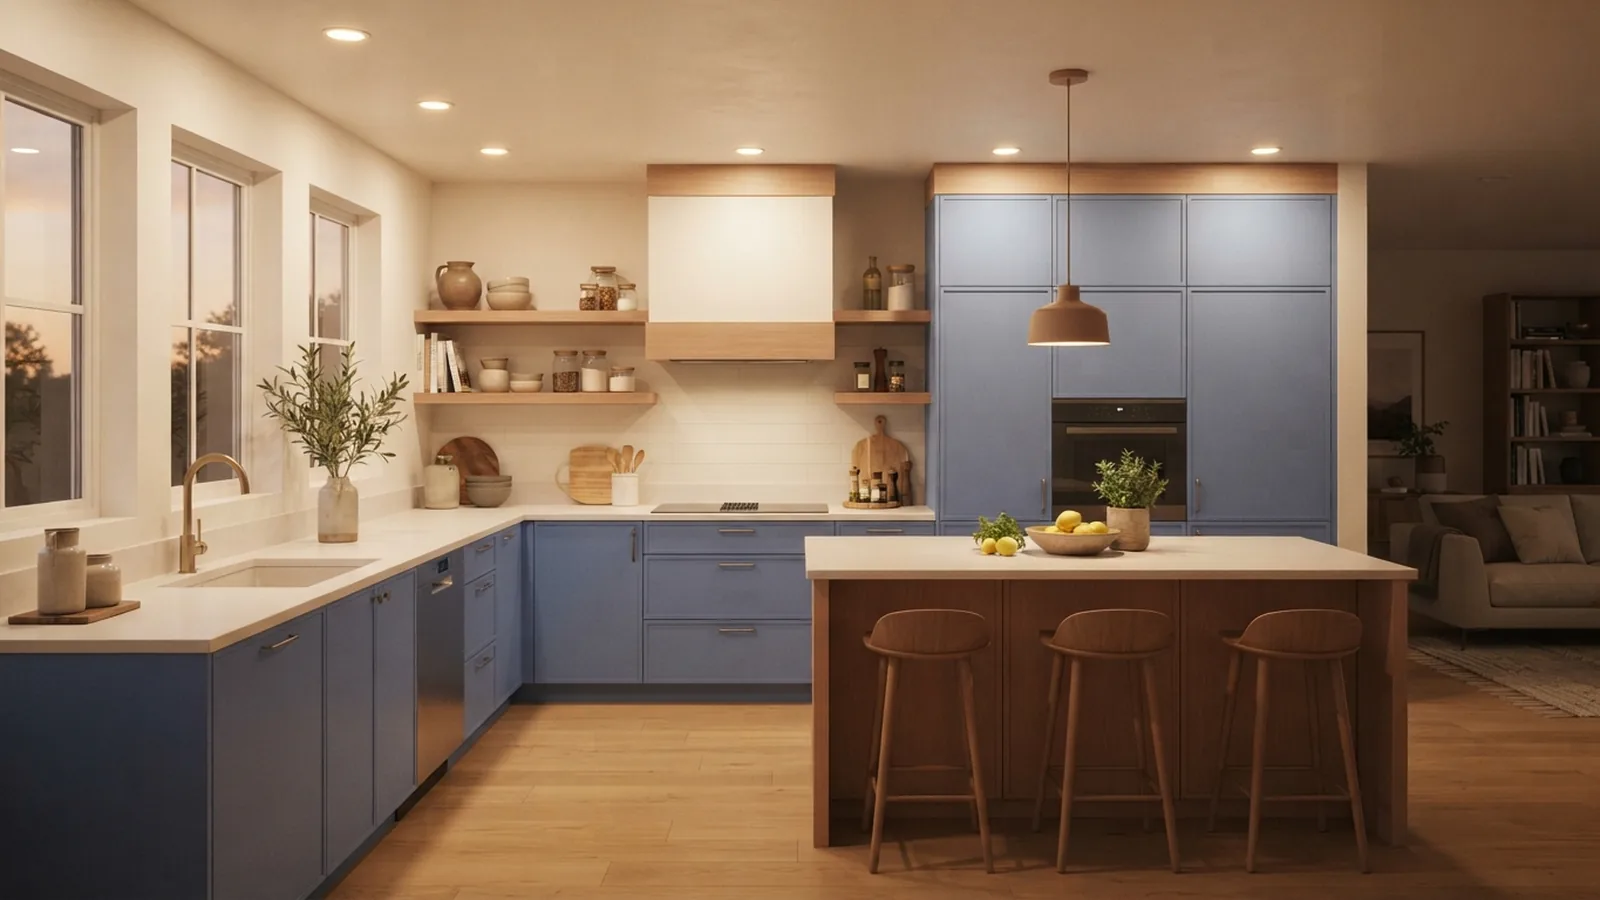
Understanding Recessed Lighting in the Kitchen
To lay out recessed lighting in a kitchen, start with the work areas. Place lights over counters, the sink, and the stove. Then add softer light for the rest of the room. This plan cuts shadows and makes the kitchen feel brighter.
Recessed lights sit inside the ceiling. Their trim stays near the ceiling plane, so they do not block sight lines. LED models suit most kitchens because they use little power and last for years. Choose a warm white tone near 2700K to 3000K for a welcoming feel.
Use recessed lights as one part of layered lighting. Under-cabinet strips add close task lighting to counters. Pendants can light an island and add visual interest. Dimmers let you shift from bright work light to low evening light.
- Use task lights over areas where you chop, wash, and cook.
- Use ambient light to fill open floor space and walkways.
- Use dimmers when one room must support work, meals, and rest.
Begin with a simple ceiling plan before buying fixtures. Mark cabinets, counters, the island, sink, stove, and doors. This map shows where light must land. It also exposes spots that a centered grid may miss.
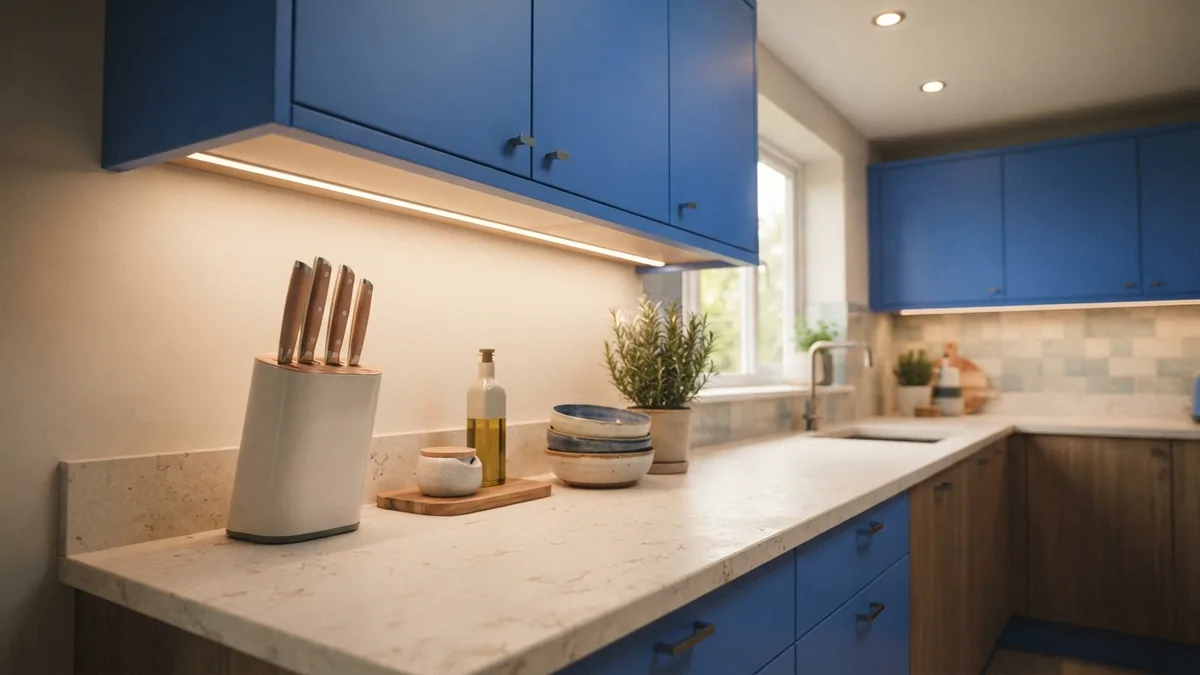
Focus Light on Key Kitchen Work Areas
The most useful layout puts light in front of you, not behind you. Set recessed lights about 12 to 18 inches away from upper cabinets. This position sends light across the counter and helps prevent your body from casting a shadow.
Place one or more fixtures along the main counter run. Keep the beam centered over the work surface when possible. For a sink, place the light slightly in front of the basin. A light behind the sink can shine into your eyes and leave the bowl dark.
The stove needs clear, even light for food prep. Place a fixture near the front half of the cooking zone. Check the range hood before marking the ceiling. A hood may block part of the beam or already include its own light.
Treat an island as its own lighting zone. A long island may need two or three fixtures in a row. A square island often suits four fixtures in a balanced pattern. Keep lights clear of pendant locations if both fixture types will share the ceiling.
- Counter: place lights 12 to 18 inches from the cabinet face.
- Sink: aim light from the front side of the basin.
- Stove: light the cooking zone without blocking the hood.
- Island: use a pair, row, or small grid based on its shape.
Walk through the room at night with your plan in hand. Stand at the counter and face the work area. If your head blocks the light, move the fixture toward the cabinet side. Small shifts can improve the result more than adding extra fixtures.
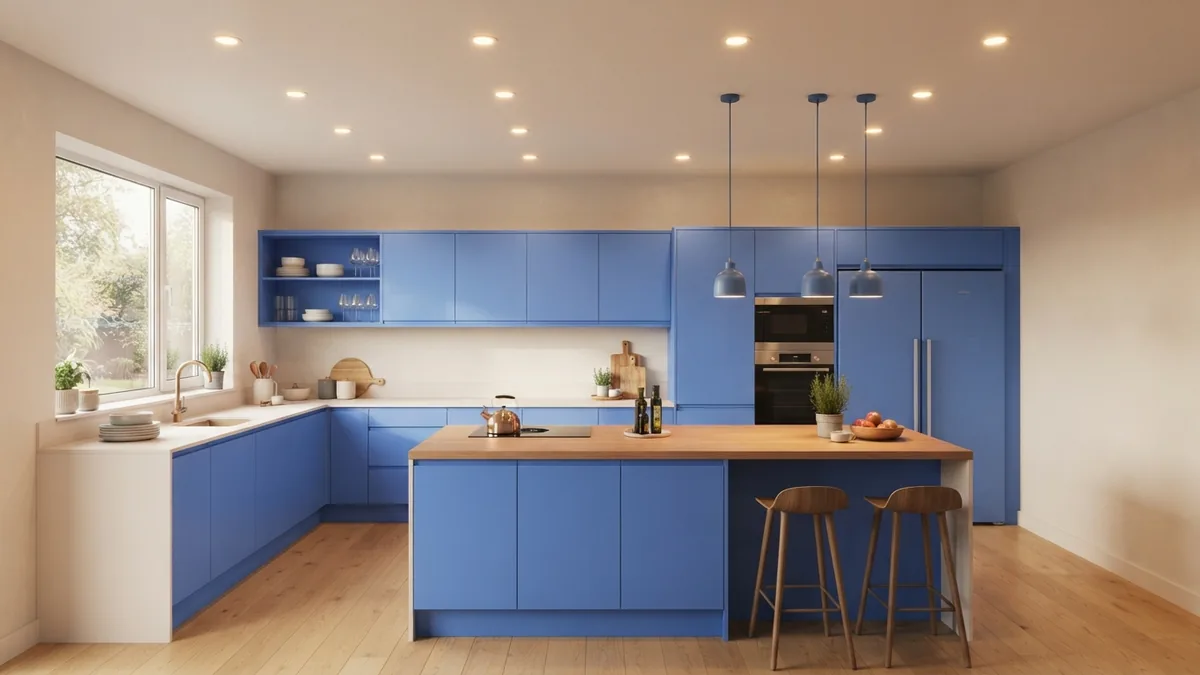
Set Spacing and Arrange Multiple Rows
Common spacing guides place recessed lights 5 to 7 feet apart. Keep the first row about 2 to 3 feet from the walls. These numbers give a useful starting point, not a strict rule. Fixture beam spread, ceiling height, and room finishes all affect the final plan.
Multiple rows usually give better coverage than one row down the room center. A single center row can leave counters dark. It can also create shadows when you stand at the work surface. Use one row near the cabinets and another over the island or open floor.
Offset the rows from the room center when task areas need stronger light. The goal is not a perfect ceiling grid. The goal is even light where hands and eyes do the work. Symmetry still matters, but function should guide the layout.
| Kitchen feature | Useful starting point | Layout check |
|---|---|---|
| Upper cabinets | 12 to 18 inches from the cabinet face | Light should reach the counter front |
| Room walls | 2 to 3 feet from the wall | Avoid bright scallops on the wall |
| Fixtures in a row | 5 to 7 feet apart | Check for dark gaps between beams |
| Kitchen island | Center lights over the work zone | Keep clear of pendants and hood parts |
Use the fixture maker's beam spread to refine each gap. A wide beam can cover more floor but may look flat. A narrow beam can create bright pools and dark spaces. Place a few test fixtures first when the ceiling is still open.
Mark each center point with painter's tape. Stand below each mark and look toward the counter. This quick test catches poor alignment before cutting begins. It also helps you balance the pattern from nearby rooms.
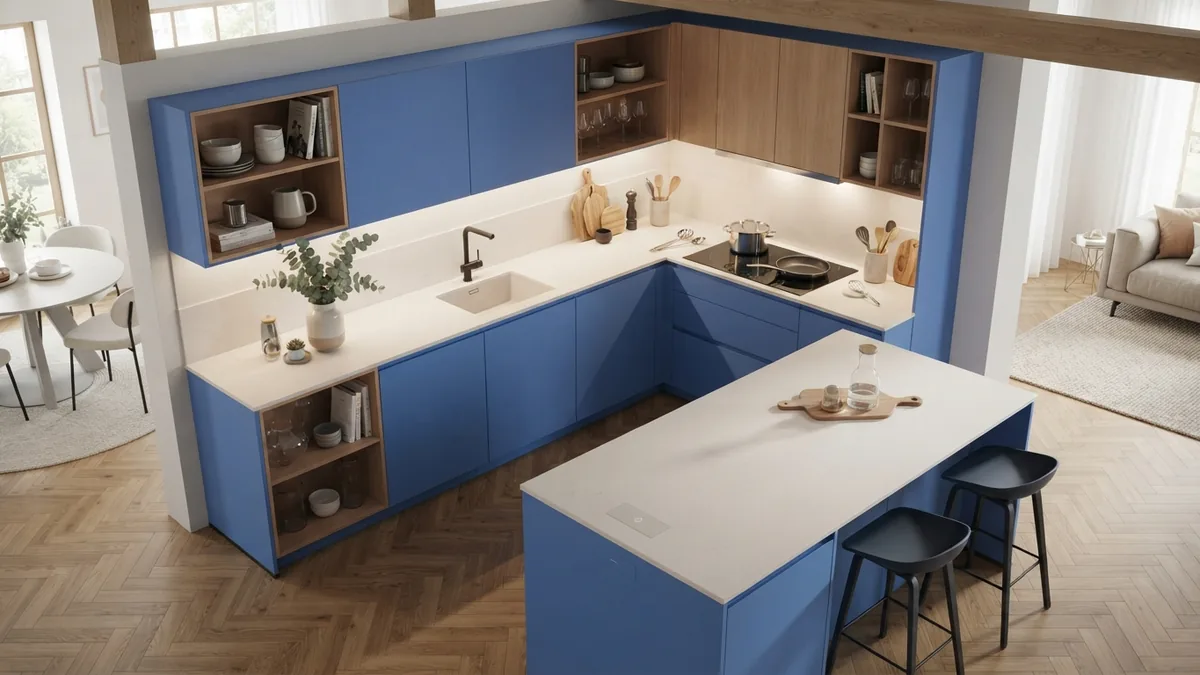
Avoid Common Recessed Lighting Mistakes
The first mistake is placing every light in a neat center grid. That pattern often leaves the counter edge in shadow. It also puts your head between the light and the work surface. Move the task row toward the cabinets instead.
The second mistake is using too many fixtures. More light does not always mean better light. Too many bright points can cause glare and make the kitchen feel harsh. Start with the needed zones, then add coverage only where tests show a gap.
Do not mix color tones without a clear reason. A cool white ceiling light can clash with warm under-cabinet strips. Try to keep lights in nearby zones within the same color range. This makes the room feel calm and planned.
Do not ignore dimmers. Bright light helps with cooking and cleaning. Lower light works better during meals or late-night trips for water. Use separate controls for work lights, island lights, and general room light.
- Do not center lights without checking counter shadows.
- Do not place fixtures where cabinet doors may block the beam.
- Do not fill every ceiling area with bright, fixed light.
- Do not mix warm and cool bulbs across one visual zone.
- Do not skip a test with real counter and cabinet depths.
Also check the ceiling for joists, ducts, wires, and insulation. A planned point may not be a safe cut point. An electrician can shift the fixture or choose a suitable housing. This check matters most during a remodel.
Adjust the Layout for Ceiling Height
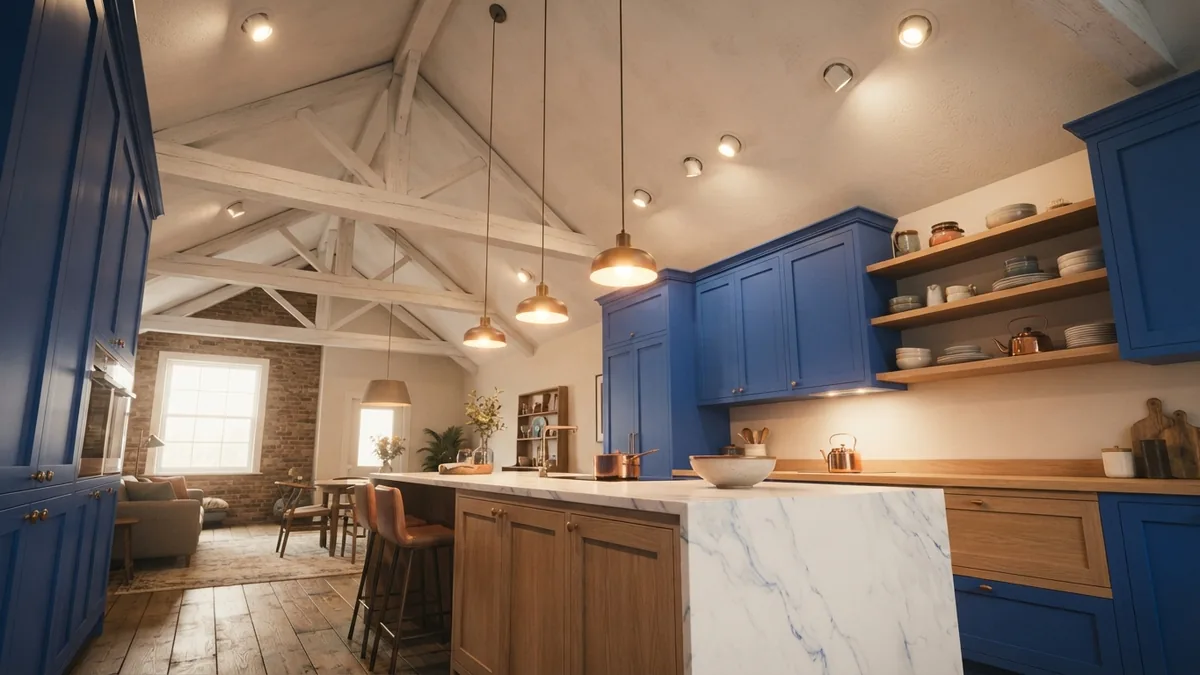
Ceiling height changes both light intensity and spacing. In a standard eight-foot kitchen, lights often sit 4 to 6 feet apart. A nine- or ten-foot ceiling may need closer spacing or fixtures with a stronger beam. Do not raise the lights farther apart without checking the floor below.
Higher ceilings can spread light across a wider area. They can also reduce the light that reaches the counter. Choose fixtures made for the ceiling height and use the maker's coverage chart. A small test area can reveal weak task light before the full install.
Low ceilings need a careful balance. Wide, shallow trims can reduce glare and keep the ceiling clean. Avoid placing lights too close to upper cabinets when the beam hits the cabinet tops. Keep the main work beam aimed at the counter surface.
For sloped ceilings, use adjustable trims over key work zones. Aim each fixture toward the counter, sink, or stove. Fixed trims may shine across the room instead. Keep the layout in visual rows even when the ceiling angle changes.
Use this final check before cutting holes:
- Confirm each work zone has a light in front of the user.
- Check that cabinet spacing falls near the 12 to 18 inch range.
- Compare fixture gaps with the 5 to 7 foot starting guide.
- Look for dark corners, glare, and beam overlap.
- Set dimmer groups for task, island, and ambient light.
A good kitchen plan feels bright without feeling busy. It lights hands, faces, and paths with equal care. When the layout follows the room's work zones, recessed lighting becomes both useful and calm.
Step-by-step
- 01 Map the kitchen zones
Mark counters, the sink, stove, island, doors, and walkways. Note cabinet faces and any existing light points.
- 02 Mark the task row
Place the main counter lights 12 to 18 inches from the upper cabinet face. Aim each point toward the work surface.
- 03 Add room coverage
Use a second row for an island or open floor area. Start with 5 to 7 feet between fixtures and 2 to 3 feet from walls.
- 04 Check the beam pattern
Compare the fixture beam spread with each gap. Look for shadows, glare, and dark corners from several standing positions.
- 05 Plan the controls
Group task, island, and ambient lights on suitable dimmers. This lets the kitchen shift from work light to soft evening light.
- 06 Inspect the ceiling
Check for joists, wires, ducts, and insulation before cutting. Move any point that conflicts with the ceiling structure.
Frequently asked questions
- How far should recessed lights be from kitchen cabinets?
- Place the main task row 12 to 18 inches from the upper cabinet face. This helps light the counter without casting shadows from your body.
- How far apart should recessed lights be in a kitchen?
- A common starting guide is 5 to 7 feet between lights. Adjust that gap for ceiling height, beam spread, and the light level you need.
- Should kitchen recessed lights be in one row or two rows?
- Use multiple rows when the room has cabinets, an island, or wide open floor space. A single center row often leaves counters in shadow.
- Where should recessed lights go over kitchen counters?
- Place task lights in front of the user, near the cabinet side of the counter. Avoid putting the main light behind your usual standing position.
- Do kitchen recessed lights need dimmers?
- Yes. Dimmers let you use bright light for cooking and lower light for meals or late evenings. Separate controls give you more choice.
- How does ceiling height affect recessed lighting placement?
- Higher ceilings may need closer spacing or fixtures with a stronger beam. Check the fixture coverage guide before setting the final layout.
Related reading
What Color Light Works Best in Each Room of Your Home?
Choose the right kitchen light color for work, meals, and mood.
Kitchen Renovation Costs — Price Ranges and Budget Factors
See typical kitchen remodel prices, key cost drivers, and ways to keep your budget on track.

Large Living Room Walls — Scale, Style, and Warmth
Use scale, art, texture, shelves, and light to make a large wall feel balanced.