Painting Inside Kitchen Cabinets — Prep, Paint, and Care
Learn when and how to paint cabinet interiors for a clean, lasting finish.
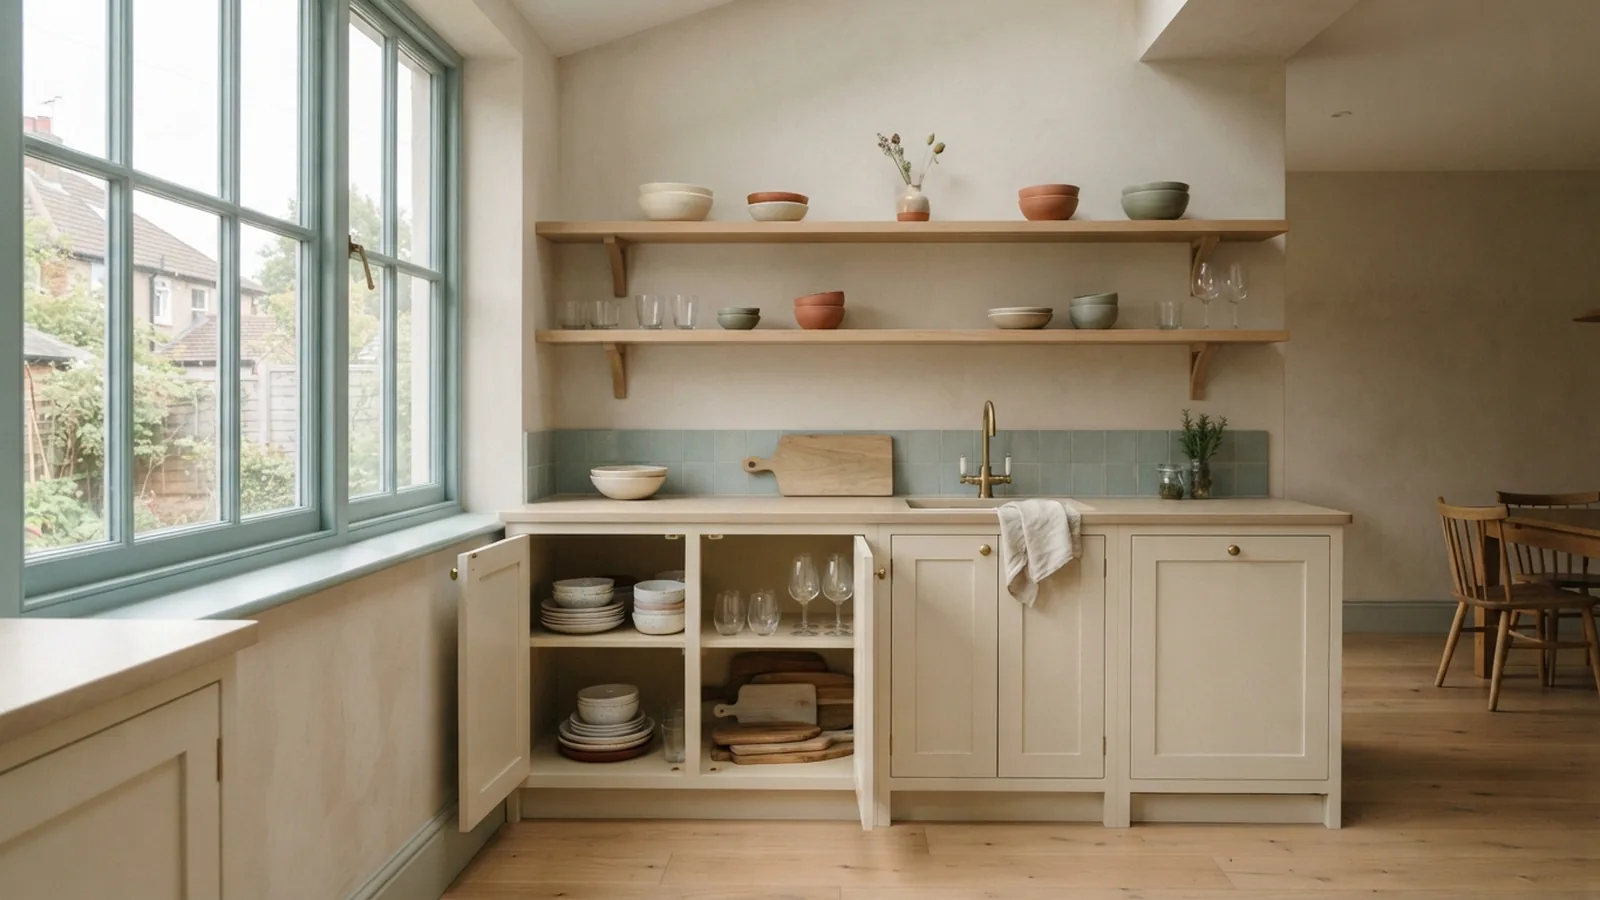
Should You Paint the Inside of Kitchen Cabinets?
Yes, you can paint the inside of kitchen cabinets. You do not have to, though. The choice depends on your style, cabinet layout, and how much work you want to do.
Paint the interiors when you want a finished look from every angle. Open shelves and glass doors benefit most from this choice. A painted interior can also add a small pop of color without changing the whole kitchen.
Leave them unpainted when the interiors look clean and sound. This saves time and keeps the project simpler. Many cabinets have plain wood or laminate inside, and that surface can still look neat.
Think about daily use before you start. Heavy-use cupboards may need more care after painting. Food cupboards also need a fully cured finish before you put items back.
Reasons to Paint Cabinet Interiors
A matching interior gives the kitchen a more polished look. This matters when doors stay open during cooking. It also helps open shelving feel like one planned design.
A contrasting shade can make a quiet kitchen feel more personal. Try soft sage, warm cream, or pale terracotta. These shades work well with pale oak, brass, stone, and warm white walls.
Paint can also hide uneven tones and small marks. It will not fix deep damage or weak cabinet panels. Repair those problems before you start painting.
- Paint interiors for a uniform look across open and closed storage.
- Use a soft accent color for a gentle design detail.
- Skip paint when the surface is damaged or hard to clean.
- Test the plan on one shelf before doing the whole kitchen.
Prepare the Cabinets Before Painting
Good prep makes the paint last longer. It also keeps dust and grease from spoiling the finish. Set aside a full day for removal, cleaning, and surface checks.
Start by emptying each cabinet. Remove doors, shelves, hinges, and shelf pins where possible. Mark each part with small pieces of masking tape so reassembly stays easy.
Clean every surface with a grease-cutting cleaner. Rinse away cleaner residue with a damp cloth. Let the wood, laminate, or fiberboard dry fully before sanding.
Sand only as much as the surface needs. Use fine paper to dull a smooth finish and remove loose paint. Do not sand hard enough to damage thin laminate or veneer.
- Remove doors, shelves, and hardware.
- Label each part and keep hardware in separate bags.
- Clean grease, dust, and food marks.
- Repair chips, loose edges, and holes.
- Sand glossy areas until they feel dull.
- Vacuum dust, then wipe with a clean damp cloth.
Protect the floor and nearby worktops with drop cloths. Open windows when the product label allows it. Keep the work area free from food, pets, and open flames.
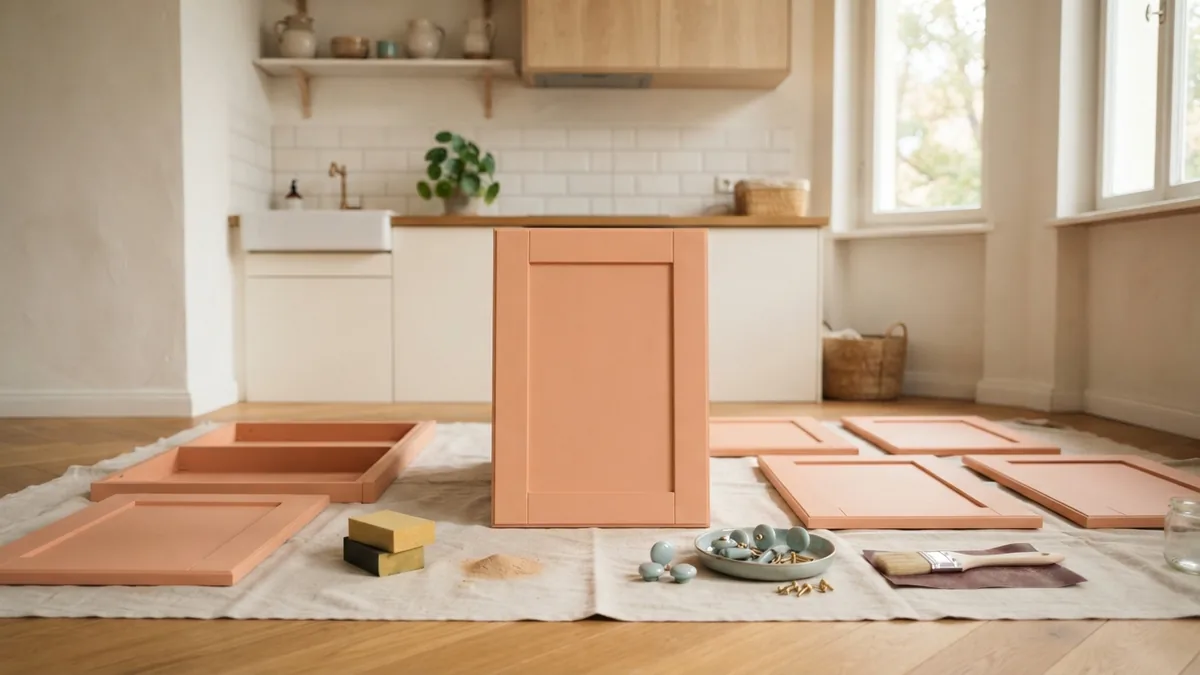
How to Paint the Inside of Kitchen Cabinets
Begin with a bonding primer. A product such as STIX Waterborne Bonding Primer can help paint grip hard surfaces. Follow the label for drying time and clean-up.
Apply a thin coat inside the cabinet box. Start with the back panel, then paint the sides, top, bottom, and face frame. Thin coats dry better and create fewer drips.
Use a small, high-quality brush for corners and edges. Use a short-nap roller on broad flat areas. Keep a wet edge, but do not keep brushing paint after it starts to set.
Sand lightly between coats when the label permits it. Remove dust before the next coat. Most cabinet projects need one primer coat and two paint coats.
Paint shelves and doors on a flat work surface. Raise each part on small blocks for clean edges. Turn parts only after the first side feels dry.
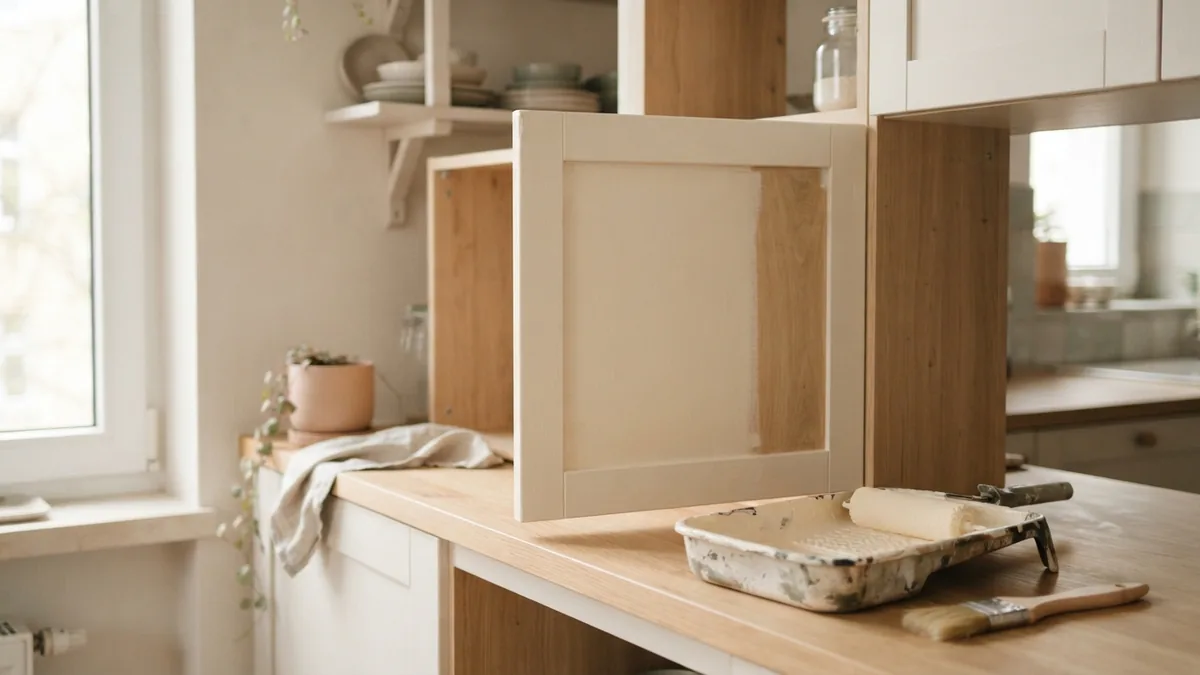
How to Spray Paint Inside Kitchen Cabinets
Spraying can give cabinet interiors a smoother finish. It also covers corners and narrow rails well. The method needs more setup than brushing or rolling.
Remove every loose item from the work area. Mask walls, floors, worktops, and nearby appliances. Wear the safety gear listed on the sprayer and paint labels.
Test the spray pattern on cardboard first. Set the spray width before you reach the cabinet. Hold the gun at a steady distance and move at a steady pace.
Keep each pass slightly overlapped. Start moving before pulling the trigger. Release the trigger before the pass ends to limit paint build-up.
Use several light passes instead of one heavy pass. Heavy coats can sag inside corners. Let each coat dry for the time shown on the label.
- Use a respirator approved for the product when the label calls for one.
- Keep fresh air moving through the work space.
- Never spray near a pilot light or open flame.
- Clean the sprayer at once after the final coat.
Brushing is often better for a small kitchen. It creates less masking work and less overspray. Choose spraying when you can control the space and the equipment.
Pick a Color That Works With Your Kitchen
The best interior color depends on the cabinet doors and the room light. Match the inside to the outside for a calm, seamless look. Use contrast when you want open storage to stand out.
Warm white keeps interiors bright without harsh contrast. Pale sage adds color while staying calm. Soft peach or muted terracotta can warm up a pale kitchen.
Check samples inside the cabinet at different times. Daylight can change how a shade looks. Compare the sample with the worktop, wall, floor, and door color.
Gloss level also changes the result. Satin is easy to wipe and hides small flaws. Semi-gloss gives more shine but can show brush marks and dents.
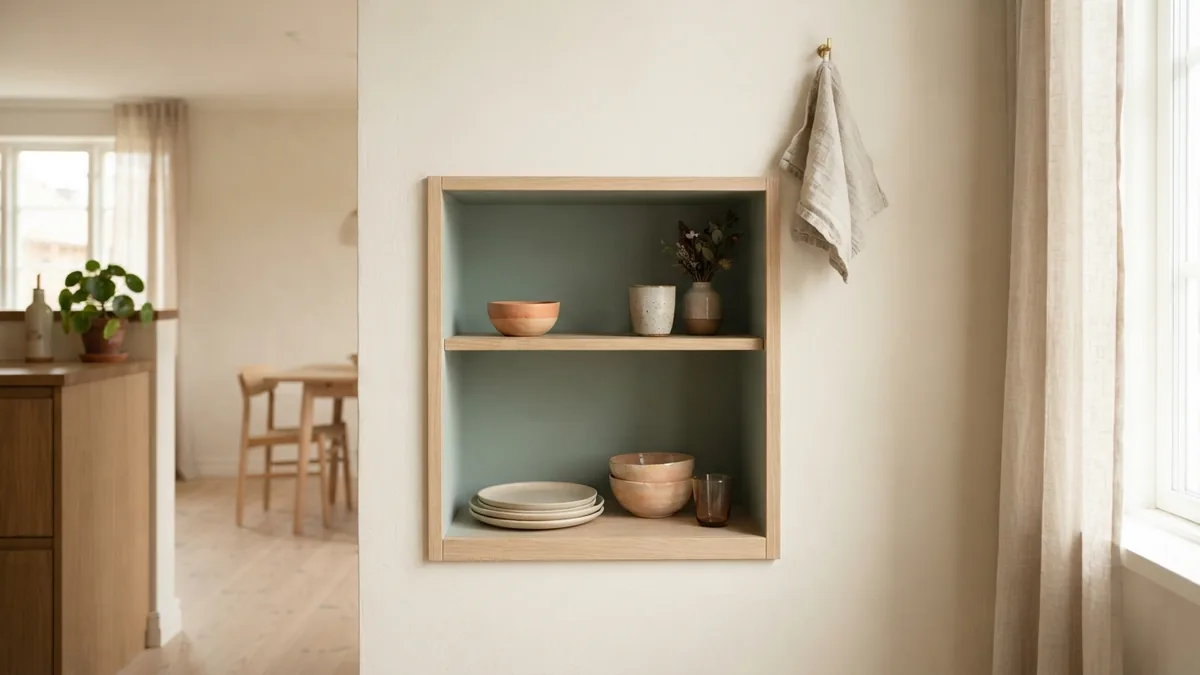
Choose Cabinet Paint and Use the Right Technique
Choose paint made for cabinets, doors, or trim. These products tend to form a harder film than basic wall paint. Benjamin Moore ADVANCE Interior paint is one example made for interior doors and trim.
Read the label before you buy. Check the surface list, dry time, clean-up method, and sheen. A paint that works on wood may need extra prep on laminate.
Do not rush the finish. A smooth result comes from clean surfaces, thin coats, and light sanding. It does not come from adding more paint at once.
- Use a bonding primer on slick, sealed, or painted surfaces.
- Use a quality angled brush for corners and narrow edges.
- Use a small roller for broad, flat cabinet panels.
- Keep paint off hinge holes and shelf pin holes.
- Sand raised dust lightly before the next coat.
Drawers need the same care as cabinet boxes. You can paint the inside of kitchen drawers, but keep paint away from sliding tracks. A thin, hard finish helps prevent sticking.
Let the Paint Cure Before You Restock
Dry paint can still be soft underneath. Curing means the coating hardens enough for daily use. This stage takes longer than the time needed to touch the surface.
Wait at least three to five days before replacing items inside cabinets. Follow the paint label if it gives a longer time. Give drawers extra care because friction can mark a fresh finish.
Keep doors open during the first few days when possible. This allows air to reach the cabinet interior. Avoid stacking heavy dishes against fresh paint.
Clean painted interiors with a soft damp cloth. Use mild soap for grease, then dry the surface. Skip harsh scrubbers, strong solvents, and abrasive powders.
Small marks may appear during the first weeks. Touch them up only after the finish has cured. Keep the original paint sealed for future repairs.
FAQs About Painting Kitchen Cabinets
Painting cabinet interiors is a choice, not a rule. These answers cover the most common concerns before a DIY home project.
Can you paint the inside of kitchen cabinets?
Yes. Clean, dull, and prime the surface first. Then apply thin coats of cabinet paint.
Should I paint inside of kitchen cabinets?
Paint them when you want a uniform look or a small color detail. Skip the work when the interiors already look clean and sound.
Do you paint the inside of kitchen drawers?
You can paint drawer interiors. Keep paint away from tracks and allow extra cure time before use.
How long should cabinet paint cure?
Wait three to five days before restocking. Some products need longer, so check the label.
Is spraying better than brushing cabinet interiors?
Spraying can look smoother and cover tight corners well. Brushing is simpler for small spaces and needs less masking.
Step-by-step
- 01 Remove cabinet parts
Empty the cabinets and remove doors, shelves, hinges, and hardware. Label each part before setting it aside.
- 02 Clean and sand surfaces
Remove grease and dust with a suitable cleaner. Sand glossy areas lightly until they feel dull.
- 03 Apply bonding primer
Brush or roll on a thin coat of bonding primer. Let it dry for the time shown on the label.
- 04 Paint thin coats
Apply two thin coats of cabinet paint. Use a brush, roller, or sprayer suited to your space.
- 05 Let the finish cure
Keep parts still while the paint cures. Wait three to five days before replacing items inside.
Frequently asked questions
- Can you paint the inside of kitchen cabinets?
- Yes. Clean, dull, and prime the surface first. Then apply thin coats of cabinet paint.
- Should I paint inside of kitchen cabinets?
- Paint them for a uniform look or a small color detail. Skip them when the interiors already look clean and sound.
- Do you paint the inside of kitchen drawers?
- Yes, you can paint drawer interiors. Keep paint away from tracks and allow extra cure time.
- How long should cabinet paint cure?
- Wait three to five days before restocking. Some products need longer, so check the label.
- Is spraying better than brushing cabinet interiors?
- Spraying can look smoother and cover tight corners well. Brushing is simpler for small spaces.
Related reading
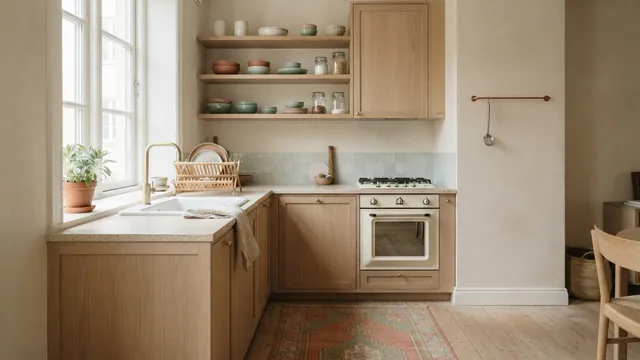
Small Kitchen Costs — Prices, Choices and Budget Tips
Compare small kitchen prices, key cost drivers, and ways to keep a remodel on budget.
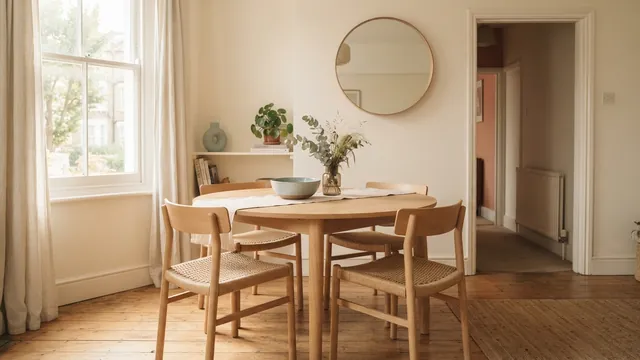
Dining Table Clearance — Space for Chairs and Walkways
Plan table and chair clearances for a dining area that feels comfortable.
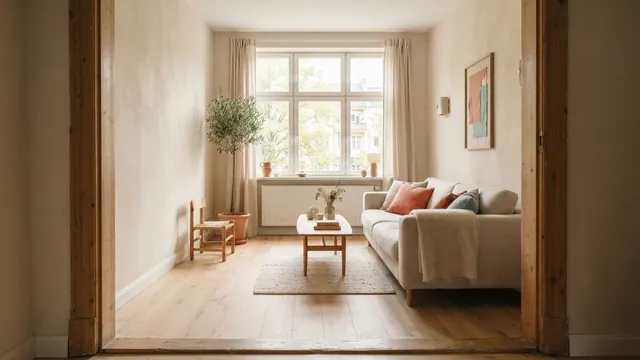
Narrow Rooms — Paint, Light and Space
Use paint, light and smart furniture placement to open up a narrow room.