Paint Room Stripes: Planning and Technique
Plan your stripe layout, tape clean lines, and paint even coats with confidence.

Choose a Stripe Design That Fits the Room
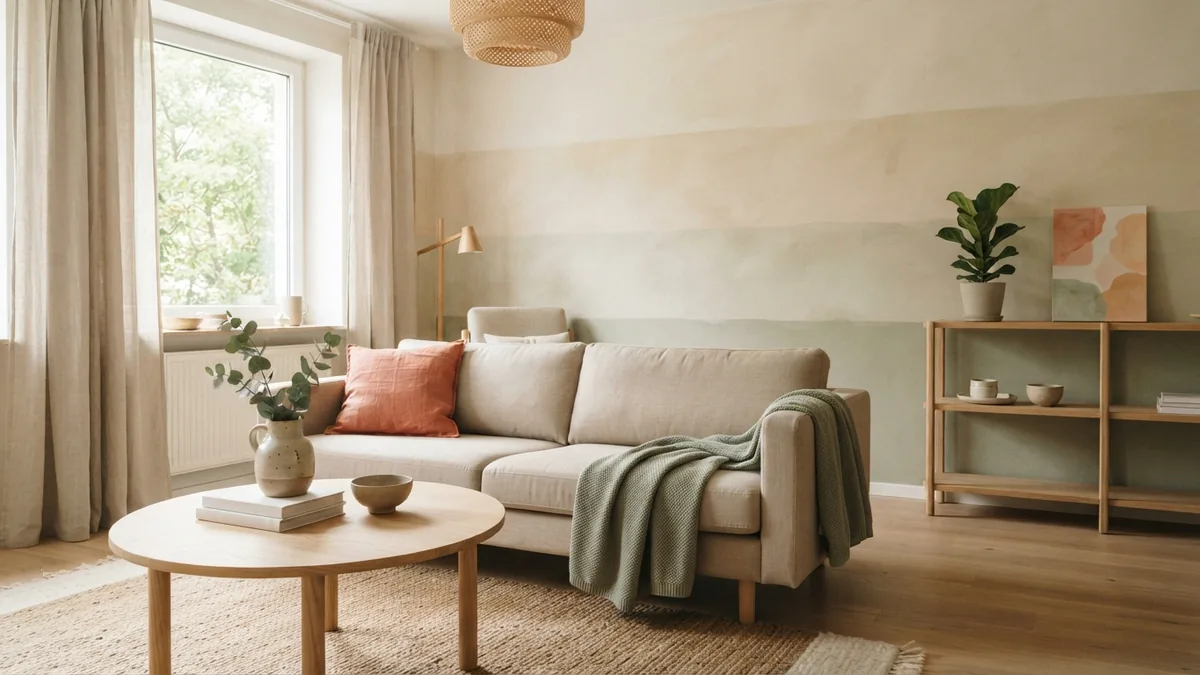
To paint stripes in a room, plan the layout, prep the wall, mark each line, then tape and paint one stripe at a time. Choose vertical stripes to make a low ceiling feel taller. Horizontal stripes can make a narrow wall feel wider. A simple two-color pattern is often easiest for a first project.
Decide on stripe width and color before buying paint. Equal stripes create a neat, classic look. Wider bands feel calmer, while narrow bands add more detail. For a soft effect, pair colors with similar depth, such as warm cream and pale sage. Strong contrast makes each line stand out.
Measure the wall and sketch the pattern on paper. Include doors, windows, and corners in your plan. Avoid ending with a tiny stripe at one edge; shift the layout so both sides have balanced bands. Patterned stripes can include repeating shapes or stenciled details, but keep the base layout simple.
- Vertical: Mark lines from floor to ceiling for height and rhythm.
- Horizontal: Set a level line across the wall to widen its feel.
- Patterned: Add a stencil or small repeat within a broad stripe.
Stripes suit bedrooms, halls, and living rooms. For a rainbow or mural, plan the whole design first. Those projects need extra color changes and careful edge work. They are not the same as painting simple wall bands.
Prepare the Room and Wall
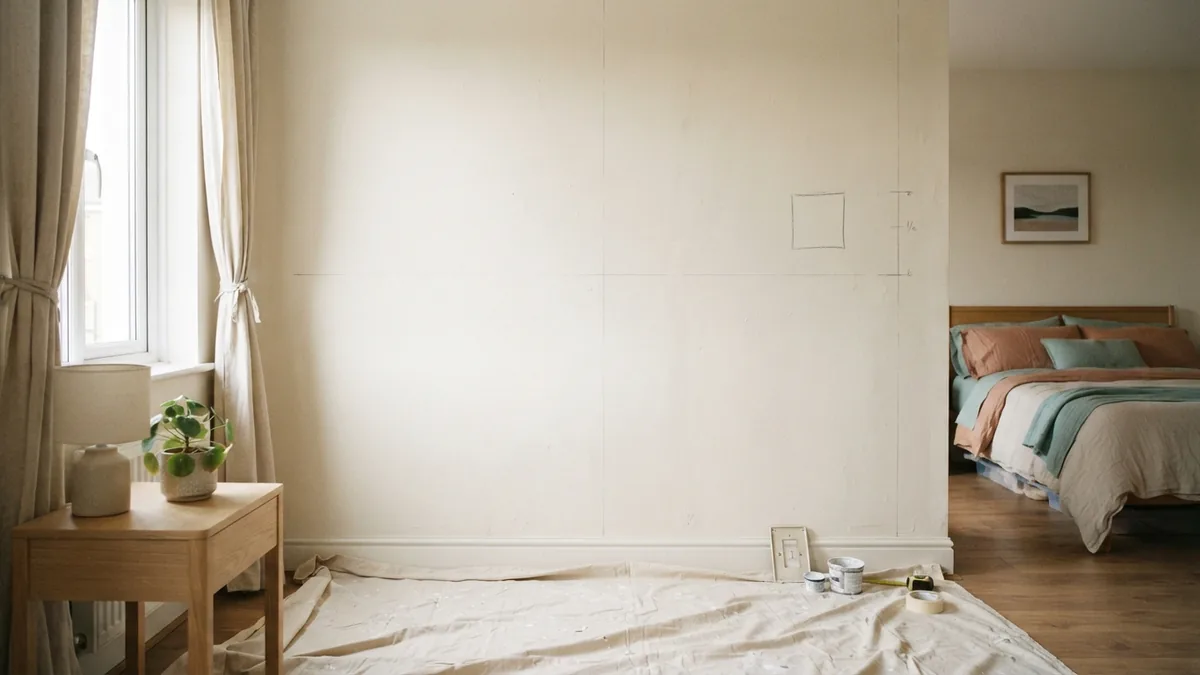
Move furniture away from the wall, or cover it with drop cloths. Remove switch plates and wall hooks. Protect floors and trim with cloth or masking material. Good prep keeps dust and paint off nearby surfaces.
Wash the wall with mild soap and water, then let it dry fully. Fill small holes and sand rough patches smooth. Dust the surface before painting. Paint will show bumps and grit, especially beside a crisp stripe edge.
Apply a base coat across the whole wall if the surface needs fresh paint or a color change. Let it dry for the time listed on the can. The base color is one stripe color, so choose it before taping. For an existing, clean wall in good shape, you may be able to use its color as the base.
Map stripe positions with a tape measure and pencil. Use a level to set vertical lines, or a chalk line for long runs. For horizontal stripes, mark the same height at both ends. Snap a chalk line between marks, then check it with your level. Use light marks that you can cover later.
Gather the Right Tools and Paint
Use painter's tape made for interior walls, a small angled brush, a roller, a paint tray, a level, and a tape measure. A pencil and chalk line help set the design. Keep a damp cloth nearby for quick cleanup. A small roller gives better control inside narrow bands.
Choose a roller nap that suits your wall. Smooth walls usually need a short nap, while textured walls need a thicker one. Follow the paint maker's directions for the right nap and dry time. Use the same paint finish on both colors for a smooth, even look.
Buy enough paint for the full wall and keep a little extra for touch-ups. Check the can's coverage rate, then measure the wall to estimate how much you need. Stir each color well before pouring. If you use several cans of the same color, mix them together in a larger pail to avoid slight shade shifts.
Paint the Stripes Step by Step
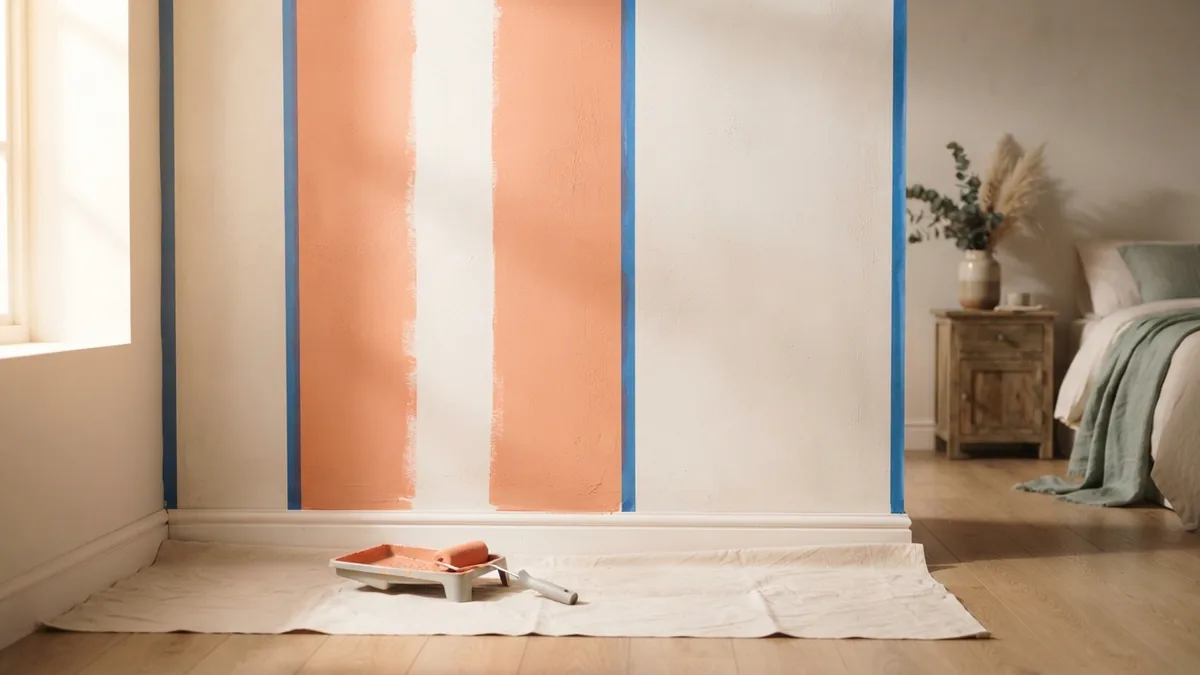
Start with a dry base coat. Mark the stripe edges with small pencil marks, then join them with a level or chalk line. Measure each stripe from the same starting edge. This avoids small errors that can build across the wall.
- Mark the layout. Check each stripe width at the top, middle, and bottom. Adjust the marks before you tape.
- Apply the tape. Place tape just outside the stripe you plan to paint. Press the edge firmly with a clean finger or a plastic card.
- Seal the tape edge. Brush a thin coat of the base color along the tape edge. Let it dry. This helps block the new color from seeping under the tape.
- Paint the stripe. Cut in with a brush, then fill the band with a roller. Roll from the center toward the taped edges without pushing paint under them.
- Add a second coat if needed. Let the first coat dry as directed. Apply a thin second coat rather than one heavy coat.
- Remove the tape. Pull it back slowly while the final coat is still slightly damp. Angle the tape away from the wall.
For vertical stripes, work from the top down and use a step stool safely. For horizontal stripes, use a level line and roll across the band in short sections. Keep a wet edge as you move along. That helps prevent lap marks and uneven sheen.
Paint one or two bands at a time if the pattern alternates colors. Let each band dry before taping beside it. This keeps fresh paint from lifting or smearing. Patience matters most at the edges.
Get Clean Edges and Smooth Transitions
Firm tape contact is key to a crisp edge. Press down the tape only along the side that meets the stripe. Avoid stretching it, since stretched tape can shift as it settles. If the wall has a rough texture, use a brush to work paint carefully along the edge.
Use a lightly loaded roller. Too much paint can pool near the tape and leave a raised ridge. Roll in steady passes, and do not keep working paint as it begins to dry. For a seamless color change, let one band dry fully before masking beside it.
Take a step back after each coat and check the wall in daylight. Small gaps are easier to spot from across the room. Touch up tiny flaws with a fine brush and a little paint. Keep the brush strokes within the stripe edge.
- Use fresh tape if the first roll has lost its stick.
- Mark stripe widths from one fixed point, not from the last stripe.
- Paint thin coats to limit drips and ridges.
- Pull tape slowly, close to the wall, for a cleaner edge.
Fix Common Stripe Painting Problems
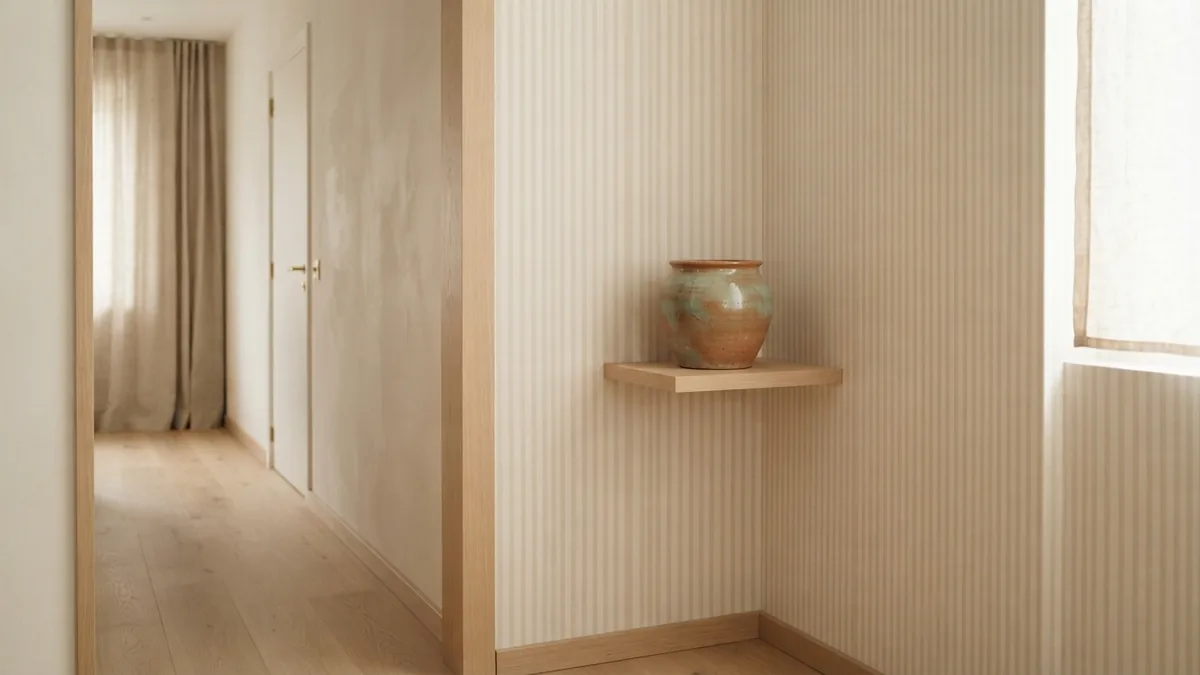
If paint bleeds under the tape, let the wall dry before fixing it. Use a small brush to cover the flaw with the base color. For a wider mistake, retape the stripe edge after the repair dries. Press the new tape down well before painting again.
Drips often come from an overloaded brush or roller. Catch them while wet with a clean brush. If a drip dries, sand it lightly and repaint that small area. Avoid pressing hard, since deep sanding can leave a dip in the wall.
If stripes look uneven, check the original marks before adding more paint. A line may seem crooked when it follows a sloped ceiling or floor. Trust the level, not the trim. Where a stripe meets a corner, measure and mark both walls so the band carries through at the same height.
If you are unsure how to paint stripes on a bedroom wall, test the method on a small, hidden area first. For a full mural or wave design, sketch the shape on paper and use a flexible guide. Keep the same prep steps, but paint smaller sections with a brush. Simple stripes are a good way to build skill before trying a more detailed wall design.
Step-by-step
- 01 Plan the stripe layout
Choose vertical, horizontal, or patterned stripes and pick the colors. Measure the wall so bands end at balanced widths.
- 02 Prepare the wall
Move or cover furniture, clean the surface, fill holes, and sand rough spots. Apply the base coat and let it dry.
- 03 Mark and tape the stripes
Use a level or chalk line to mark each edge. Put tape outside the stripe area and press its edge down firmly.
- 04 Paint and remove the tape
Seal the tape edge with the base color, then apply thin coats of stripe paint. Pull the tape back slowly while the last coat is slightly damp.
Frequently asked questions
- How do I paint stripes on a bedroom wall?
- Apply a base coat, mark the layout with a level, then tape the stripe edges. Seal the tape with the base color before painting the new stripe color.
- How do you paint vertical stripes in a room?
- Measure equal bands from one fixed edge and mark each line from floor to ceiling. Use a level to keep the lines straight, then tape and paint each band.
- How do I paint horizontal stripes on a bedroom wall?
- Mark each stripe height at both ends, then connect the marks with a level or chalk line. Apply tape along the edges and paint each band in thin coats.
- How wide should painted wall stripes be?
- There is no fixed width. Wider bands create a calmer look, while narrow bands add detail. Measure the wall first so the pattern ends with balanced stripes.
- How do I stop paint from bleeding under painter's tape?
- Press the tape edge down firmly and brush a thin coat of the base color along it. Once dry, paint the stripe color in light coats.
Related reading
Interior Designers — Roles, Skills and Training
See how interior designers shape spaces, manage projects, and work with clients.
Room Square Footage—Measure for Flooring
Measure each room section, add the areas, then allow extra for cuts.
Kitchen Cabinet Finishes — A Balance of Beauty and Wear
Compare cabinet, wall, and bathroom paint finishes for a kitchen that lasts.