How to Redo a Dining Room Table (Refinish or Paint)
Redo your dining room table step by step with sanding, stripping, paint, stain, and sealing.
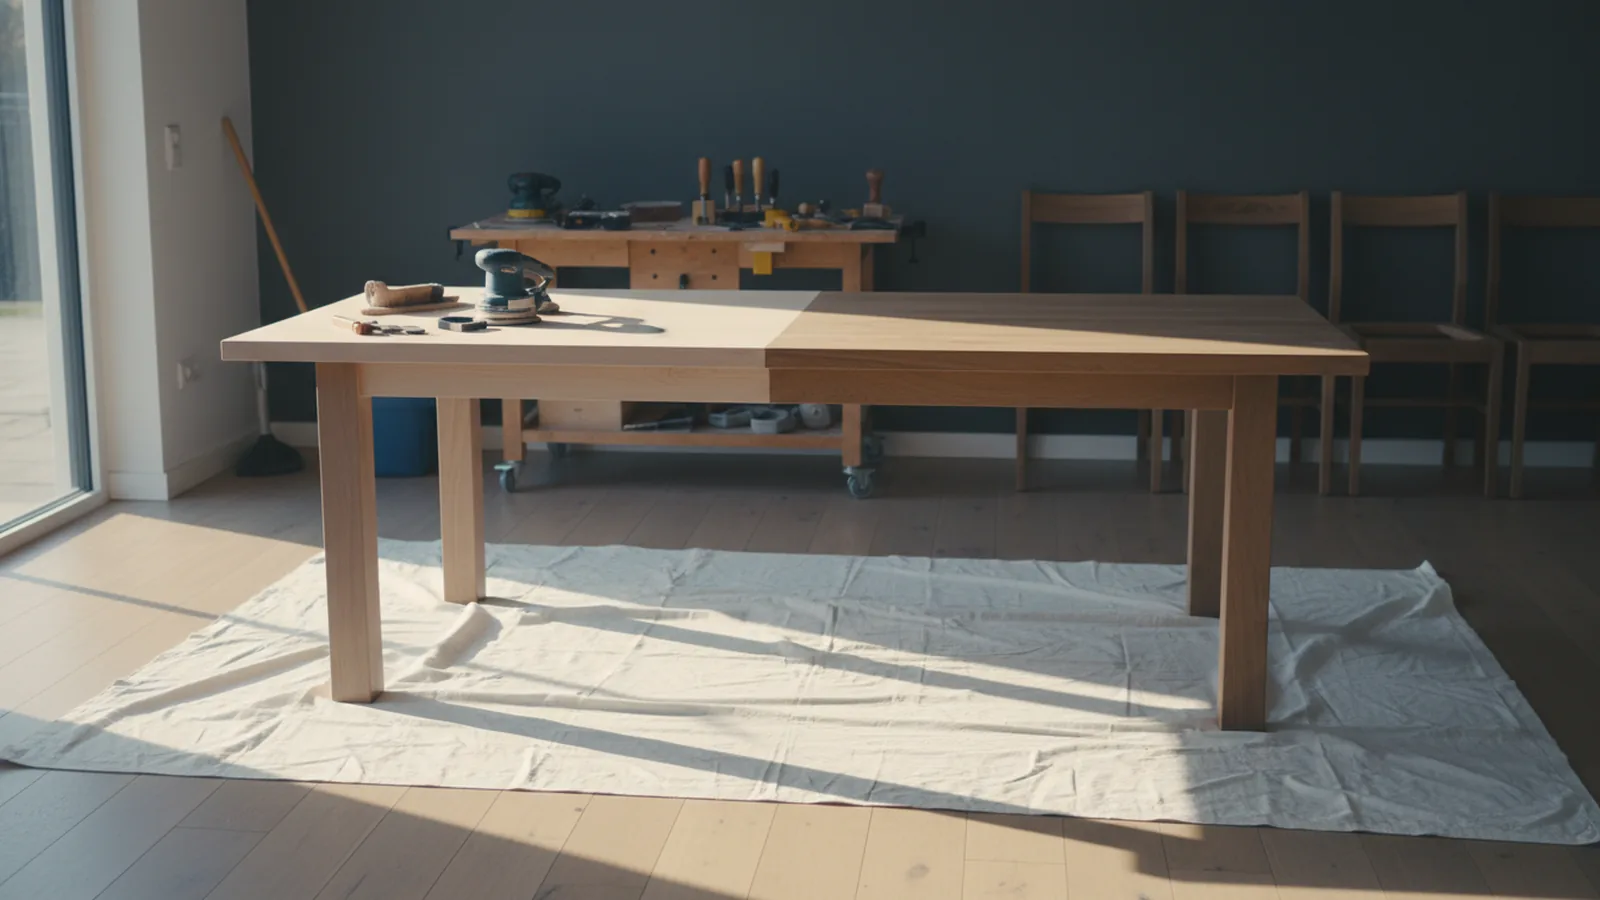
Prep first: assess your table and pick the right approach
The fastest way to get a great result is choosing the right path before you start. If your dining table has solid wood and an even finish, you’ll usually get better results with refinishing. If the surface is chipped, peeling, or you want a new color, painting can be the easier win. This matters because paint and stain both need different prep and different topcoats.
Start with a quick condition check. Look for water rings, deep scratches, loose joints, and any finish that’s lifting or flaking. Then check the wood itself by sanding a small hidden spot. If you hit clean wood that takes a test drop of water, you can stain. If sanding reveals heavy damage or a lot of old coating build-up, refinishing or painting prep may take longer.
Use this simple decision guide to avoid rework. If the finish is intact and you mainly want to refresh shine, refinishing is usually best. If you want a bold new color or you have lots of repairs, painting is often more forgiving. If the table is veneer or particle board, choose a plan that manages swelling and keeps edges smooth.
- Refinish/stain: finish is mostly intact, damage is repairable, and you want to keep the wood look.
- Paint: heavy wear, peeling, uneven sheen, lots of repairs, or you want full color change.
- Hybrid: strip only to blend repairs, then paint or stain the whole top for consistent color.
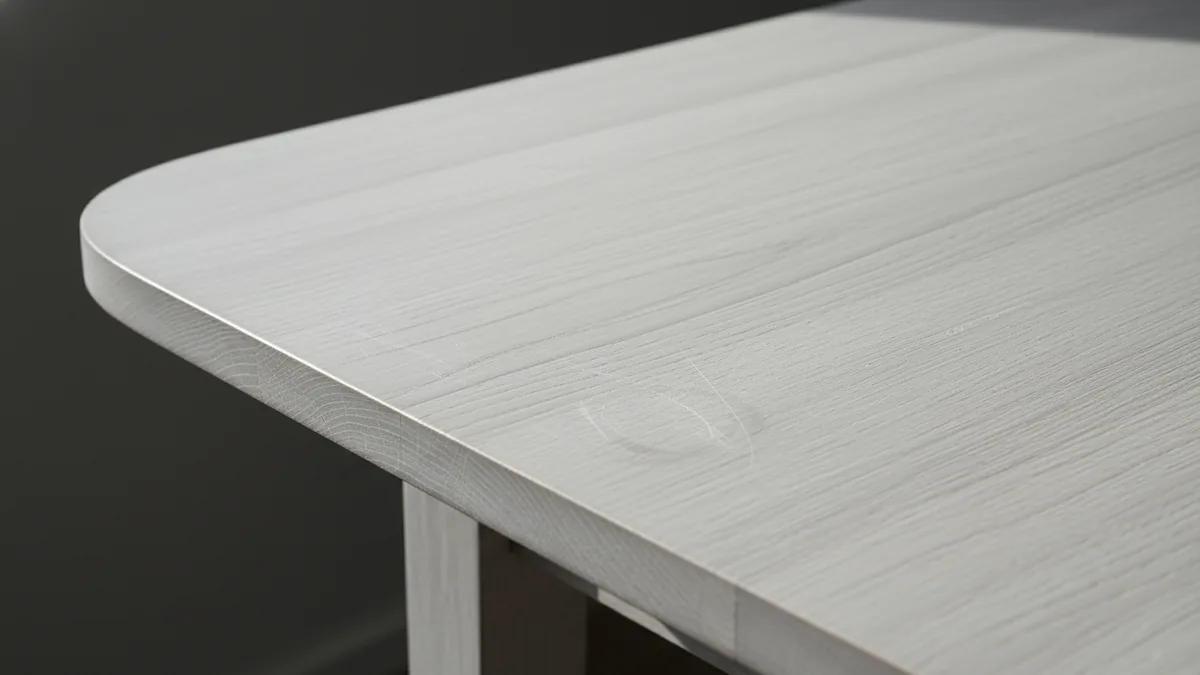
Gather tools and supplies for a clean, durable finish
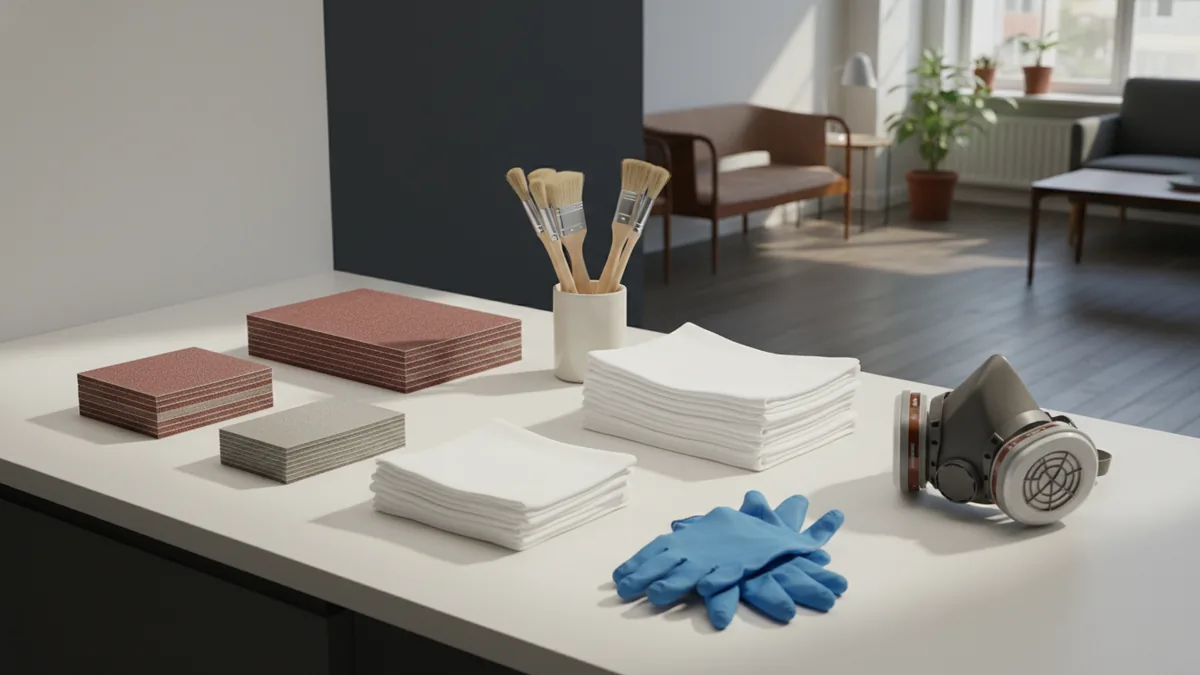
Before you open any finishes, collect everything you need. You want continuous progress because sanding dust and stripped wood shouldn’t sit uncovered for long. A focused kit also helps you buy the right products instead of guessing at the last minute.
You’ll need cleaning supplies first. Use a degreaser or dish soap for surface grime, plus clean rags and a tack cloth if available. Next comes sanding materials. Plan for multiple grits, because rough sand removes defects, and fine sand creates a smooth surface that paint and stain adhere to.
Then choose your coating system. For staining a dining room table, you’ll typically need wood stain and a clear coat. For painting a dining table, you’ll need furniture paint and a topcoat. Also grab brushes or foam rollers, painter’s tape, and a way to keep parts stable while drying.
| Category | What to buy | Why it matters |
|---|---|---|
| Cleaning | Degreaser or dish soap, rags, scrub pad | Removes oils so coatings bond well |
| Sanding | Sandpaper in multiple grits (rough to fine), sanding block | Levels the surface for a smooth finish |
| Coating | Paint or stain, plus matching topcoat | Durability where the table gets used |
| Application | Brushes/foam brush, lint-free cloths, foam roller | Reduces streaks and lap marks |
| Protection | Gloves, eye protection, a good respirator | Helps you work safely during stripping and sanding |
Step-by-step refinishing process (strip, sand, and prep)
Start by taking the table apart if you can. Remove hardware, detach leaves, and unscrew legs if the design allows. Even if you don’t fully disassemble, protect the inside edges and underside so you don’t miss prep areas.
Thorough cleaning comes next. Wash the whole surface with a degreaser or warm soapy water. Rinse well, then let it dry fully. Old food oils and polish can block adhesion, so don’t skip this step even if the table looks clean.
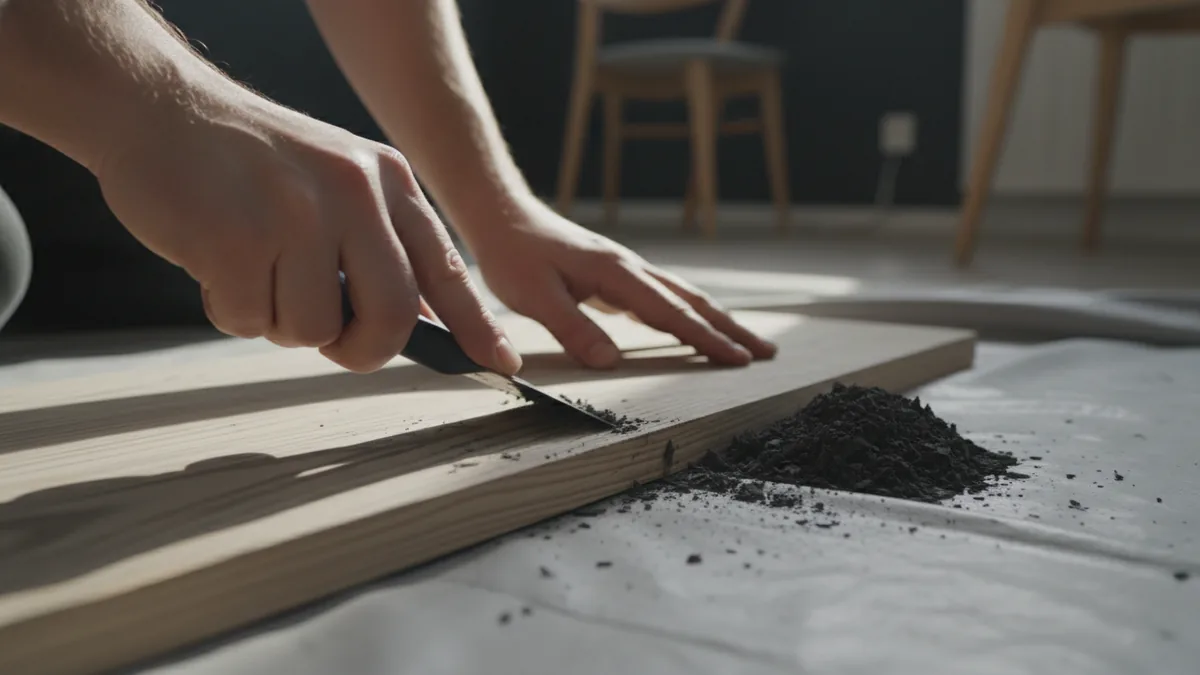
If old finish is peeling or thick, use a chemical stripper. Follow the product directions exactly, including ventilation, timing, and neutralizing steps if listed. Apply stripper in even coats, then give it time to soften the finish. After the dwell time, scrape with a plastic scraper and wipe away residue as directed.
Once the surface is free of old finish, sand in stages. Begin with a grit that matches the defects you see. For many tables, that means starting around medium grit to level rough spots. Then move to finer grits to smooth scratches left by the earlier sandpaper.
Finish sanding with a fine grit and wipe off dust. Use a tack cloth for final dust control. If you skip dust removal, you’ll feel bumps under paint or see dull spots under stain.
- Clean: wash with degreaser, rinse, and dry completely.
- Strip if needed: apply chemical stripper, wait per label, scrape and wipe.
- Repair: fill chips and cracks, then let fillers cure.
- Sand in grits: rough to medium to fine for a smooth surface.
- Remove dust: wipe clean, then tack cloth if you have it.
Painting vs. staining: decide what matches your table and your goals
Choosing between painting and staining a dining room table often comes down to appearance and prep tolerance. Staining works best when you want to show wood grain. Painting works best when you want consistent color and you’re dealing with uneven texture or repairs.
If you’re refinishing with stain, you’ll want even wood prep. Stains can highlight sanding marks and repairs, especially on pine and softwoods. For best results, use consistent sanding across the whole top, then apply stain evenly using a brush or cloth. Wipe to control depth, and keep coats consistent from edge to edge.
If you’re painting a dining table, you’ll want furniture paint designed for trim or wood. Use thin, even coats to avoid drips and a rough surface. Let each coat dry fully, then lightly sand between coats if the paint system recommends it. You’ll get a smoother look by building coverage gradually rather than trying to cover in one thick layer.
For both options, test first. Try your stain or paint on a hidden underside or a scrap piece of similar wood. This helps you spot color surprises, especially after stripping and sanding.
- Staining: keeps grain visible, but shows prep flaws.
- Painting: hides grain, but needs clean adhesion and smooth sanding.
- Common pitfall: skipping between-coat drying time, which can lead to rough texture.
Seal and finish: clear coats and sealants that stand up to daily use
After stain or paint cures, seal the table to protect it from daily messes. A dining room table gets heat, water, and repeated wiping. That’s why clear coats and sealants matter as much as color.
Pick a topcoat that matches your system. If you used stain, a clear coat in the right finish level helps lock in the color. If you painted, use a topcoat made for furniture and the sheen you want, from satin to semi-gloss. Many failures come from mixing products that don’t bond well, so follow the paint or stain manufacturer’s recommendations.
Apply thin, even topcoat layers. Use a clean brush or foam applicator, and keep a “wet edge” so you don’t see lines where the brush stops. Let the coat dry fully, then decide if you need a second coat for uniform protection. If you see dust nibs, lightly sand once cured and remove dust before the next coat.
Give the table time before heavy use. Even if a finish feels dry, it may not be fully cured. When possible, wait several days before placing hot dishes or leaving wet cups on the surface.
Maintenance tips to keep your new finish looking fresh
Once your clear coat is cured, maintenance becomes simple. Wipe spills quickly with a damp cloth, then dry with a soft towel. Avoid harsh cleaners that can dull the finish over time. Use gentle soap for normal cleaning, and skip abrasive pads unless your topcoat system specifically allows it.
Heat protection matters too. Place trivets under hot pans and use coasters for drinks. This prevents rings and dull patches that can look like damage but are really finish wear.
If you later decide to redo dining room chairs too, use the same discipline. Chairs often see more movement, so scuff-resistant topcoats help. Also treat edges and corners with extra care because wear often starts there.
When you notice minor scuffs, address them early. Lightly clean the area, then recoat with a compatible topcoat if the scuff is still in the surface film. If you wait until the damage reaches bare wood, you’ll need more sanding and more time.
- Wipe spills quickly, then dry
- Use coasters and trivets
- Clean with gentle soap, not abrasives
- Watch edges first and touch up early
Step-by-step
- 01 Assess the table and plan your finish
Check for peeling finish, water rings, and joint issues. Decide whether you’ll refinish/stain or paint based on repairs and your desired look.
- 02 Clean thoroughly
Wash the tabletop with a degreaser or soapy water. Rinse and dry completely so coatings bond well.
- 03 Strip old finish if needed
Apply chemical stripper per the label and let it work. Scrape and wipe residue as directed, then let the surface dry.
- 04 Sand in grits and remove dust
Sand rough to fine to level defects and smooth scratches. Wipe clean and use a tack cloth before coating.
- 05 Apply stain or paint in thin layers
For stain, apply evenly and wipe to control color depth. For paint, apply thin, even coats and dry fully between coats.
- 06 Seal with a durable clear coat
Apply a compatible topcoat for furniture durability. Let it cure fully and lightly sand between coats if needed.
- 07 Maintain the finish
Use coasters and trivets, and clean gently. Address scuffs early to avoid deeper sanding later.
Frequently asked questions
- How do I know whether to refinish or paint my dining room table?
- Inspect for peeling, flaking, and deep damage. If you want to keep wood grain and the finish is mostly intact, refinishing usually works. If the surface is heavily worn or uneven, painting is often more forgiving.
- What’s the first step when redoing a dining room table?
- Assess the condition and plan your finish system. Then remove hardware if possible and clean the table thoroughly before any sanding or stripping.
- Do I need to sand before painting or staining?
- Yes. Sanding creates a surface that coatings can bond to. Work through rough to fine grits and remove all dust before applying your finish.
- When should I use a chemical stripper?
- Use it when old finish is thick, peeling, or hard to remove by sanding alone. Follow the product instructions for timing and any required neutral steps.
- What type of topcoat should I use after painting or staining?
- Use a compatible furniture topcoat made for your paint or stain system. Apply thin coats, let them cure fully, then avoid heavy use until the finish is hardened.
- How can I maintain my new finish on a dining table?
- Wipe spills quickly and dry with a soft towel. Use coasters and trivets to prevent heat and water damage, and touch up minor scuffs early.
Related reading
Dining Table Clearance — Space for Chairs and Walkways
Plan table and chair clearances for a dining area that feels comfortable.

Narrow Rooms — Paint, Light and Space
Use paint, light and smart furniture placement to open up a narrow room.

Room Painting Costs — What Shapes Your Quote
Room painting often costs $200–$1,000. See what drives the price and how to compare quotes.