Dining Table Finishing — Paint, Stain and Protection
Strip, refinish and seal your dining table for a fresh look that lasts.
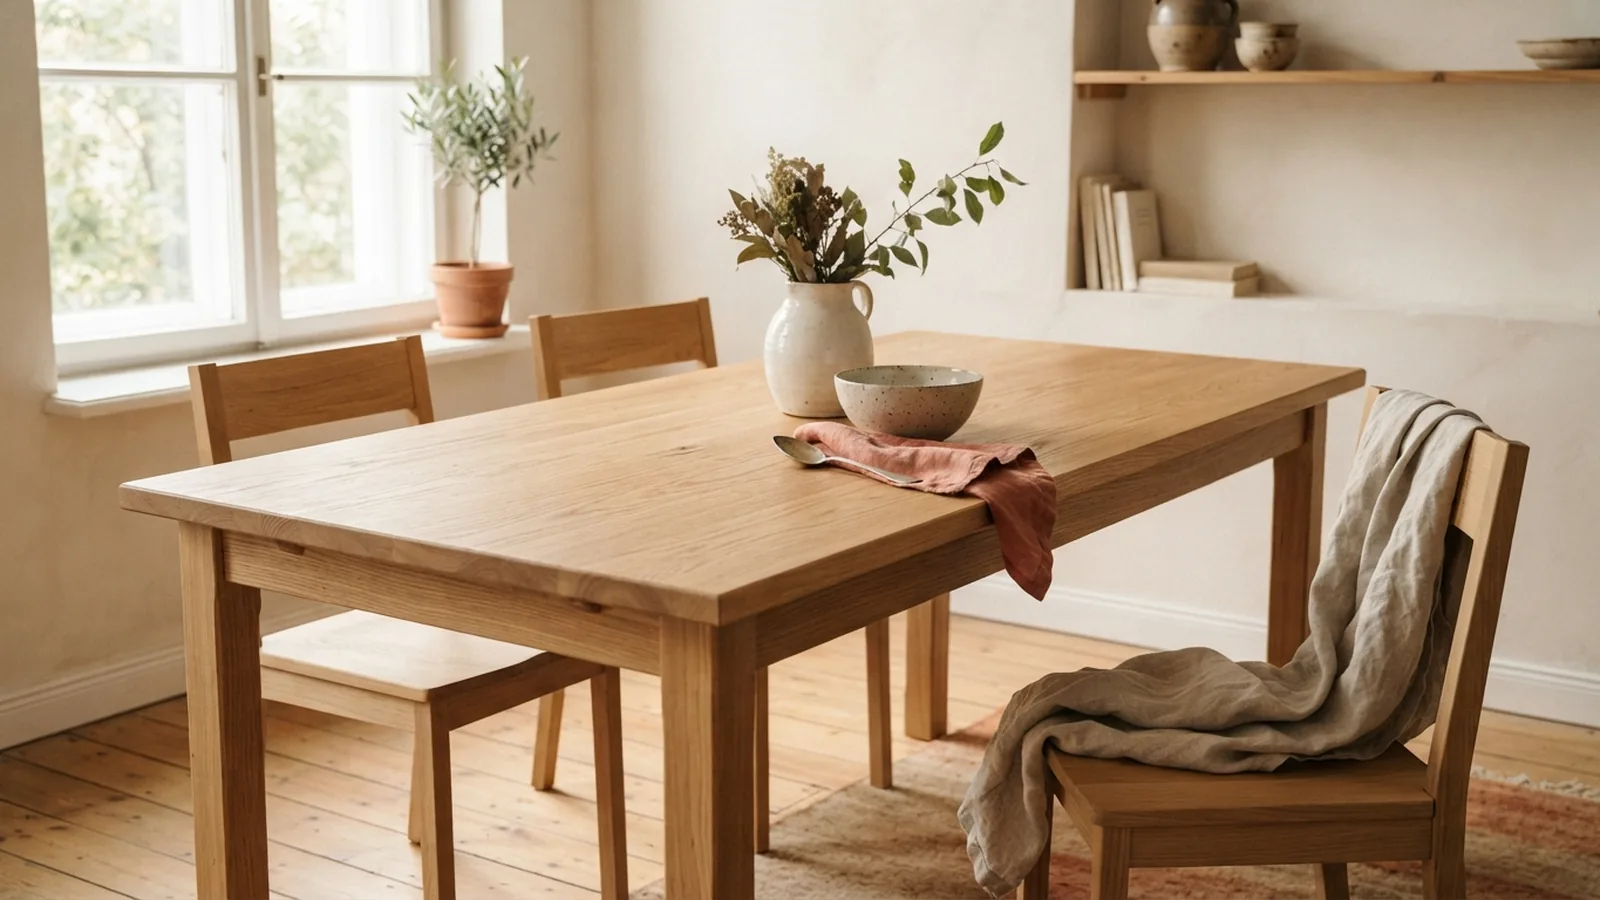
Give Your Dining Table a Fresh, Lasting Finish
To finish a dining room table, remove its old coating, sand the surface, apply paint or stain, then seal it. Let each coat dry fully before adding the next. The right finish depends on your table’s wood, your style, and how much daily wear it gets.
Refinishing can make a worn table look fresh for far less than replacing it. A solid wood table can often take stain, while a table with an uneven surface may suit paint. Either way, sound prep and a tough topcoat matter most.
Set aside time for drying, not just the hands-on work. A careful job may take several days, even if you work for only a few hours each day. Rushing the coats can leave marks or a finish that fails early.
Strip the Old Finish and Prep the Table
Start by checking the table for loose joints, deep gouges, and veneer. Veneer is a thin layer of wood, so heavy sanding can cut through it. If the table is an antique, or its paint may contain lead, test it before sanding or scraping.
Work outdoors or in a well-aired space when using a chemical stripper. Wear gloves and eye protection, and follow the product label. Keep children and pets away from the work area. A dust mask is not a stand-in for the right breathing gear listed on the label.
Apply stripper as directed, then lift the softened finish with a scraper. Use a small detail tool for carved edges, but take care not to gouge the wood. Some coatings need more than one pass. Wipe away residue as the label directs, then let the wood dry.
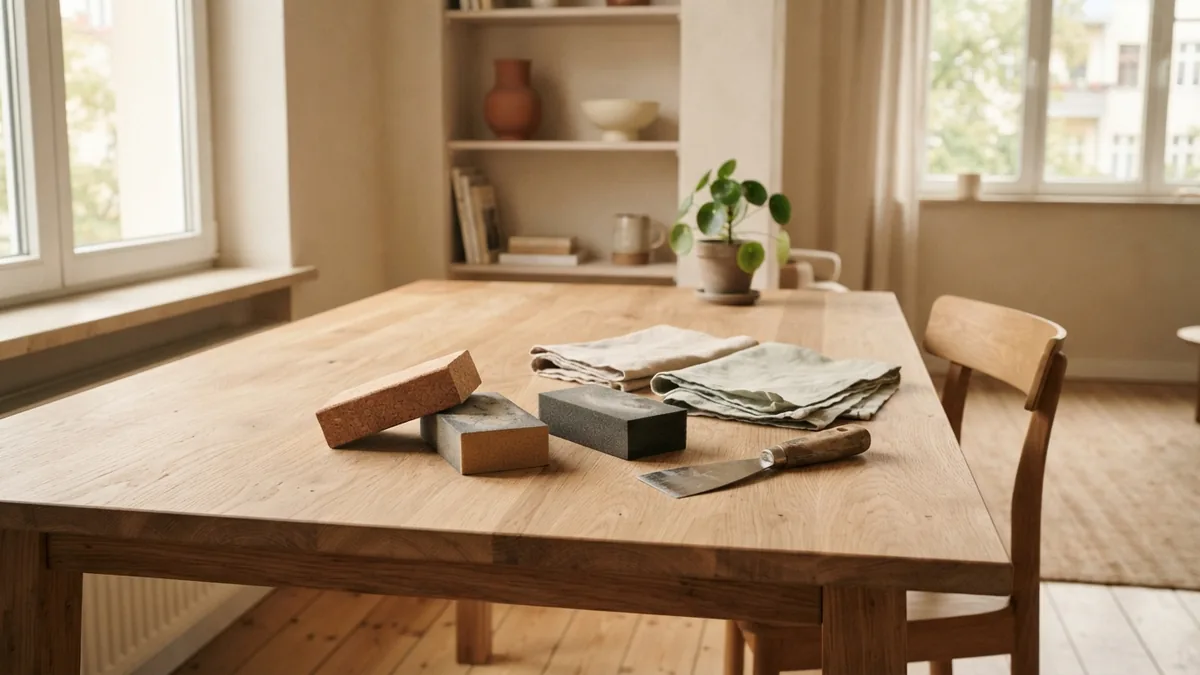
Sand with the grain, starting with a grit that removes leftover finish without digging into the wood. Move to finer paper, such as 120 grit and then 180 grit, for a smooth surface. Remove dust with a vacuum and a clean, lint-free cloth. A clean surface helps the new finish bond.
- Use a sanding block on flat areas for even pressure.
- Try a hidden spot before using stripper across the whole table.
- Keep sanding light around edges and veneer.
- Gather cloths and used stripper as the label advises.
Choose Paint, Stain, or Another Table Finish
The best finish for a dining room table depends on the look you want and the wood beneath it. Stain lets the grain show, while paint hides color changes and repairs. Clear finishes protect the surface but do not hide flaws. Pick a product made for furniture or interior wood, and check its label for table use.
For a natural look, use a stain that suits the wood species. Test it on an unseen area or a matching scrap, since the same stain can look different on oak and pine. Some woods take stain unevenly. A wood conditioner can help limit blotches, but it may also change how dark the stain looks.
If you choose paint, a satin or semi-gloss paint finish for a dining room table is easier to wipe than flat paint. Satin has a softer sheen, while semi-gloss reflects more light. Use a bonding primer if the old surface is slick or the wood is resinous. Check that the primer and paint work together.
Think about the topcoat before you start. Water-based clear coats tend to keep pale wood from turning amber, while oil-based coats often add a warm tone. Both can protect a table when applied as directed. For a tabletop that sees meals and spills, choose a clear sealer suited to furniture and follow its cure time.

Apply Paint or Stain with Care
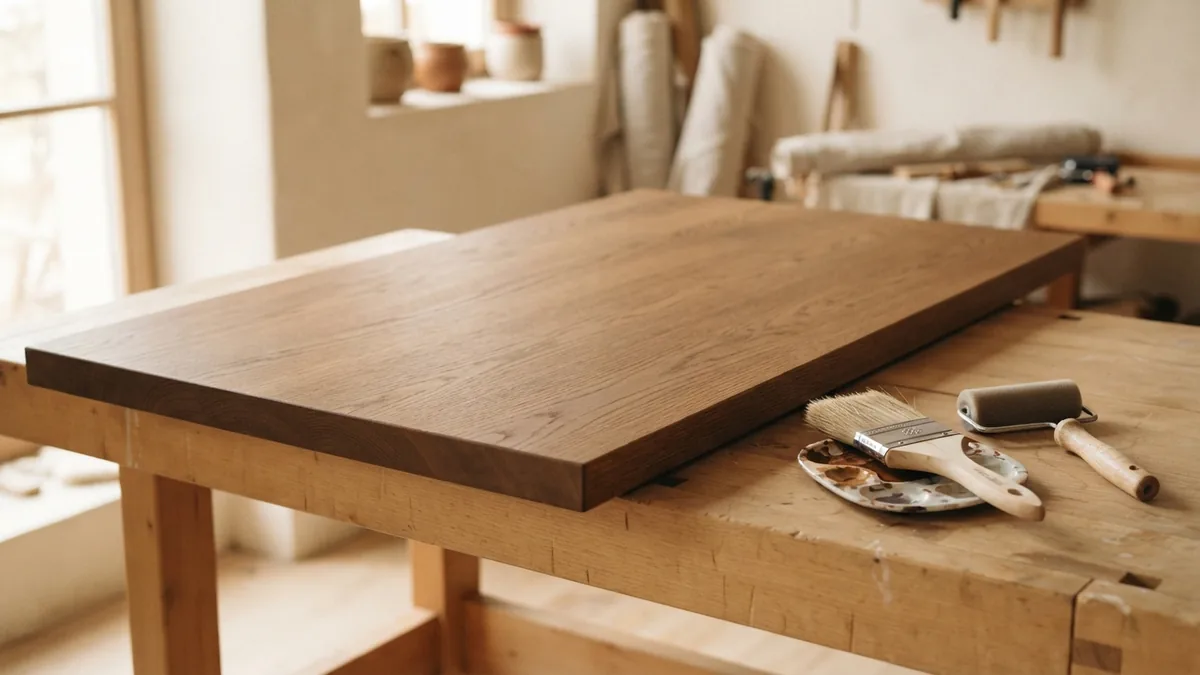
Use a quality brush to reach corners and edges, then smooth the coat across broad areas. A small foam roller can help paint a flat tabletop with fewer brush marks. A sprayer can give an even coat, but it needs practice, careful masking, and good airflow. Choose the method that fits your tools and space.
Stir stain well, then brush or wipe it on in manageable sections. Follow the grain, and wipe off extra stain within the time listed on the can. Leaving too much on the surface can make it tacky. Work at a steady pace so one area does not dry before you blend the next.
For paint, lay down thin, even coats instead of one heavy coat. Let each coat dry for the full time on the label. Lightly sand between coats if the maker calls for it, then remove all dust. Two or more thin coats often look smoother and hold up better than one thick coat.
Coat the table edges and legs with the same care as the top. Missed spots can stand out once the light shifts. Keep the table level while it dries, and avoid moving it between coats. A steady setup helps the finish stay even.
Seal the Surface Against Wear and Spills
A sealer helps guard the finish from water rings, food, and daily wear. Clear polyurethane is a common choice for a dining tabletop. Water-based products dry clear, while oil-based products can deepen the wood’s color. Read the label to confirm the product suits your paint or stain.
Use a clean brush or applicator and spread thin coats. Do not shake a clear coat, since bubbles may mark the surface. Let each coat dry as directed, then sand lightly between coats if the label allows it. Remove dust before adding another layer.
Wait for the full cure time before setting dishes or heavy items on the table. Dry to the touch does not mean fully hard. Cure time can span several days or longer, based on the product and room conditions. Keep the table free of spills during this stage.
Avoid Common Refinishing Mistakes
The most common mistake is coating over old finish, grease, or dust. New paint or stain may peel when it cannot grip the surface. Strip the old coating where needed, sand the wood, and clean it well before the first coat. Do not skip a step just because the surface looks smooth.
Another mistake is rushing dry time. A coat may feel dry but still be soft underneath. Adding another coat too soon can trap moisture or leave a wrinkled surface. Follow the label, and allow extra time in cool or damp conditions.
Using poor tools can also hurt the result. A worn brush may shed bristles, and low-grade sandpaper can leave scratches. Buy the right grit, a sound brush, and clean cloths. Keep spare materials on hand so you do not stop mid-coat.
Finally, test the full finish system before committing. Put primer, paint or stain, and sealer on a scrap piece or hidden area. Check the color, sheen, and bond after drying. This small test can prevent a costly redo.
Bring the Table Back into Daily Use
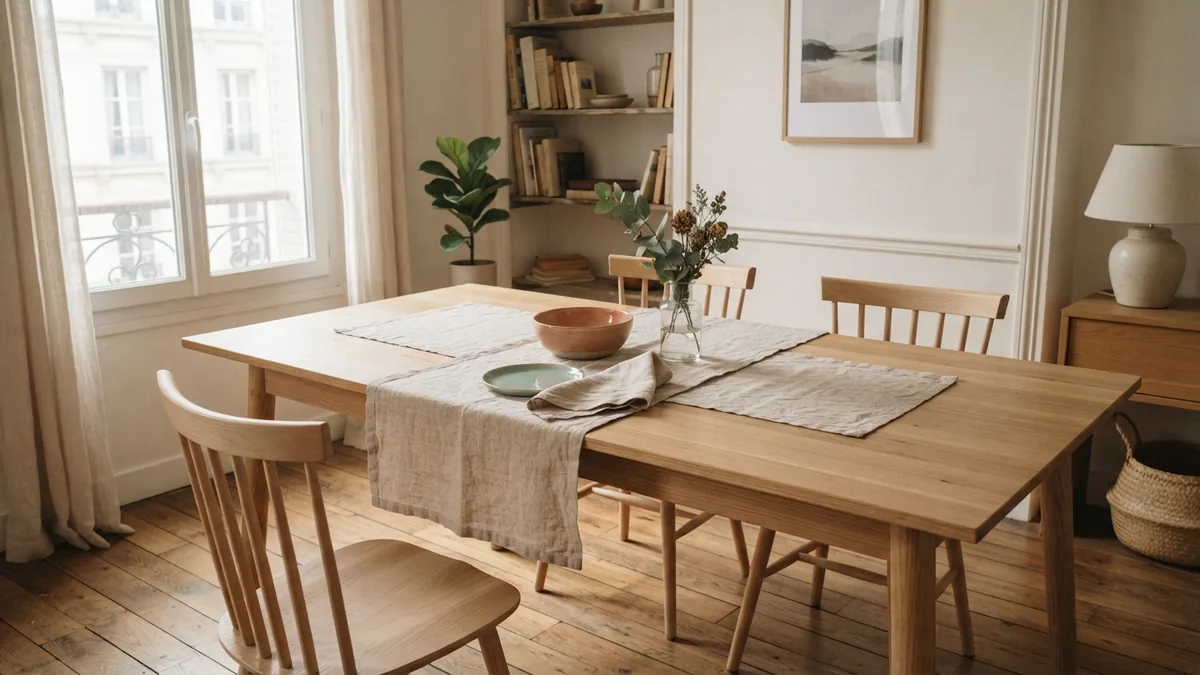
A good table finish starts with patient prep, not the topcoat. Strip the old finish where needed, sand with care, and choose paint or stain for the wood and your home. Thin coats and full dry times help create a neat, even result.
Seal the tabletop with a product suited to daily meals, then give it time to cure. Keep coasters and placemats nearby during the first weeks. With the right care, refinishing can extend the life of a table and give the room a fresh focal point.
Step-by-step
- 01 Check and clear the table
Look for loose joints, veneer, and deep damage. Move the table to a well-aired work area and protect nearby surfaces.
- 02 Strip and sand the old finish
Remove the old coating with a suitable stripper, then sand with the grain. Clean away residue and dust before coating.
- 03 Choose and test the finish
Select paint or stain based on the wood and look you want. Test the full finish system on a hidden spot or matching scrap.
- 04 Apply thin coats
Use a brush, roller, or sprayer suited to the product. Let each coat dry fully before adding another.
- 05 Seal and let the table cure
Apply a compatible clear sealer in thin coats. Wait for the full cure time before returning dishes and daily use.
Frequently asked questions
- What is the best finish for a dining room table?
- The best finish depends on the wood and how you use the table. Use stain to show the grain, paint to cover uneven color, and a clear topcoat for added protection.
- What paint finish should I use for a dining room table?
- Satin or semi-gloss paint is easier to wipe than flat paint. Use a primer that suits the table surface, then seal the paint with a compatible clear coat.
- Do I need to strip a dining table before refinishing it?
- Remove the old coating if it is peeling, damaged, or too slick for the new finish to bond. Clean and sand the surface well before applying paint or stain.
- How many coats of paint or stain should I apply?
- Apply thin coats and follow the product label for coat count and drying time. Stain often needs one or more coats, while paint may need two or more for even coverage.
- How long should a refinished dining table cure?
- Cure time depends on the product and room conditions. Wait for the full cure time on the label before placing dishes or heavy items on the table.
Related reading

Decorating a Pink Room — Color, Texture and Warmth
Use balanced color, layered textures, and warm light to make a pink room feel personal.

Interior Design Degrees — Careers and Study Paths
Explore interior design careers, study options, and routes into the field.

Hotel Rooms With Kitchens — Names and Room Types
Learn the names, features, and benefits of hotel rooms with kitchens.