Chalk-Painted Dining Tables: Prep and Finish
Paint, seal, and care for a dining table with a durable chalk finish.
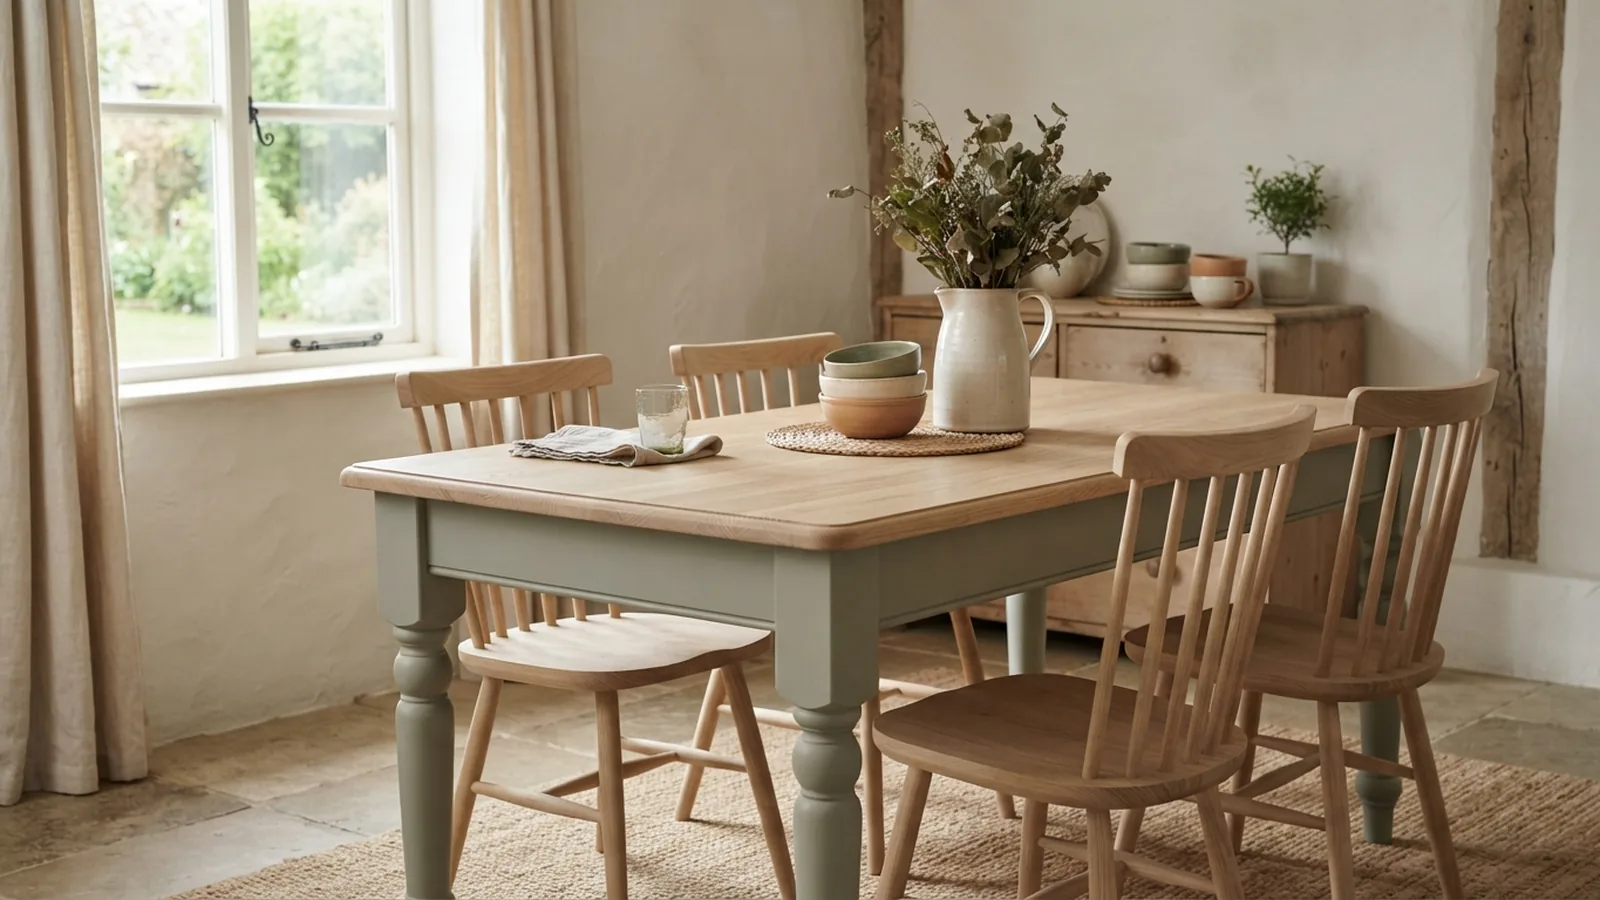
Choose a Chalk Paint That Suits Your Table
To chalk paint a dining room table, clean and scuff the surface, apply thin coats, then seal the paint for daily use. Chalk-style paint can refresh a worn table without the long prep often needed for glossy finishes. Still, the name covers several products, and each can behave a little differently.
Traditional chalk paint is water-based and dries to a matte, slightly porous finish. Some brands sell a ready-mixed product, while others offer mineral paint or chalk-style paint with different binders. Check the label for surface prep, drying time, and the maker’s recommended topcoat. These details matter more than the word “chalk.”
Pick a color that works with the room’s light and wood tones. Warm white, muted sage, and soft beige suit many dining spaces. Buy enough paint for two thin coats, plus a little extra for touch-ups. Test the color on a hidden spot or sample board first.
- Matte chalk paint: Good for a soft, flat look and easy distressing.
- Mineral paint: Often offers a hard finish, but still follow its sealing directions.
- Chalk-style paint: A broad label, so check the exact product instructions.
Chalk paint is not a magic fix for every surface. A table with peeling varnish, deep grease, or loose veneer needs repair before paint. If the top sees heavy daily use, plan to add a tough clear coat.
Prepare the Dining Table Before Painting
Good prep helps paint stick and keeps bumps from showing through. Remove drawers, knobs, leaf inserts, and any parts that come off with ease. Take the table outside or work in a room with fresh air. Cover the floor, and set small parts aside in a safe place.
Wash the table with a mild cleaner that cuts grease. Pay close attention to the area near seats and the table edge, where hands leave oils. Rinse with a damp cloth, then let the wood dry fully. Paint over grime and the finish may peel or feel rough.
Inspect the whole table for loose joints, chips, and deep scratches. Tighten screws and glue loose joints before painting. Fill dents with wood filler, let it dry, then sand it flush. For most tables, a light scuff with 120- to 180-grit sandpaper helps the paint grip.
You may not need to strip a sound finish, but glossy or waxed surfaces need extra care. Sand glossy areas until they lose their shine. Remove all dust with a vacuum and a clean, damp cloth. If stains or knots might bleed through, use a stain-blocking primer made for that issue.
- Remove hardware and loose parts.
- Clean, rinse, and let the table dry.
- Fix loose joints and fill dents.
- Scuff sand, then clear away all dust.
Apply Thin Coats for a Smooth Finish
Use a good synthetic brush for edges and legs, and a small foam roller for broad, flat areas. A brush can leave texture, which suits a rustic look. A roller often gives the top a smoother face. Keep a damp cloth nearby for quick cleanup.
Stir the paint well, but avoid shaking the can. Start underneath or on an inconspicuous section to learn how quickly the paint dries. Brush with the grain where you can. Use long, even strokes, and do not keep working paint that has begun to tack up.
Apply a thin first coat and let it dry for the time on the label. Add a second coat once the first feels dry to the touch. Two thin coats usually look better than one thick coat. If you see raised brush marks, lightly sand between coats with 220-grit paper, then remove the dust.
For a smooth top, use a fine foam roller and keep a wet edge as you move across the surface. Do not press hard or roll back over paint that has started to dry. A third thin coat can help cover dark wood or bold colors. Let the final coat cure for the full time listed by the maker before regular use.
To create a worn look, wait until the paint is dry, then rub fine sandpaper on edges and corners. Use light pressure and stop often to check the effect. Focus on spots that would wear naturally, such as drawer edges and the corners of the top. Wipe away dust before sealing.
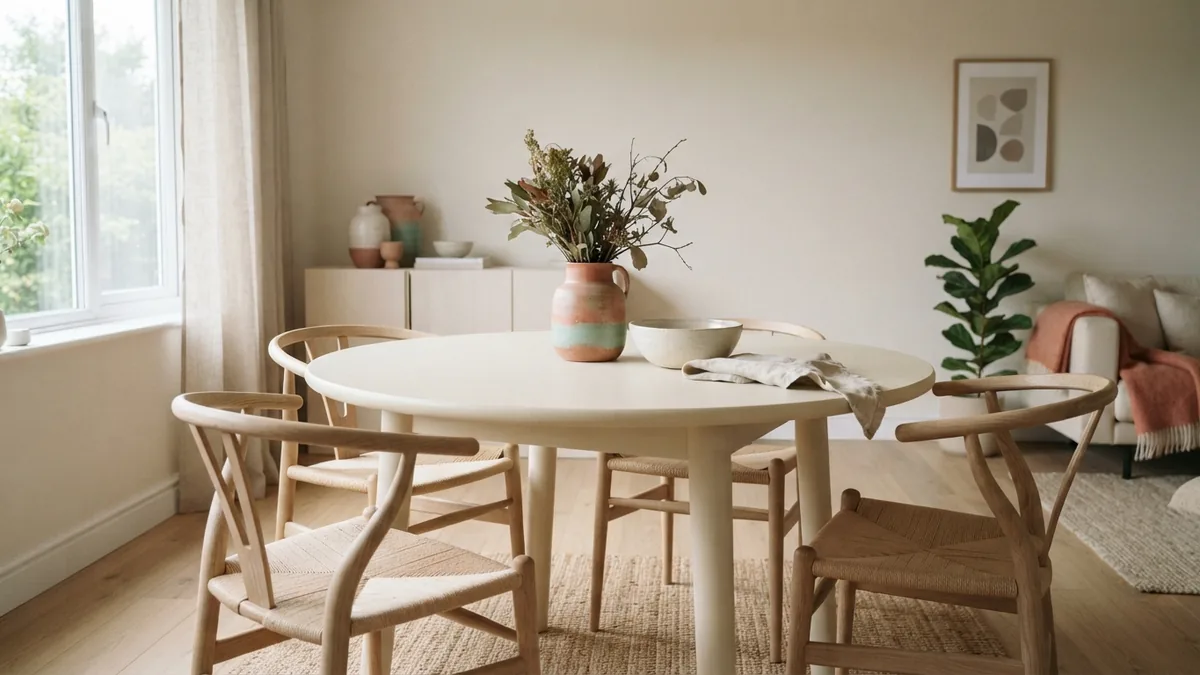
Seal the Paint and Add the Finishing Touches
A dining table needs more protection than a decorative shelf. Choose a clear topcoat that the paint maker says works with that paint. Water-based polyurethane is a common pick for a clear, durable finish. Wax can give a soft sheen, but it needs more care and may not suit a busy tabletop.
Apply the sealant in thin coats with a clean brush or foam applicator. Follow the label for coat count and drying time. Lightly sand between coats only if the product directions allow it. Keep dust, crumbs, and pet hair off the surface while it dries.
Wax is easy to apply with a lint-free cloth, but it can mark under heat and spills. It also needs reapplication as wear appears. A clear water-based topcoat usually makes more sense for a family dining table. For the best match, test the full paint-and-seal system on a hidden area first.
Do not rush the cure time. Dry paint can still be soft inside, so heavy dishes or placemats may leave marks in the first days. Wait as long as the label calls for before using the table normally. Keep the room at the stated temperature while the finish sets.
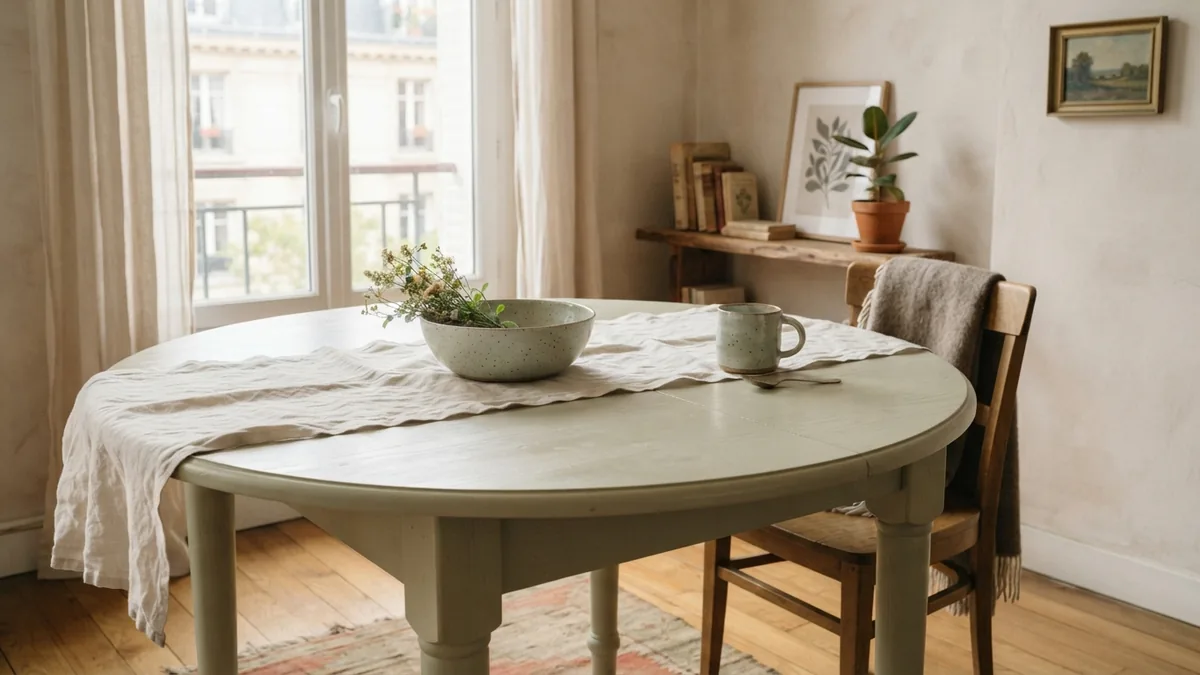
Keep a Chalk-Painted Table Looking Its Best
Clean the table with a soft cloth and a little mild soap. Wipe spills soon, then dry the spot. Avoid abrasive pads, strong solvents, and standing water. These can dull or wear the topcoat.
Use coasters under drinks and mats under hot dishes. Lift heavy items instead of dragging them across the surface. Felt pads under bowls and decor help prevent scratches. These small steps matter most during the first few weeks of use.
Check the top now and then for worn edges, chips, or dull patches. Touch up small paint chips, let them dry, then renew the topcoat as the product allows. Waxed surfaces may need fresh wax more often than sealed ones. Keep a small amount of the paint for later repairs.
- Wipe spills quickly and dry the surface.
- Use mats for hot dishes and coasters for drinks.
- Skip harsh cleaners and rough scrubbers.
- Repair chips before water reaches bare wood.
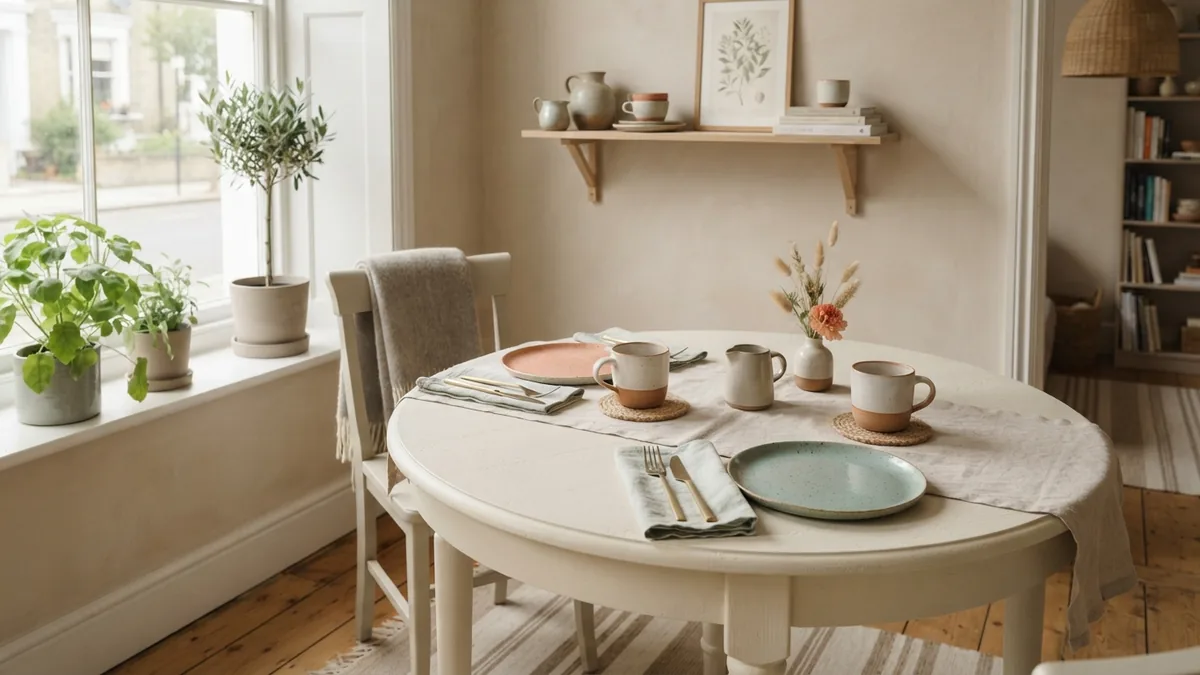
Use the Same Method on Other Furniture
The same steps can work on a kitchen table, a sideboard, or a set of dining chairs. Match the prep to the surface, not just the paint. A kitchen table needs a durable topcoat because it faces food, water, and frequent cleaning. Test the paint and sealant together before starting the full piece.
Cabinet doors and bathroom vanities call for extra care around grease and moisture. Clean them well, scuff glossy finishes, and use a primer if the surface or paint maker calls for one. Choose a finish rated for that use, and let it cure fully. A product suited to a table may not be the right pick for a damp bathroom.
Chalk paint can also refresh a bench, mirror frame, or plant stand. Smaller items make useful tests for a new color or distressing style. Keep the same order: clean, repair, scuff, paint, and protect. That simple routine helps the finish last.
Step-by-step
- 01 Remove parts and clean the table
Take off loose hardware and removable parts. Wash away grease and let the table dry fully.
- 02 Repair and scuff the surface
Tighten loose joints and fill dents. Lightly sand glossy areas, then remove dust.
- 03 Apply thin paint coats
Use a brush for edges and a foam roller for broad areas. Let each coat dry before adding the next.
- 04 Distress the finish if wanted
Rub fine sandpaper lightly on edges and corners. Stop often to check the worn look.
- 05 Seal and allow the finish to cure
Apply a compatible clear topcoat in thin coats. Wait for the full cure time before regular use.
Frequently asked questions
- Do I need to sand a dining table before chalk painting?
- Usually, a light scuff sand helps paint grip, especially on glossy surfaces. Clean the table first and remove all sanding dust.
- How many coats of chalk paint should I use on a table?
- Two thin coats are a good starting point. Dark wood or bold colors may need a third coat.
- What is the best sealant for a chalk-painted dining table?
- A clear water-based polyurethane is a common choice for a table that gets daily use. Check that the paint maker approves the topcoat.
- Can I distress chalk paint after it dries?
- Yes. Lightly sand edges and corners after the paint dries, then remove dust before applying the sealant.
- How long should chalk paint cure before using the table?
- Follow the paint and topcoat labels. The finish may feel dry before it has fully cured, so wait the stated time before normal use.
Related reading

Living Room Size — Space, Furniture, and Layout
See common living room sizes and learn how to measure your space before choosing furniture.

Where to Buy Furniture — Stores, Styles and Smart Buys
Compare furniture shops, online picks, and second-hand deals before you buy.

Bedroom Wall Colors — Mood, Light, and Style
Choose a bedroom wall color that fits your light, mood, and furnishings.