Can You Paint Bathroom Countertops? A Step-by-Step Guide
Refresh a tired bathroom countertop with the right paint, tools, and prep.
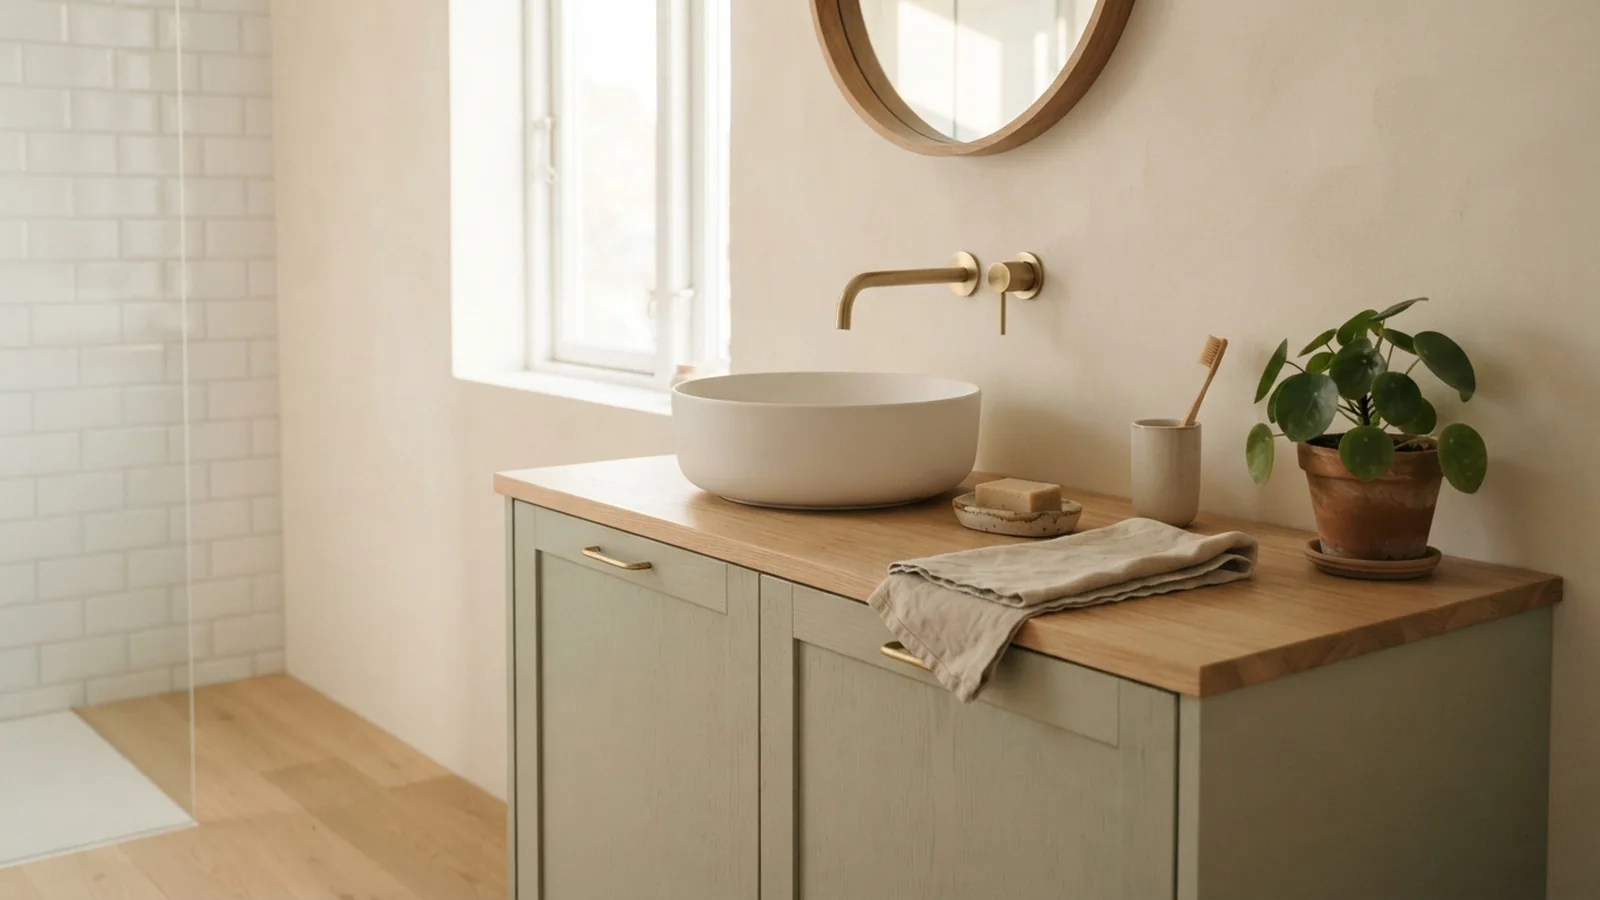
Can You Paint Bathroom Countertops?
Yes, you can paint many bathroom countertops. The project costs less than most replacements. It can also change the room in one weekend.
Use countertop paint, not standard wall paint. Countertop paint is made to handle moisture, mild heat, and daily wear. It still needs a clear topcoat and careful curing.
Paint works best on sound laminate, cultured marble, ceramic, and solid-surface tops. It will not hide deep cracks or loose layers. Fix those faults before you start.
Why Paint Instead of Replace the Countertop?
Painting gives an old vanity a fresh look without removing the cabinet. You can change a dated tan top to soft white, sage, or a stone-like finish. The result can suit a new tap, mirror, or wall color.
Paint also limits waste. A small kit may cost far less than a new slab and fitting work. Your final cost depends on the top size, paint type, and repair needs.
- It updates color without changing the vanity.
- It costs less than many full countertop replacements.
- It lets you test a new style before a larger remodel.
- It can cover small stains that cleaning cannot remove.
Paint is not a forever fix. A busy family bathroom may show wear sooner than a guest bath. Good prep and a strong sealer help the finish last longer.
Which Bathroom Countertops Can You Paint?
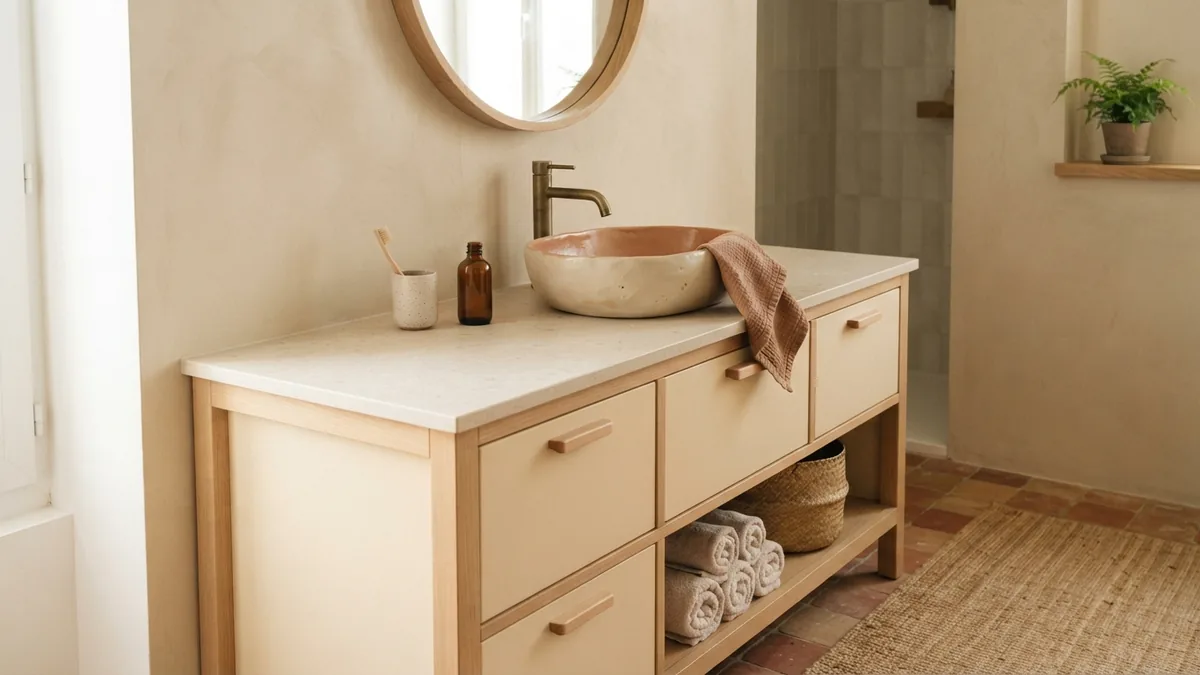
Laminate countertops are common candidates for paint. Their smooth face needs firm sanding and a bonding primer. Check every edge for swelling before you begin.
Solid-surface tops and cultured marble may also accept paint. Test a small hidden spot first. The coating must bond well without softening the old finish.
Can you paint marble bathroom countertops? Usually, you should not paint real marble. Marble and granite are porous stones with strong natural patterns. Paint may bond poorly, trap moisture, or hide a valuable surface.
| Surface | Paint choice | Main concern |
|---|---|---|
| Laminate | Bonding primer and countertop paint | Swollen edges or loose layers |
| Cultured marble | Adhesion primer and hard topcoat | Glossy gel coating |
| Solid surface | Surface primer and enamel paint | Deep cuts and stains |
| Real marble or granite | Usually avoid paint | Poor fit for the stone |
Do not paint a wet, crumbling, or badly cracked top. Replacement or professional repair may suit that surface better.
Materials and Tools for a Durable Finish
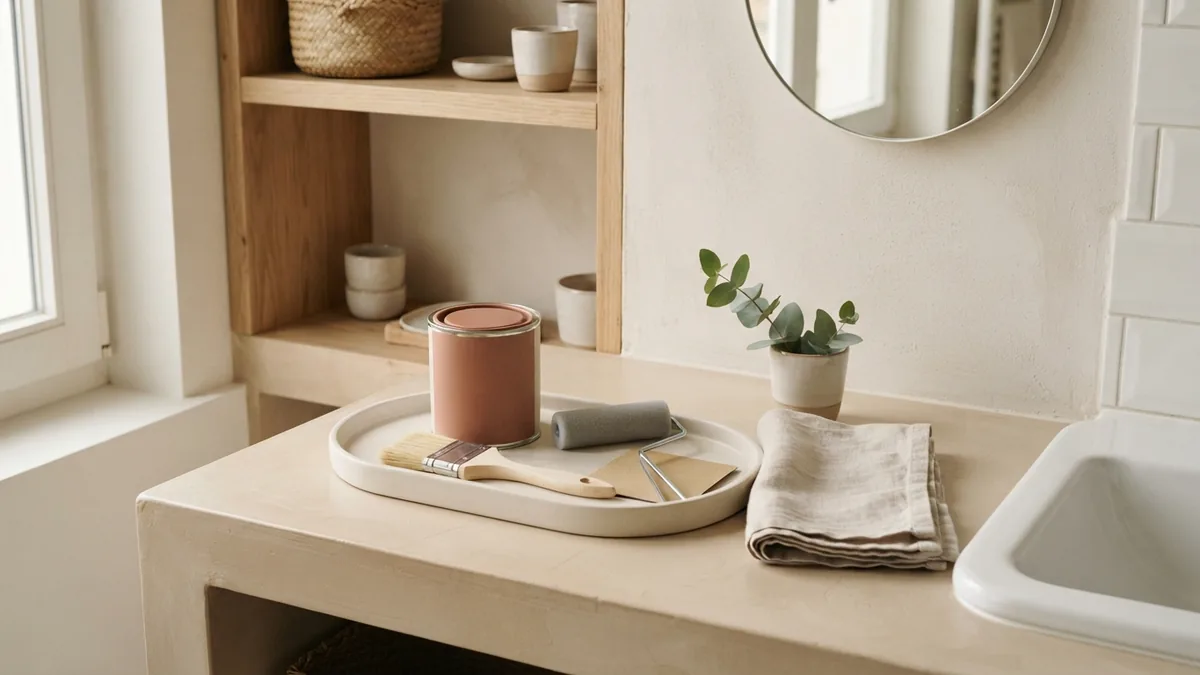
Choose a kit made for countertops, cabinets, or high-wear surfaces. Acrylic enamel paint can work when the label allows bathroom use. A clear water-based topcoat adds another shield.
Gather all tools before you start. Delays can leave dust on a partly dry coat. Clean tools also reduce brush marks.
- Degreasing cleaner and clean lint-free cloths
- Fine sandpaper, such as 180 to 220 grit
- Bonding primer for slick surfaces
- Countertop paint or suitable enamel paint
- Small foam roller and angled brush
- Painter's tape and plastic drop cloths
- Fine sanding pad for between-coat work
- Clear protective topcoat approved for wet rooms
- Caulk and a caulk tool for open joints
A roller gives broad areas a smooth look. A brush handles corners and the backsplash edge. Avoid cheap rollers that shed fibers.
How to Paint Bathroom Countertops Step by Step
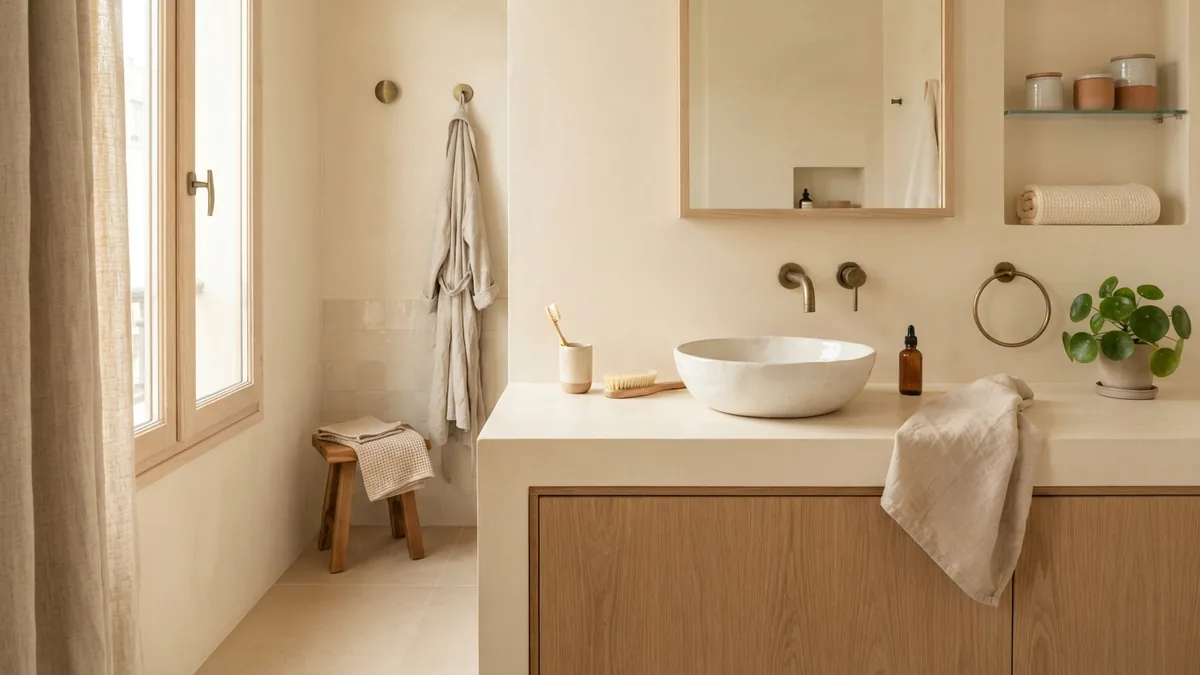
1. Remove fittings and protect the room
Remove the tap, drain cover, soap dish, and other loose parts. If removal is not possible, mask them with care. Cover the floor, basin, walls, and cabinet.
2. Clean the whole surface
Wash away soap film, oil, dust, and hair. Rinse the cleaner off fully. Let the surface dry before sanding.
3. Sand and repair the top
Sand with 180-grit paper until the shine fades. Do not cut deep grooves into laminate. Fill small chips with a repair filler, then sand them smooth.
Check the joint between the counter and wall. Remove loose caulk and apply fresh caulk where needed. Let it dry as the label directs.
4. Prime the surface
Apply a thin bonding primer with a foam roller. Use a brush around the sink and backsplash. Keep the coat even and avoid puddles.
Let the primer dry for the full stated time. A dry surface may still feel soft. Follow the product label before adding paint.
5. Add several thin paint coats
Roll on the first thin coat. Work in small sections and keep a wet edge. Two or three coats often look better than one thick coat.
Lightly sand between coats after each coat dries. Wipe away all sanding dust. Add the next coat only when the surface feels firm.
6. Seal and cure the finish
Apply the clear topcoat in thin, even layers. Keep the room free from dust while it dries. Do not run water across the top during the cure period.
Dry time and cure time differ. Dry paint may feel ready after a few hours. Full cure may take three to seven days.
7. Refit the hardware
Reinstall the tap and drain after the finish cures. Tighten fittings gently. Excess force can chip a new coating.
How to Paint a Bathroom Countertop and Sink
You can paint the sink area when the product supports that use. Many kits cover the counter and basin as one system. Check the label before buying.
The sink bowl needs extra care. Clean around the drain and remove old sealant. Sand the basin with a fine pad, then rinse away every trace of dust.
Apply thin coats with a small foam roller or a fine brush. Keep paint away from the drain opening. Do not let thick paint pool near the bowl edge.
Water can damage a soft finish quickly. Wait through the full cure time before using the sink. A gentle first clean helps protect the new coating.
Tips for a More Professional Finish
Plan the work for a dry day with mild room warmth. Open a window when safe, but avoid strong airflow over wet paint. Dust and fast drying can spoil the surface.
Use light pressure with the roller. Heavy pressure can leave ridges and thin spots. Keep each coat thin and even.
- Use a work light to spot drips and missed areas.
- Sand lightly between coats, never through the whole finish.
- Keep paint off the underside of the countertop edge.
- Use a new foam roller for the final coat.
- Wait at least three days before normal sink use.
- Clean with mild soap and a soft cloth after curing.
For a granite-like look, start with a solid base color. Dab two close shades with a sea sponge. Finish with a clear coat that suits wet areas.
Do not try to copy every vein in real stone. A simple pattern often looks more natural. Less detail also makes touch-ups easier.
Common Mistakes to Avoid
The biggest mistake is poor surface preparation. Paint cannot grip soap film, wax, or loose laminate. Cleaning and sanding take time, but they control the result.
Another mistake is using wall paint. Wall paint lacks the wear strength needed around a sink. It may mark, peel, or soften with repeated moisture.
- Skipping primer on glossy laminate
- Painting over damp caulk or wet cleaner
- Applying one thick coat to save time
- Skipping light sanding between coats
- Using the sink before full curing
- Cleaning with harsh powder or abrasive pads
Spray paint can work on small removable parts. It is harder to control on a fixed counter. Overspray can reach walls, mirrors, floors, and cabinet fronts.
If you ask how to spray paint bathroom countertops, use a spray kit only when its label approves that surface. Mask the room fully and keep the coats very light. For most vanities, a foam roller gives better control.
What Results Should You Expect?
A painted countertop can look clean, smooth, and modern. It will not match the depth of a real stone slab. Small flaws may also show in strong side light.
Good results depend on the old surface, paint system, and daily use. A guest bathroom may keep its finish for years. A busy family bath may need small touch-ups sooner.
Paint the countertop when you want a low-cost style change. Choose replacement when the base has water damage, deep cracks, or loose layers. The right choice starts with the condition of the surface.
Step-by-step
- 01 Protect the room and remove fittings
Remove loose hardware and cover the floor, walls, sink, and cabinet. Mask any fittings that stay in place.
- 02 Clean the countertop
Remove soap film, oil, dust, and hair with a degreasing cleaner. Rinse well and let the surface dry.
- 03 Sand and repair the surface
Sand until the shine fades, then fill small chips. Replace loose caulk and let repairs dry.
- 04 Apply bonding primer
Roll on a thin primer coat. Brush the corners and let the primer dry for the stated time.
- 05 Paint several thin coats
Apply two or three thin coats of countertop paint. Lightly sand between coats and remove all dust.
- 06 Seal and cure the finish
Add a clear topcoat approved for wet rooms. Keep water away until the full cure time ends.
Frequently asked questions
- Can you paint bathroom countertops?
- Yes. You can paint many sound laminate, cultured marble, and solid-surface countertops. Use a bonding primer, countertop paint, and a strong topcoat.
- Can you paint over bathroom countertops without sanding?
- Sanding helps primer bond to a slick surface. Skipping it can lead to peeling, marks, and early wear.
- Can you paint marble bathroom countertops?
- Painting real marble is usually a poor choice. The stone may resist bonding, and paint can hide a valuable natural surface.
- How do you paint bathroom countertops and sink areas?
- Clean and sand both parts, then use a product approved for sinks. Apply thin coats and wait through the full cure time before using water.
- How do you spray paint bathroom countertops?
- Spray paint can work when the product label approves countertop use. For most fixed vanities, a foam roller gives better control and less overspray.
- How long does painted countertop paint take to cure?
- Many finishes dry within hours but need three to seven days to cure fully. Follow the product label before normal sink use.
Related reading
Couch Placement—Flow, Focus and Comfort
Place your couch to frame a focal point, keep paths clear, and make the room feel balanced.
Master Bedroom — Color, Comfort and Personal Style
Build a calm, personal bedroom with smart choices and a budget that works.
Room Painting Labor Costs — Rates and Budget Factors
See typical room-painting labor rates and learn what drives the final price.