How to Hang Wall Decor Without Nails (Smart, No-Damage Methods)
Hang art, mirrors, and shelves cleanly—no nails, no wall damage.
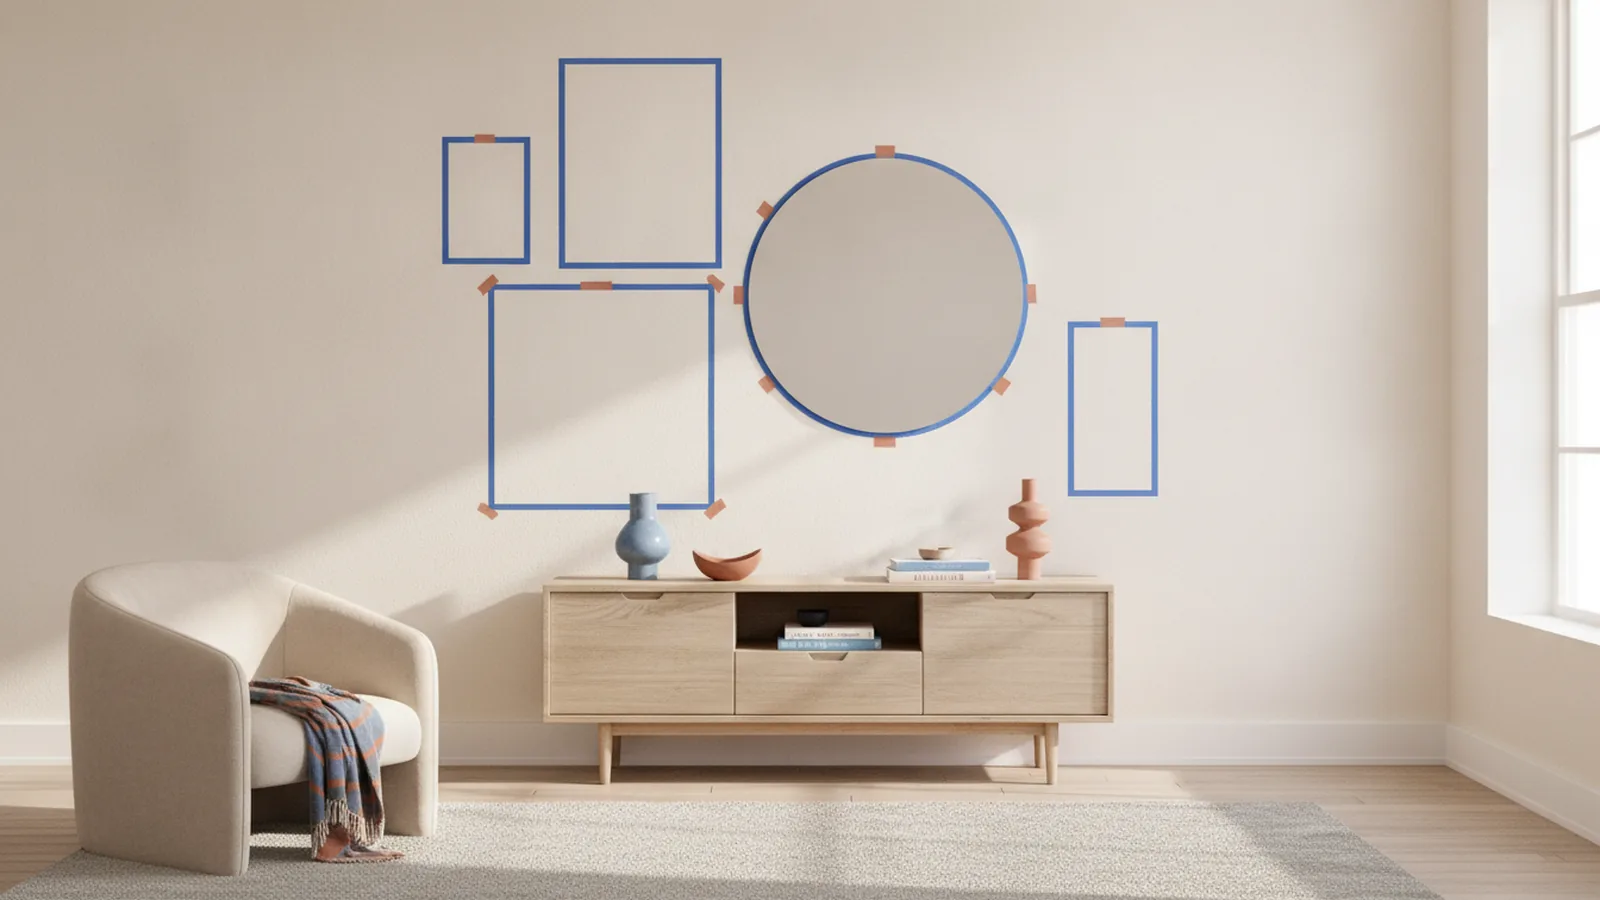
How to hang wall decor without damage: the quick plan
If you want to know how to hang wall decor with the least mess, start by matching the mount to the item’s weight and your wall type. Then measure a placement height that feels natural from eye level. Finally, use non-damaging methods like adhesive hooks when the wall and load are a good match.
Most problems happen in the first ten minutes. People guess placement, skip a level, and use the wrong adhesive for the wall texture. Your goal is simple: plan the layout, mark lightly, and test one small mount before committing.
- Pick a method based on weight and wall type
- Measure for height and center lines
- Hang straight with a level
- Use adhesive hooks or other no-nail options
Understanding wall decor types and what they need
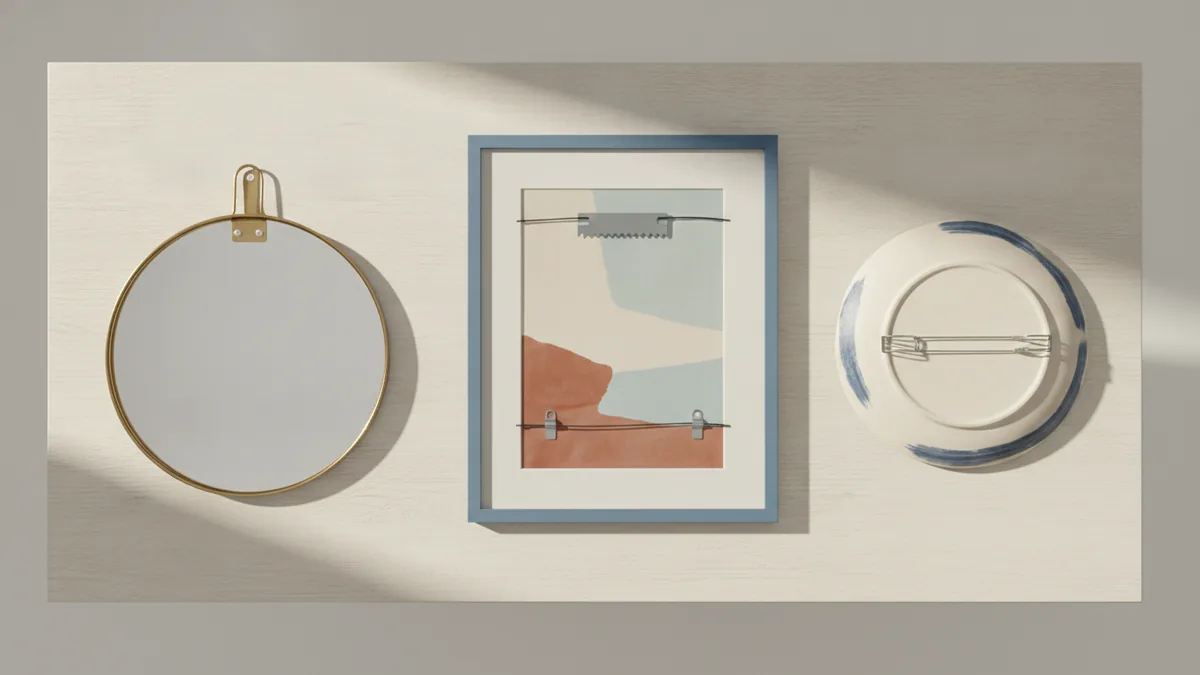
Different decor pieces need different mounting hardware. A lightweight print usually tolerates adhesive hooks, while a heavy mirror needs a stronger load path. Shelves also carry downward weight plus small side forces when you place or remove items.
Here are common wall decor types and typical mounting needs. Use these as a starting point, then check the manufacturer load rating for the exact system you buy.
| Wall decor type | Typical mounting | Best no-nail options |
|---|---|---|
| Framed art and prints | Rear sawtooth, D-ring, or wire | Adhesive wall hooks or mounting strips |
| Mirrors | Keyhole hangers, metal brackets | High-strength mounting strips plus safety backup |
| Floating shelves | Hidden brackets, concealed supports | Rarely fully no-nail for real load bearing |
| Decor plates and thin pieces | Back clips or small hangers | Adhesive hooks rated for small frames |
Also consider how the back of the item connects to the mount. If the hanger point sits far from the wall, you need enough hook clearance to avoid the frame touching the wall unevenly.
Choosing the right materials for clean mounting
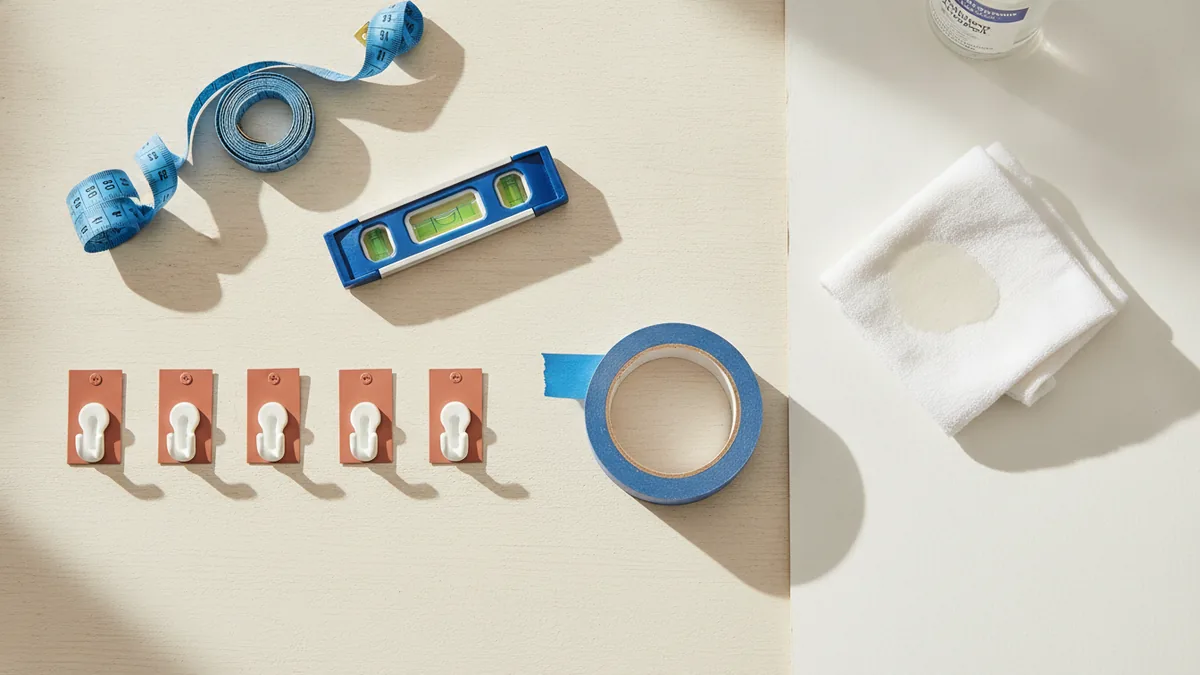
To hang decor on wall surfaces reliably, you need the right tools and the right mounting system. A good kit makes your process repeatable and reduces trial-and-error.
For most projects, plan on these tool requirements for hanging decor. You can keep it simple, but don’t skip the measuring basics.
- Measuring tape (for height and spacing)
- Level (to keep lines straight)
- Pencil and painter’s tape (for light marks)
- Adhesive wall hooks or mounting strips (non-nail options)
- Rubbing alcohol or wall cleaner (to help adhesive grip)
- Stud finder (only if you decide to use anchors or screws later)
Adhesive hooks vary by surface finish and load rating. For framed art, you often need two mounting points so the frame sits level. For mirrors, you usually need a system designed for glass and higher weight, and you should verify the rating for your specific wall.
If you are unsure, do a low-risk test with one hook. Attach it to the wall, wait the cure time on the package, and gently hang a small weight first.
Measuring and planning your layout before you stick anything
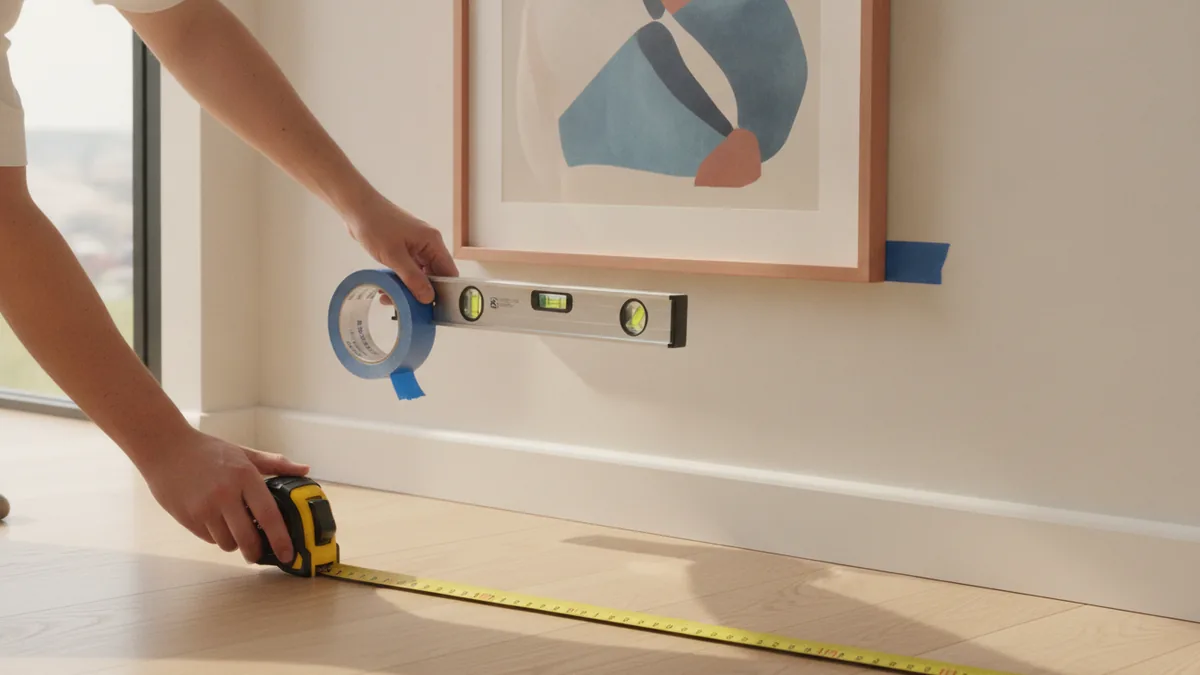
When you learn how to hang wall decor, measuring for height matters as much as the mount. A common wall art placement guideline is to center the piece around eye level. Many people use about 57 to 60 inches from the floor to the center of the artwork.
That rule is a starting point, not a law. If the room has a tall sofa, dining table, or bed, adjust slightly so the art stays visually centered in the viewing zone. For galleries, aim for consistent spacing between frames and a steady top or center line.
Use this step-by-step approach for measuring for wall decor. It keeps alignment tight even when you have multiple pieces.
- Find the viewing spot (where you stand most often).
- Measure from the floor to your expected eye level.
- For a single piece, mark the center point for the frame.
- For multiple pieces, draw a faint center line and map spacing.
- Use painter’s tape to outline positions before mounting.
Finally, check the frame height relative to nearby furniture. If the art competes with a lamp or sits too high over a console, the layout will feel off even if it is perfectly level.
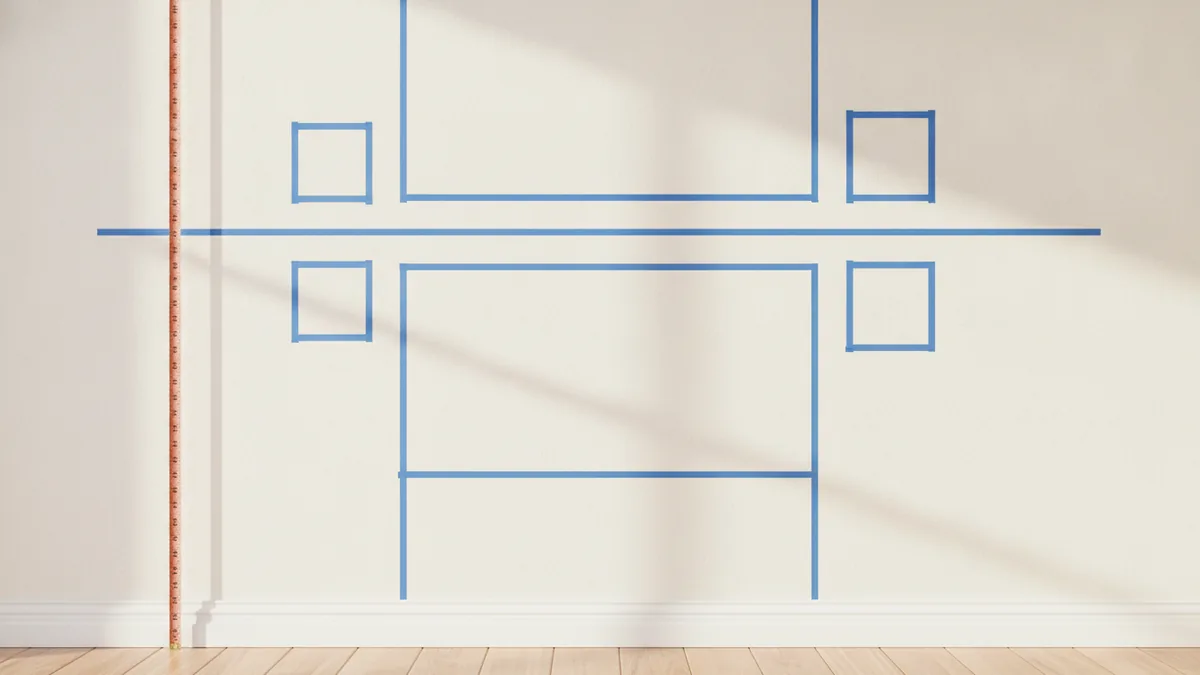
Hanging without damage: adhesive hooks, removable strips, and careful setup
If your goal is how to hang wall decor without damaging walls, start with non-invasive methods that rely on surface adhesion. Adhesive wall hooks and mounting strips can work well for many framed pieces and light decor.
Here is how to hang wall decor without nails in a way that holds up. Follow the package cure time and make the surface ready for bonding.
- Clean the wall where the adhesive will touch
- Let the cleaned area dry fully
- Press firmly for the time recommended
- Wait for full cure before loading
- Use two points for most frames
Positioning tip: place hooks or strip locations slightly above your hanger points if your frame relies on a hook lip. That reduces the chance of the frame tipping forward once it settles.
Alignment tip: hang one side first, then check with a level before adding the second. If you correct quickly, you can remove and reapply some adhesive systems once the surface is fresh and dry.
For heavier items like mirrors, consider a hybrid approach. Use an adhesive mounting system that is rated for the weight, and confirm the wall finish is compatible. If the item is truly heavy, you may need to switch to a fastening method designed for that load.
How to hang decor on different wall types (drywall, concrete, plaster)
Your wall material changes what will stick and how much help you need. The same adhesive hook can perform differently on drywall, textured finishes, and porous plaster.
Drywall: best for adhesive, with surface prep
Drywall is often the easiest for decor mounting. Smooth painted drywall typically supports adhesive wall hooks well, as long as you clean the surface and follow cure time. If your drywall is glossy or dusty, adhesion can fail even with the right hook rating.
If the wall has texture, aim for mounting strips that are designed for uneven surfaces. Press thoroughly into the texture so the full pad contacts the wall.
Concrete: how to hang decor on concrete walls
For concrete, the key is knowing that some adhesives bond better to sealed and smooth areas. Concrete can be porous, and dust can block the grip you expect. For how to hang decor on concrete walls, clean with a degreaser or alcohol and let it dry completely.
Choose products labeled for masonry or concrete use. Also plan for longer cure times, and avoid immediately hanging the full weight right after application.
Plaster: watch for brittleness and unevenness
Plaster often has a decorative surface that is not perfectly smooth. Adhesives can work, but you need a stable bonding area and good cleaning. If the plaster is fragile or has loose sections, avoid relying on adhesive alone.
When in doubt, test a small piece first. Use painter’s tape to locate the mount points, then apply the adhesive system and monitor for any lifting at the edges.
Common mistakes to avoid when hanging wall decor
Even careful DIYers make predictable errors. These missteps usually lead to crooked decor, premature adhesive failure, or extra holes from rushed fixes.
Use this list to avoid the most common mistakes. Each one has a simple fix before it becomes a rework.
- Wrong height: measure to center or use a consistent top line
- Poor alignment: use a level every time, not just at the start
- Too few mount points: most framed pieces need two
- Ignoring cure time: wait before loading any adhesive mount
- Too many holes: plan placement with tape before you mount
Another frequent issue is oversizing the mount. A hook rated for a certain weight may still fail if the frame’s load concentrates at one point due to hanger geometry. If your mirror hangs at an angle, consider how the back distributes force.
Finally, avoid cleaning mistakes. Don’t skip solvent if the wall has oils from hands or kitchen splashes. Adhesives fail most often because the wall surface is not ready.
Final touches and adjustments for a polished look
After you hang wall decor, step back and check the sight lines. Straight from the viewing spot, small errors can hide or stand out dramatically. Adjust before the mount system becomes fully set or permanently loaded.
Use a level for micro-corrections. Then confirm spacing if you have a layout plan for multiple pieces. If frames are part of a decor style and theme, matching gaps and line heights is what makes the group look intentional.
For removal and future updates, keep expectations realistic. Many adhesive systems can be removed, but some leave residue or pull small paint flakes depending on paint age and surface condition. Test removal on a less visible edge if you can.
Once everything looks right, press any accessible adhesive edges again. That final check helps with full contact and reduces early lifting.
If you want a second opinion before your next project, keep a small set of spare tools. A level, spare hooks, and painter’s tape save time when you rehang or resize your layout.
Frequently asked questions
- What tools do I need to hang wall decor without nails?
- You’ll need a measuring tape, a level, painter’s tape, and adhesive wall hooks or mounting strips. Clean the wall with rubbing alcohol for better grip.
- How high should I hang wall decor?
- A common method is centering the artwork around eye level, often about 57 to 60 inches from the floor. Adjust for furniture height and how you view the room.
- How to hang wall decor without damaging walls?
- Use adhesive wall hooks or mounting strips designed for your wall type. Prepare the surface well and wait the full cure time before loading.
- How to hang decor on concrete walls?
- Clean the concrete thoroughly and use a mounting system rated for masonry or concrete. Let it cure fully before hanging heavy items.
- How do I hang a mirror without nails?
- Use high-strength mounting strips rated for the mirror’s weight and follow the installation steps closely. Use two or more mounting points to keep it level.
- Why does adhesive decor mounting fail?
- Most failures come from dirty surfaces, rushing cure time, or using a product not meant for your wall texture. Follow the directions and test a small mount first.
Related reading
Kitchen Cabinet Tops — Style, Texture and Seasonal Charm
Style cabinet tops with balanced layers, useful texture, and decor that suits your kitchen.
Couch Placement—Flow, Focus and Comfort
Place your couch to frame a focal point, keep paths clear, and make the room feel balanced.
Master Bedroom — Color, Comfort and Personal Style
Build a calm, personal bedroom with smart choices and a budget that works.