How to Decorate a Bulletin Board for Your Room
Creative, personal bulletin board decor ideas with layout tips.
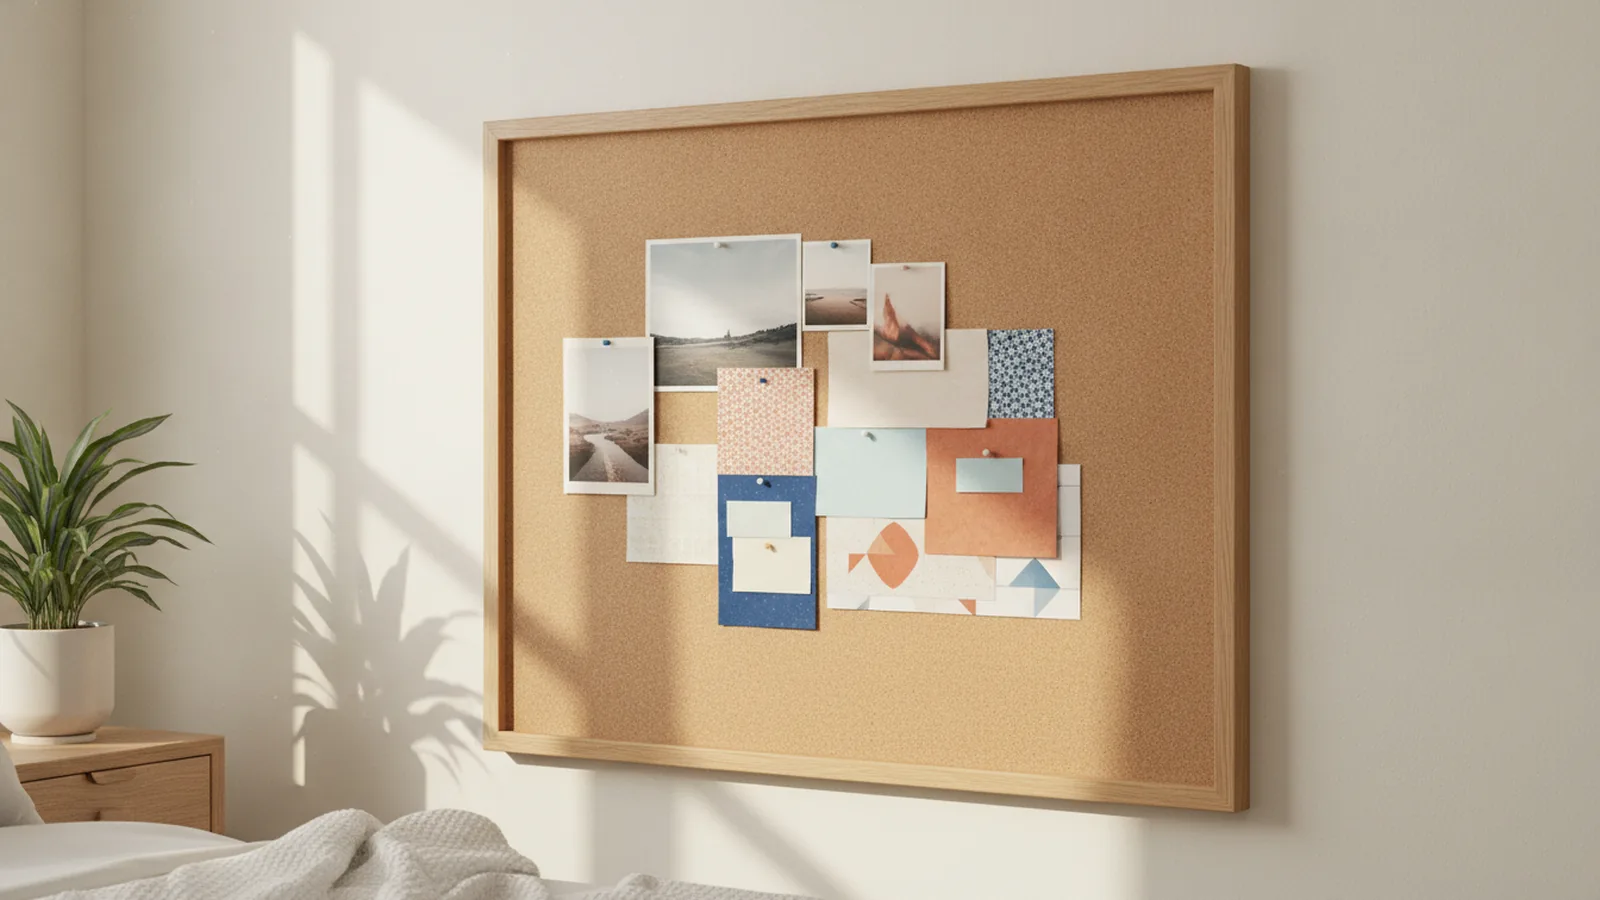
Choosing the right bulletin board for your room
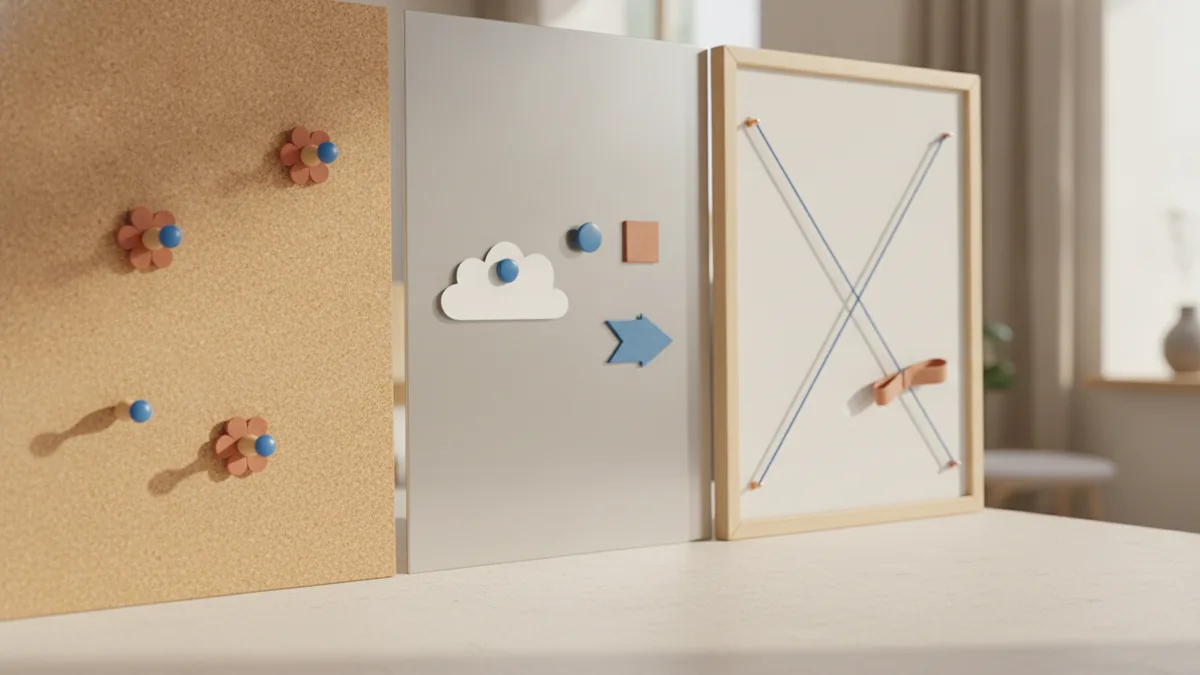
The fastest way to get a bulletin board that looks good is to match the board type to your daily use. If you want lots of pinning and easy swaps, choose cork. If you plan to rearrange often without poking paper, a magnetic board works better.
Start by thinking about how you will decorate a bulletin board for your room. Will it hold art and notes, or will it also display photos and small keepsakes? The answer decides both the board size and the surface that best supports your materials.
- Cork bulletin boards: Great for pins, fabric, and layered paper. Easy to add and remove.
- Magnetic boards: Best for metal clips, magnetic photo holders, and lightweight cards.
- Framed boards: Often include cork or felt inside a polished frame. They look finished even before you decorate.
If you’re unsure, measure the wall space and leave a 2–4 inch border around the board. That extra margin makes your decor feel intentional rather than cramped.
Essential supplies you’ll need before you start
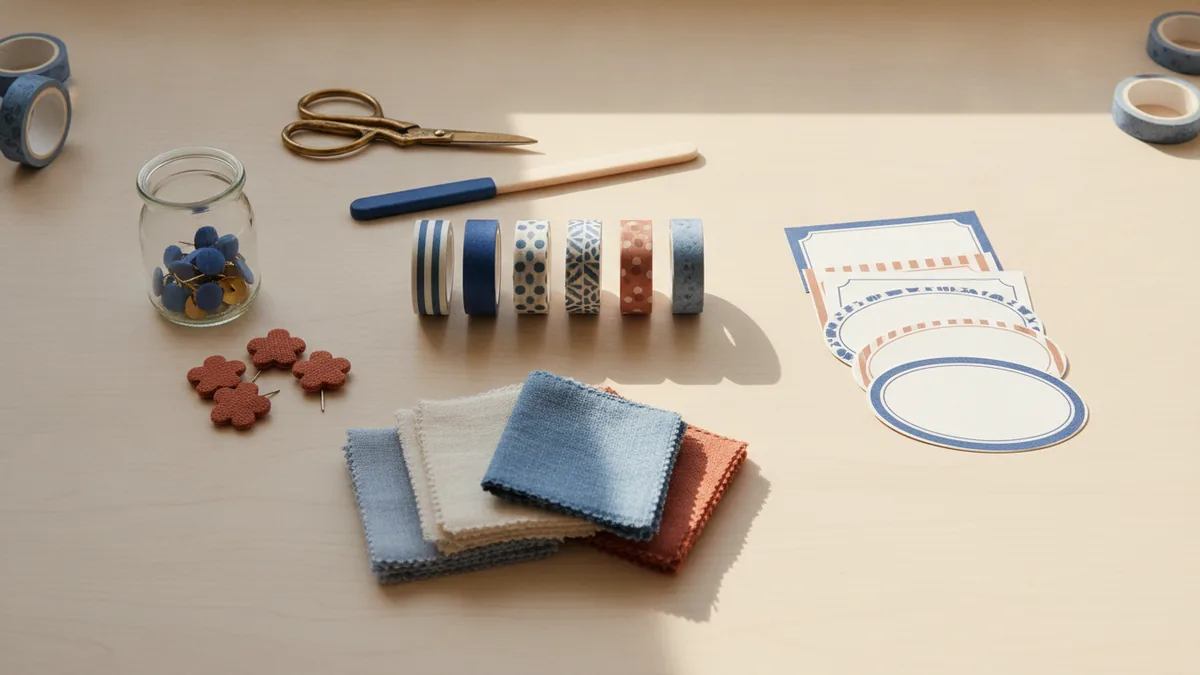
Before you hang anything, gather supplies that fit your board surface. For cork, pins are the anchor. For magnetic boards, you’ll rely on magnets and clips instead of puncturing paper.
Plan for three layers: the base texture, the layout elements, and the finishing details. Most bulletin board decor tips fail when the base looks blank, so choose a foundation you like seeing every day.
- Pins and pushpins (cork): Try a mix of colors or decorative heads.
- Thumbtacks (cork): Useful for heavier items like printed photos.
- Magnets and magnetic clips (magnetic): Swap notes without leaving holes.
- Fabric scraps or felt: Add texture and soften harsh edges.
- Decorations: Paper banners, washi tape, string lights, or small border trims.
- Labels and folders: Keep receipts, school notes, or plans tidy.
Pick crafting supplies that match your visual aesthetics. If you like clean lines, use consistent frame colors and simple tape. If you like playful DIY projects, lean into varied paper textures and mixed pin styles.
Creative themes and ideas that match your purpose
Creative bulletin board ideas work best when they do one main job. Some boards are for motivation. Others are for room organization. A third type blends both, like a study zone with progress tracking and photo memories.
Choose a theme first, then collect pieces that support it. You can keep the theme light, like seasonal color changes, or make it deeper with ongoing visual categories.
Here are a few popular themes to get started:
- Seasonal: Swap a top header and a small color palette each month.
- Motivational: Use short quotes, goal cards, and a “wins” area.
- Educational: Display class schedules, flashcard grids, and mini concept maps.
- Personal memory: Group photos, ticket stubs, and postcard keepsakes.
- Artful collage: Focus on visual texture and artistic expression over strict structure.
For a personalized bulletin board design, start with what you already collect. Photos, brochures, and ticket stubs become the center pieces. Then choose supporting colors that match them instead of fighting their palette.
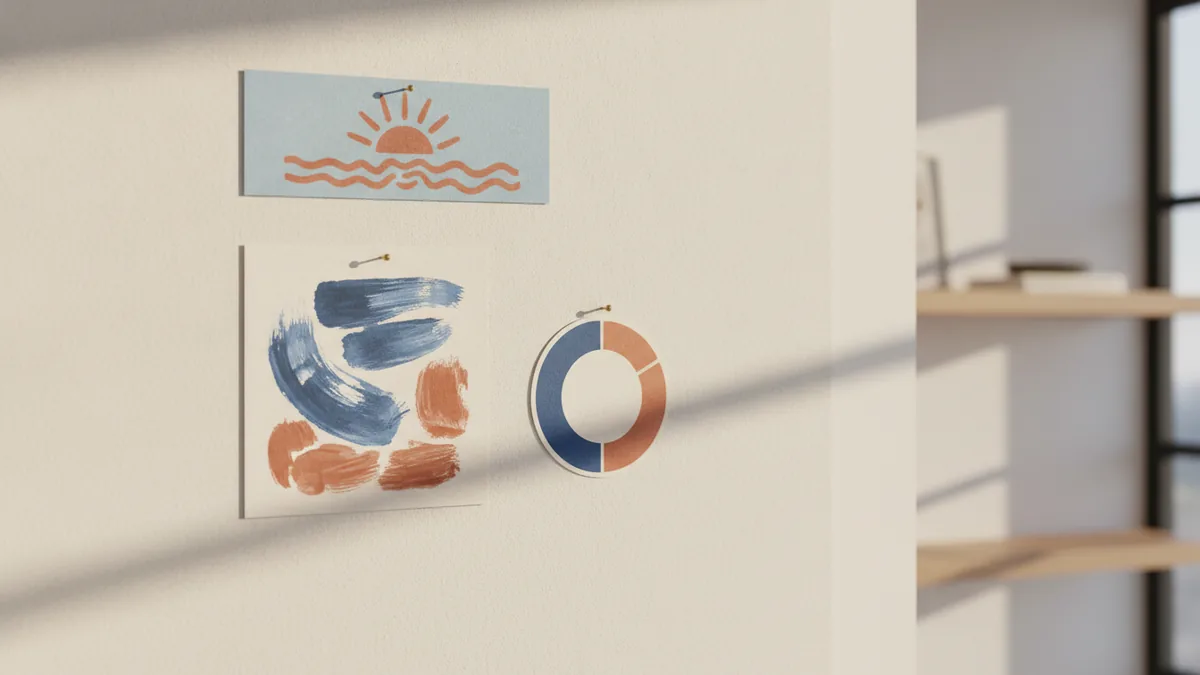
A step-by-step decoration guide for a clean, balanced layout
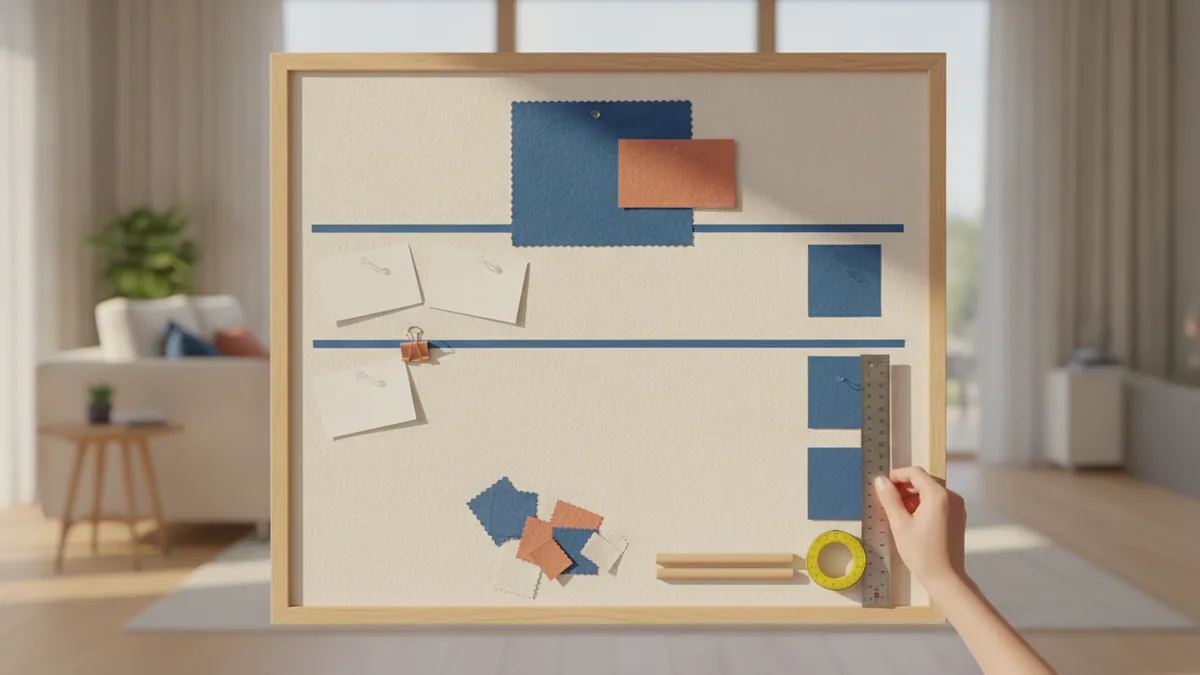
If you want how to decorate a bulletin board that looks designed, use a simple layout pattern. Think in zones, not scattered items. One zone holds the “hero” visuals, and the rest supports them.
Here’s a reliable approach you can build on. It works whether you’re doing decorating a bulletin board for your room for school, work, or personal planning.
- Set the border and base: Add fabric or felt as a soft background if you want a textured look.
- Pick a focal point: Place the largest photo, quote card, or theme banner near the top third.
- Create 2–3 categories: For example, “Today,” “Plans,” and “Memories.” Use color-coded label strips.
- Build a visual path: Arrange items so your eye moves in a loop. Keep a mix of vertical and horizontal cards.
- Add depth: Layer paper edges slightly. Use small spacers like folded card stock where needed.
- Finish with details: Add decorative borders, string accents, or a subtle texture like twine.
To layout designs effectively, keep consistent spacing. Use a ruler to mark 1–2 inch gaps for clusters, and align corners with the same edge. Consistency makes even a DIY collage look intentional.
Limit your “visual weight.” If one section has large photos, keep the surrounding notes smaller. This prevents the board from becoming hard to read.
Tips for personalization with photos, memorabilia, and texture
Your bulletin board decor should feel like you, not like a store display. Personalization gets easier when you decide how you want to use your space. Do you want it to be functional, decorative, or both?
Start with photos and memorabilia, then add color and texture. Photos can lead the eye, while smaller items add meaning without overwhelming the layout.
- Use photo “frames”: Cut thick paper borders or use printed mat frames for a gallery look.
- Create a memorabilia pocket: Fold a small sleeve from cardstock and pin it for ticket stubs or notes.
- Group by memory: Put related items together, like a trip set or a friend collage.
- Mix textures: Pair smooth cardstock with fabric scraps or layered paper.
- Add a color palette: Choose 2 main colors and 1 accent color for labels and tape.
When adding colors, think of contrast. If your background is warm, use cool accents for readability. If your background is cool, use warm cards for the focal area.
For personalized bulletin board design, keep your typography consistent. Use one handwriting style or one font style across printed labels. That small rule dramatically improves visual aesthetics.
Maintenance and updates to keep it fresh all year
A bulletin board stays attractive when it changes on purpose. Instead of replacing everything, refresh key sections. This keeps your room organization system intact while still letting your board evolve.
Plan quick update sessions once a week or once a month, depending on how often you add new notes. A refresh can take 10–20 minutes if you keep your supplies ready.
Use this refresh plan for different occasions:
| Occasion | What to change | Easy materials |
|---|---|---|
| New month | Swap header card and update labels | Colored paper, washi tape, small pins |
| Seasonal shift | Change color palette and add a themed banner | Fabric scraps, themed cutouts |
| Events or milestones | Add a “dates” cluster and a memory section | Photo prints, sticky note pads |
| Back-to-school | Replace schedule grid and “study focus” cards | Index cards, label strips, mini charts |
For best results, remove the oldest items first. Then replace them with the newest, and keep your layout zones the same. That way, your board looks consistent even as the content changes.
Finally, keep a small “decor stash” in a folder or box. Store pins, tape, label paper, and photo corners together. It turns updates into a calm routine rather than a stressful reset.
Frequently asked questions
- What are the best types of bulletin boards for decorating a room?
- Cork is best for pinned decor and layered paper. Magnetic boards work well for clip-on cards and photos. Framed boards look finished even before you add decor.
- What supplies do I need to decorate a bulletin board?
- Use pins or pushpins for cork, and magnets or clips for magnetic boards. Add fabric or felt for texture, plus decorative tape, labels, and photo corners.
- How do I layout items on a bulletin board without it looking messy?
- Use a zone layout. Place one focal point near the top third, then group items into two or three categories with consistent spacing.
- How can I add photos and memorabilia to a bulletin board?
- Use photo “frames” with cardstock borders for a gallery look. Create small pockets for ticket stubs and keep related items grouped together.
- What color and texture choices make bulletin board decor look better?
- Choose two main colors and one accent color. Mix smooth cardstock with fabric scraps or layered paper to add depth while keeping the palette consistent.
- How do I refresh my bulletin board for different occasions?
- Swap the header and update category labels first. Remove the oldest items, keep the same layout zones, and add new themed cards or photos for the occasion.
Related reading
Couch Placement—Flow, Focus and Comfort
Place your couch to frame a focal point, keep paths clear, and make the room feel balanced.
Master Bedroom — Color, Comfort and Personal Style
Build a calm, personal bedroom with smart choices and a budget that works.
Room Painting Labor Costs — Rates and Budget Factors
See typical room-painting labor rates and learn what drives the final price.