Wood Flooring Direction — Light, Space, and Flow
Choose board direction with light, room shape, and nearby spaces in mind.
What Shapes the Best Flooring Direction?
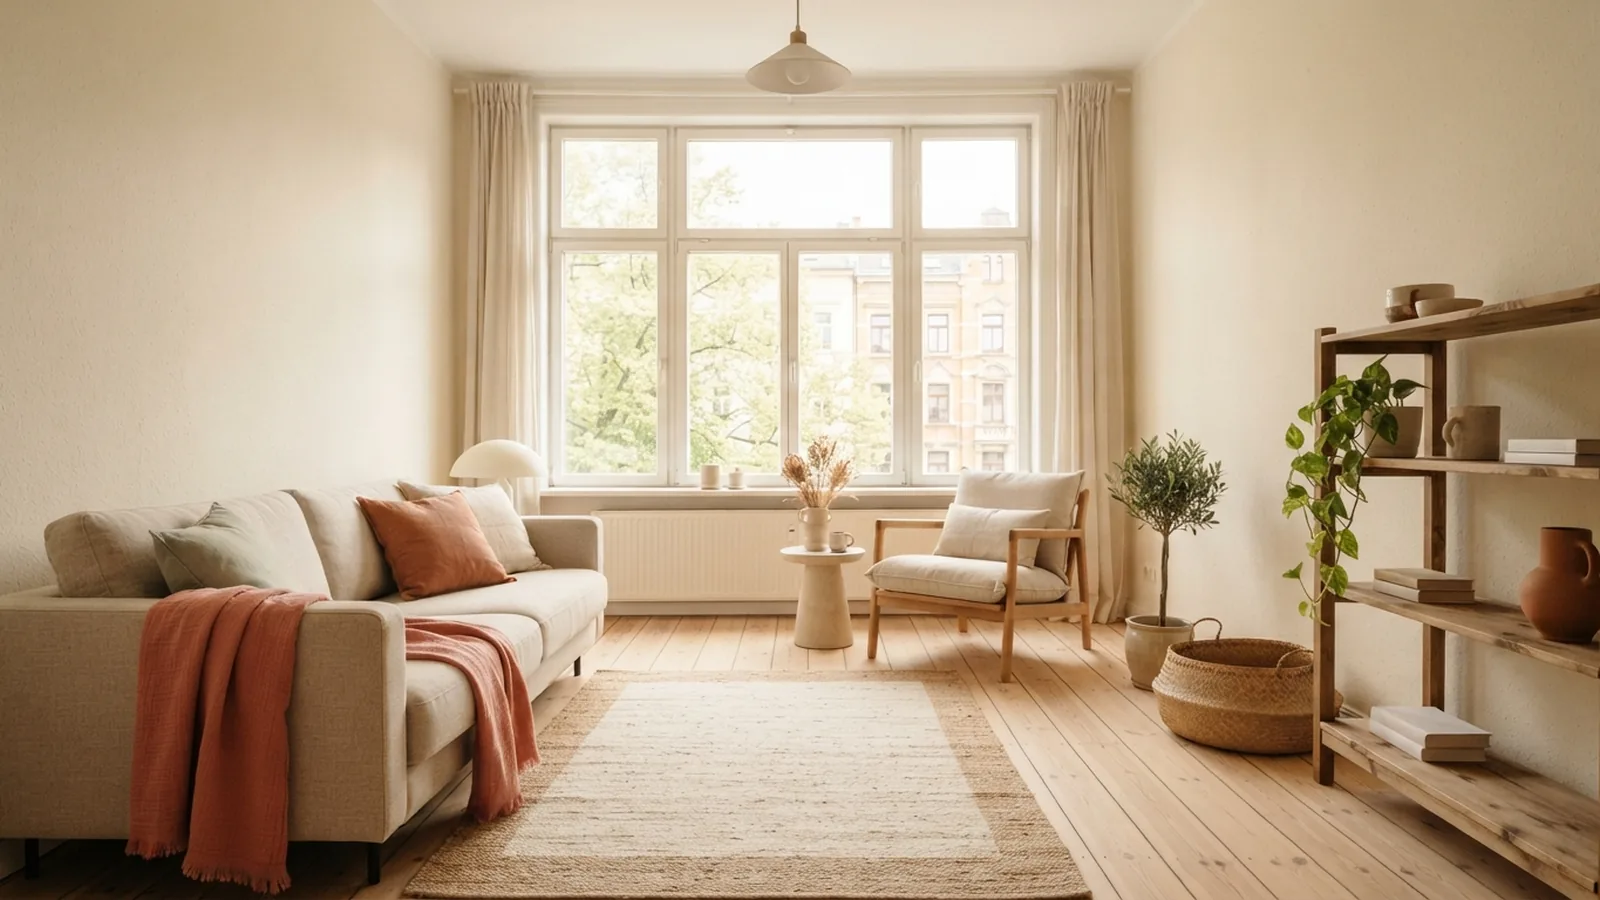
In a square room, lay wood boards toward the room’s main light source or along its longest clear sightline. Either choice can make the floor feel calm and intentional. Check both before you commit. The best direction depends on the room, not a fixed rule.
Wood flooring direction changes how people read a room. Boards draw the eye along their length, while end joints create a crosswise rhythm. A long run can make a compact room feel more open. A crosswise layout can add width or suit a strong feature wall.
Start with the room’s architecture. Note the doorways, windows, fireplace, and any built-in features. In a near-square room, those details often matter more than small differences in wall length. Think about the view from the entrance, too.
- Follow the longest uninterrupted sightline when the room has no clear focal feature.
- Use the main window to guide the layout when daylight is a strong part of the room.
- Consider the joist direction if fitting solid wood over a timber subfloor.
That last point can affect strength. Follow the flooring maker’s fitting rules, since engineered and solid boards may have different needs.
Keep the Floor Cohesive With the Home
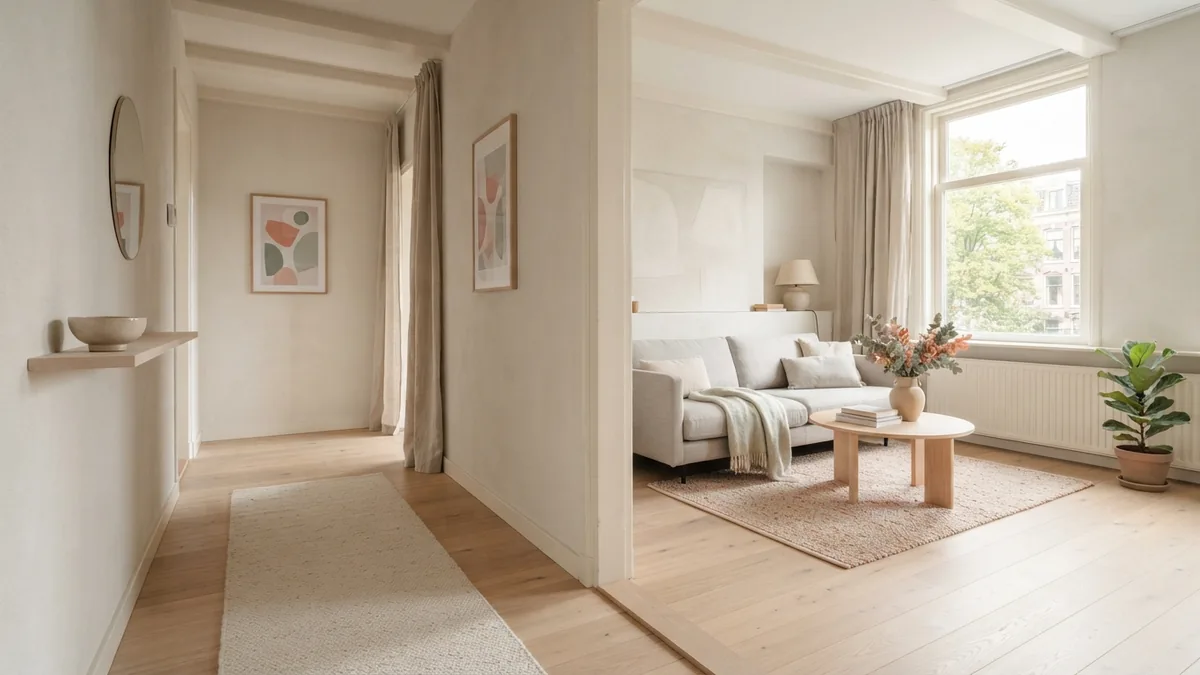
Flooring should feel connected from one room to the next. This matters most in open-plan homes and hallways that lead into several rooms. A change in board direction at every doorway can make the floor feel busy. A steady layout often looks more settled.
Map the route through adjoining spaces before fitting begins. If rooms share one continuous floor, choose a direction that works across the whole area. The longest sightline through the combined space may differ from the longest wall in one room. Stand at each doorway and compare the views.
Separate rooms can use different directions, but plan the meeting point. A threshold strip gives a neat break between layouts. It can also help manage a change in floor height. Place it where the doorway already creates a natural visual pause.
Room shape can change across a house. A hallway may run lengthwise, while a square living room sits at its end. In that case, keeping boards aligned with the hall can make the transition feel smooth. A sample layout will show whether the living room still feels balanced.
Use Light and Layout to Shape the Space
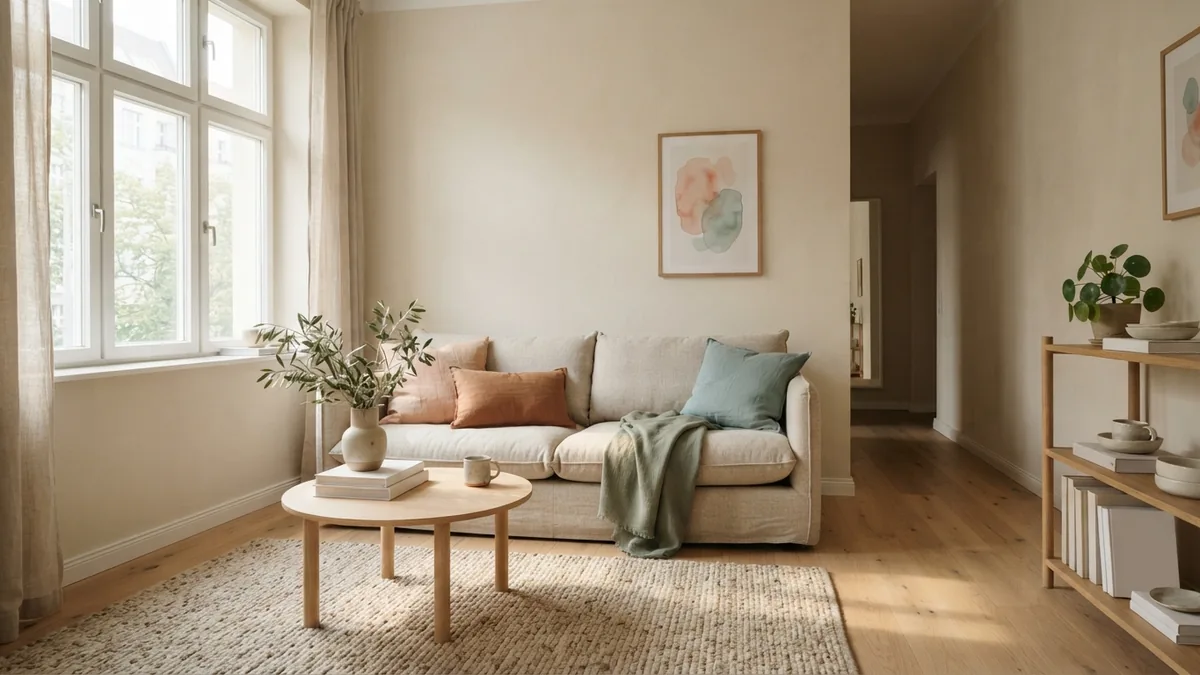
Natural light has a strong effect on how board seams and grain appear. When boards run toward the main window, daylight travels along their length. This can soften the look of joints and bring out the wood grain. It is a useful starting point, not a strict rule.
Look at the room at different times of day. Morning and afternoon light can come from different angles. A layout that looks even at noon may show more seams in low, slanting light. Check the floor near the window and across the whole room.
Boards aligned with a longer dimension can create a sense of extra space. This approach works well in a narrow room or along a long sightline. In a truly square room, the dimensions may not point to one clear winner. Let the window, doorway, and furniture plan guide your choice.
Board width and finish also shape the result. Wide boards create fewer joint lines and can feel calm in a small room. Narrow boards add a finer pattern, which may suit older homes. A pale matte finish can help a dim room feel lighter, while strong grain adds visual weight.
Plan the Layout Before Installation
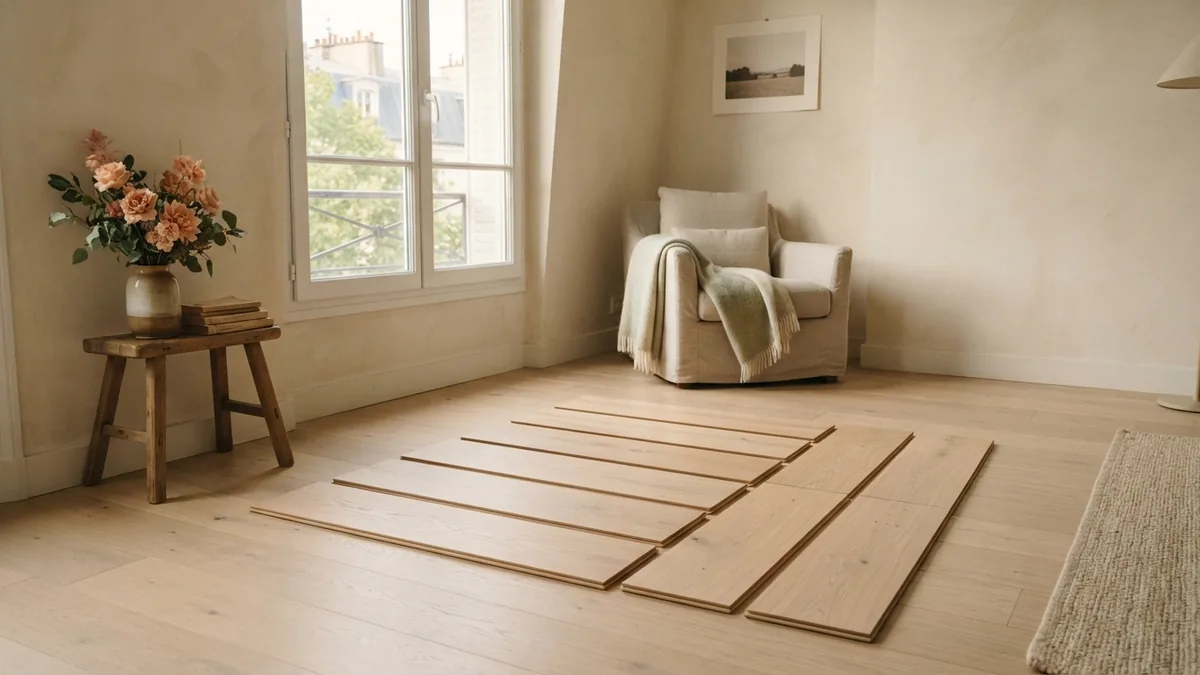
Test the direction before you open every pack. Lay several sample boards on the floor in two or three directions. View each arrangement from the entrance, window, and main seating area. A quick test can prevent a costly change later.
Use tape to mark the first board line and the planned edge cuts. Measure the room at both ends, since walls may not be square. Find the room’s centerline, then check how the boards will meet each wall. Very narrow strips at one edge can make a careful layout look unbalanced.
- Clear the floor and note every doorway, window, and fixed feature.
- Place sample boards in your preferred direction, then turn them across the room.
- Check the sightlines and the light at more than one time of day.
- Measure the first and last board rows, and adjust the starting line if needed.
- Confirm the subfloor is flat, dry, and ready for the chosen product.
Follow the maker’s instructions for the exact flooring product. Many floating floors need an expansion gap at the edges. The required gap can vary by product and room size. Use spacers to keep it even, then cover it with trim.
Stagger end joints as the product guide directs. Avoid lining up end joints in nearby rows, since this can create a ladder-like pattern. Cut boards with care and keep the offcuts for later rows when they fit. Sort boards from several packs to spread color and grain changes.
Avoid These Common Direction Mistakes
The most common mistake is choosing a direction from a rule alone. “Always lay boards toward the window” ignores doorways, room shape, and the view from nearby spaces. Another common error is deciding from one small sample. A full row of boards can look quite different from a single plank.
Do not ignore the first and last rows. Narrow edge pieces can draw the eye, especially beside a straight wall. Measure the room before fitting, then shift the layout to make the cuts more even. Keep required movement gaps in place.
Avoid changing direction without a clear reason. A turn can work at a doorway, but it needs a clean transition. Check that the join sits beneath the door or at another natural boundary. Poorly placed breaks can interrupt the flow between spaces.
Finally, do not overlook the subfloor or fitting rules. Uneven boards, dampness, or a missing expansion gap can cause problems after installation. Get the base ready first. Then use the sample layout to choose a direction that suits the room and the home.
Frequently asked questions
- Which direction should you lay wood flooring in a square room?
- Start by lining boards with the main light source or longest clear sightline. Then test samples in other directions and choose what best suits the room and nearby spaces.
- Should wood flooring run toward the window?
- Running boards toward the main window can soften the look of seams and highlight the grain. It is a useful guide, but doorways, room shape, and adjoining floors also matter.
- Does laying boards along the longer wall make a room look bigger?
- It can make the room feel longer by drawing the eye along the boards. In a square room, check the view from the entrance and the light before choosing.
- Should wood floors run the same way in adjoining rooms?
- A shared direction often makes connected rooms feel more cohesive. If the direction changes, place a clean transition at a doorway or another natural boundary.
- How can I test wood flooring direction before installation?
- Lay several sample boards in two or three directions. View them from the entrance and main seating area, and check how daylight changes their look.
Related reading
Bathroom Paint — When It’s Safe to Shower
Wait 24 to 36 hours before showering, then keep bathroom air moving.
Console Tables — Placement, Styling and Smart Storage
Choose the right spot, size, and styling for a console table that works.
Small Kitchen Costs — Prices, Choices and Budget Tips
Compare small kitchen prices, key cost drivers, and ways to keep a remodel on budget.